Superstar Nail Artist and Blogger Chelsea King Teaches Us Her Tricks!
by Jill Russell
Published May 25, 2013

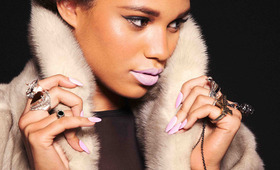
Chelsea King is pretty busy these days—in June, she’ll complete her certification to practice as a professional nail technician. Meanwhile, she’s a student at U.C. Irvine, studying psychology. But the 20-year-old Long Beach, California–based nail artist always finds time to do her nails. “I always find time. Even during finals, I’m still sitting there, painting my nails for some reason,” she says, laughing.

While she’s always been artistic (she used to paint), she’s only been doing her nails for about two years. Her short tenure is impressive enough considering her skill level and creativity, not to mention her following—17,000+ on YouTube and 85,000 and growing on Instagram. Up until her mom convinced her to get her nails done for junior prom, she was a self-described tomboy who avoided nail polish and anything girly altogether. But after the mani, she liked the result, started seeing nail art everywhere online, and just got started. “I really like working on the tiny scale,” she says, considering why she took to mani art over painting.
Chelsea’s ultimate goal? To work in fashion and get involved with styling, and especially doing nails for photo shoots in that world. “But I also want to work in a salon a few days per week, just doing nails,” she says. We think it’s a safe bet that this amazing talent is well on her way (and can save the psych for life-plan B). Here’s some more from our Q &A with Chelsea; below that, read on for a step-by-step tutorial we shot with her in our Los Angeles studio.
How have things changed since you became a sort of blog celebrity?
Sometimes I get recognized out in the world. I went to the beach recently and someone spotted me and came up to me. It’s definitely weird. When I started, I never had the goal of getting fans or followers. I just wanted to share my art and show people, and then it just happened!
How often do you do your nails? How long does it take?
For a while, I was painting my nails every single day. Now it’s more like once every two days, and it usually takes about two hours total. I’ll watch TV while doing it, and maybe split it up—do one hand one day, the other the next day.
What inspires you? What’s the creative process like for you?
In tutorials online, you sort of see a lot of the same stuff over and over. I really try to create stuff I haven’t seen before, and come up with original ideas. I get inspired by everything! Fashion, or even just going shopping. It could be something as simple as seeing a patterned pillow at Target, and coming up with a design from there. This one (flashes her current mani, a chevron pattern in both color and black-and-white) came from a bathing suit I saw at Target!
Of course I look online, not to copy others, but just to see what’s out there. Some of the people I’m following right now: Astrowifey, Madeline Poole, Stephanie Stone, and Spifster.
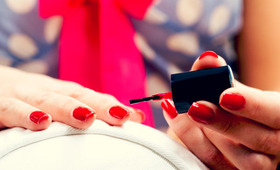
Any tips or tricks to make a mani last longer?
Applying topcoat every day will make you mani last a little longer—be sure to apply topcoat along the edge, wrapping the product around down the edge instead of just brushing straight.
Also, prep nails really well. I use acetone to make the nails really clean, which helps polish adhere better. And then of course, use a basecoat, two coats of your color (or design), and then topcoat. Admittedly, I change my nails so often that by the time they start chipping, I’m redoing my mani anyway.
What brushes and tools do you use to create your intricate designs?
People think brushes have to be super expensive, but it’s not true. The ones I use for fine lines—I bought a 3-pack on Amazon for $2. And they work the best.
Some favorite polish lines and products
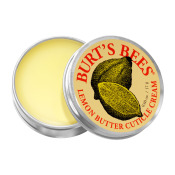
I do love OPI, because they constantly come out with new, exciting stuff. They were the first to come out with textured polishes like the crackle. They’re pretty innovative. I also like Floss Gloss and the Los Angeles–based NCLA, both for their really bright, vibrant colors. And because I’m always using acetone and putting my nails through a lot, I love Burt’s Bees Lemon Butter Cuticle Cream, Sally Hansen Smooth & Perfect Hand Creme, and Julep Mighty Nail & Cuticle Serum.
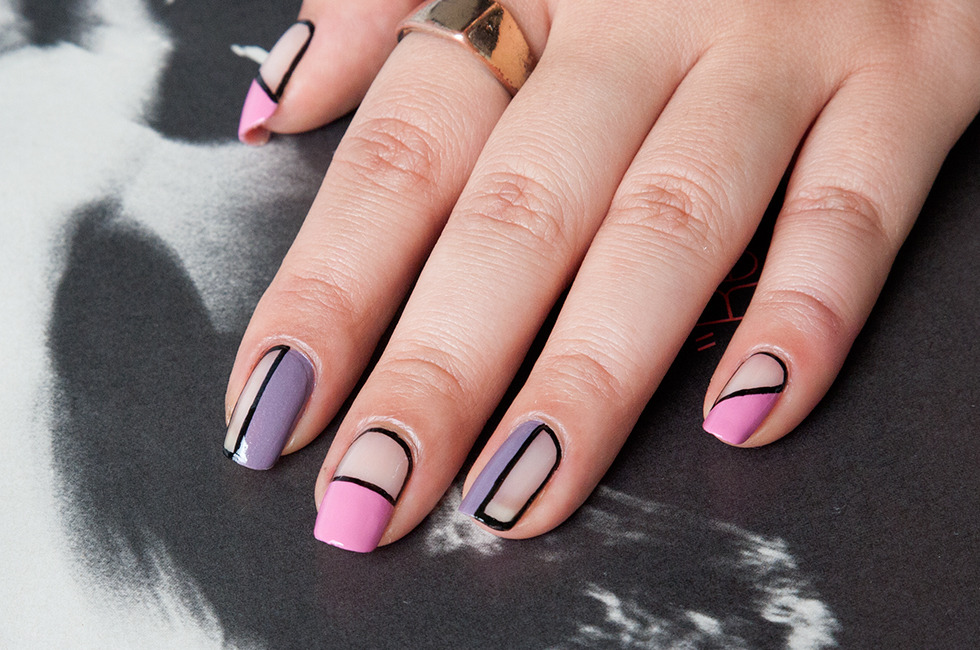
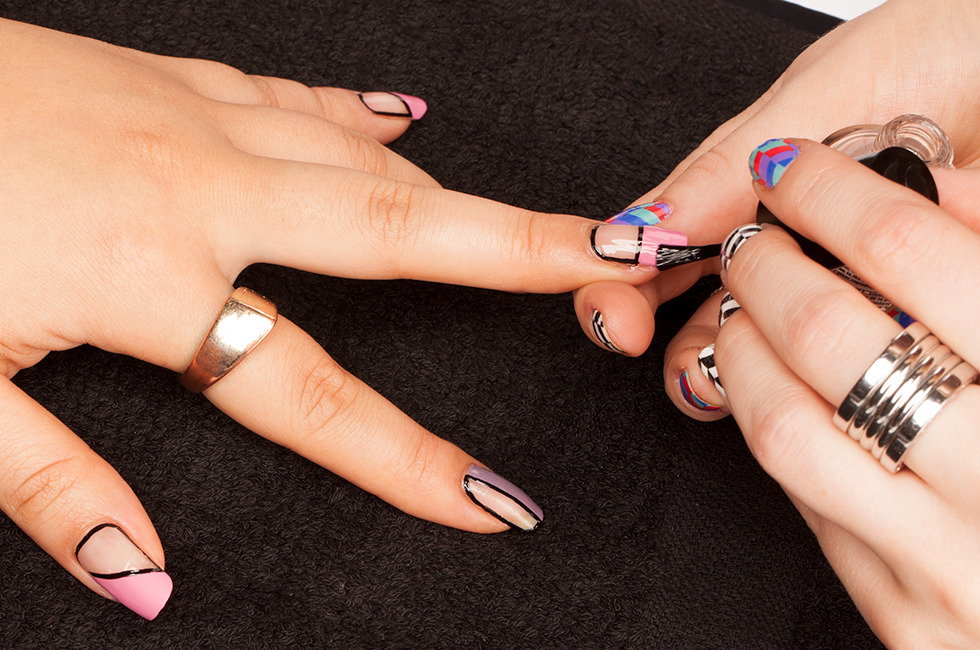
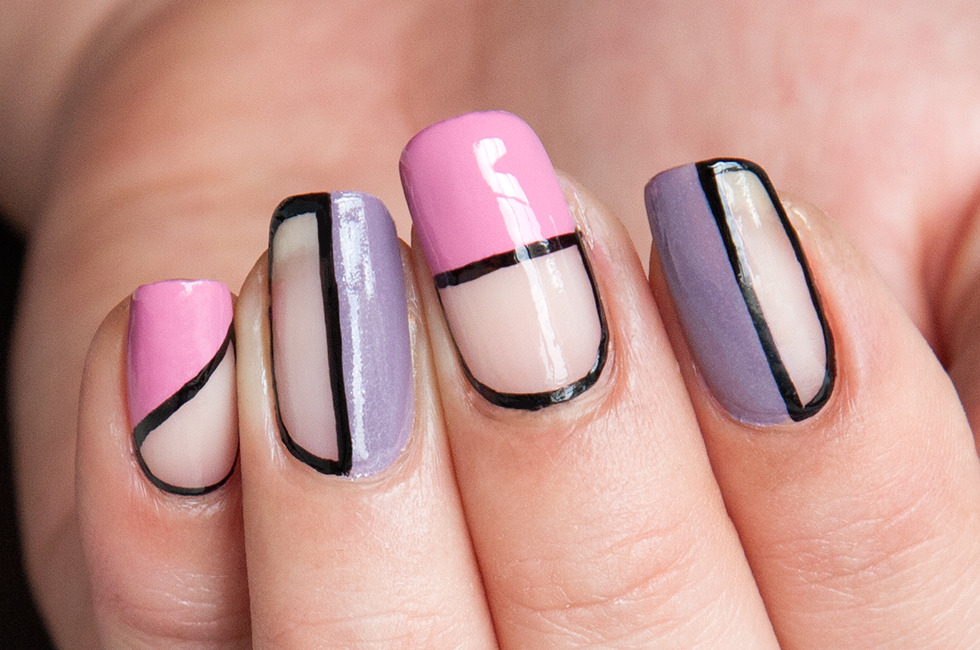
Tutorial: Cut-Out Nails
What You Need
two nail colors of your choice
basecoat
topcoat
black nail polish
acetone
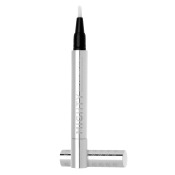
fine brush (you can buy on Amazon or in art supply stores)
scrap of paper (to use as a palette)
Steps
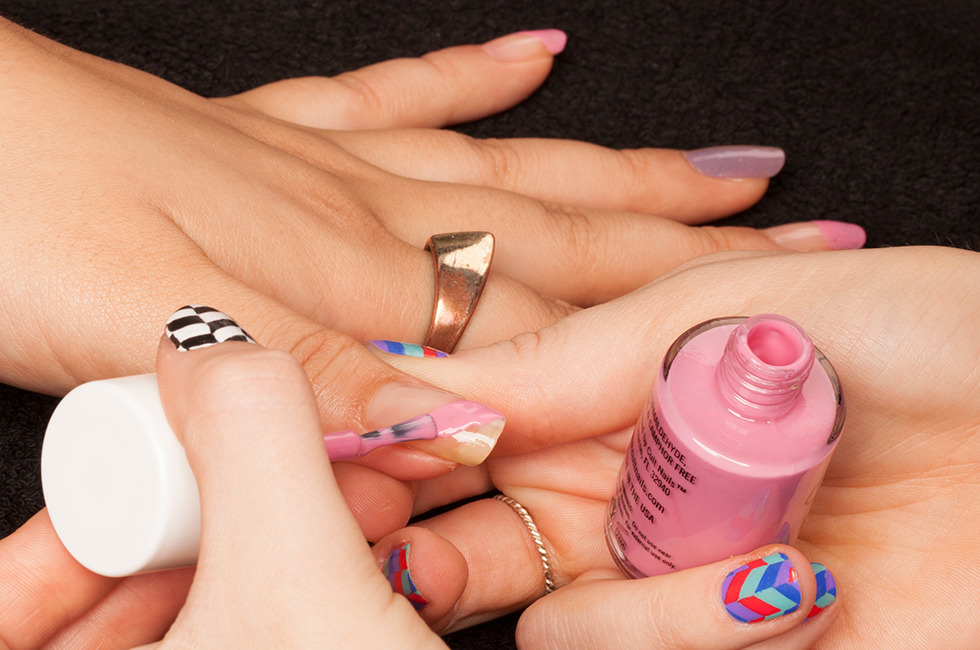
1: Apply basecoat. Chelsea used Julep Oxygen Nail treatment. “Since this is look involves negative space, this base coat is great because it has a tint to it. It makes bare nails just look better,” she says.
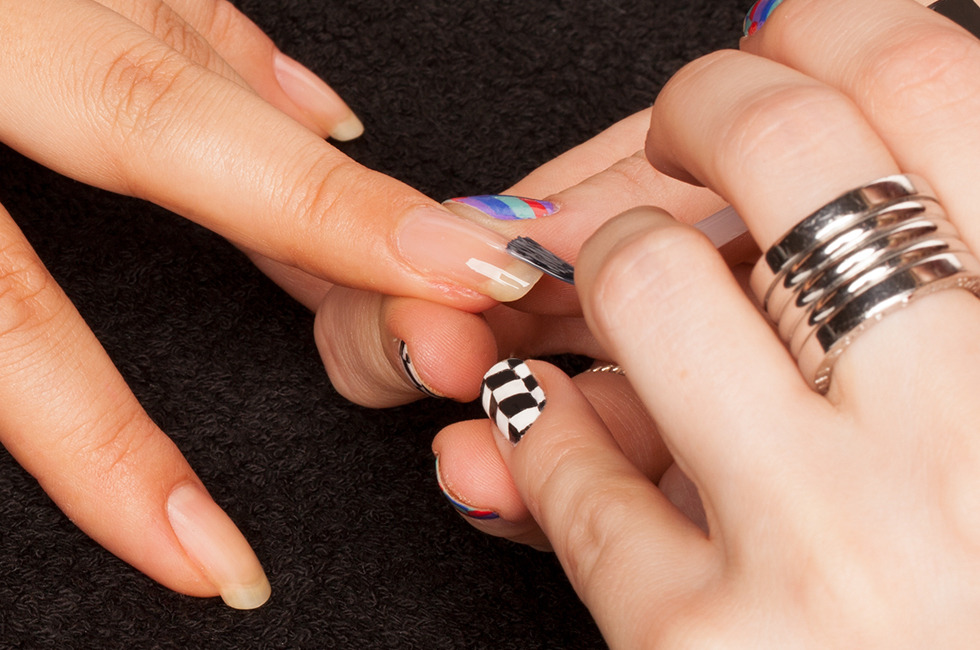
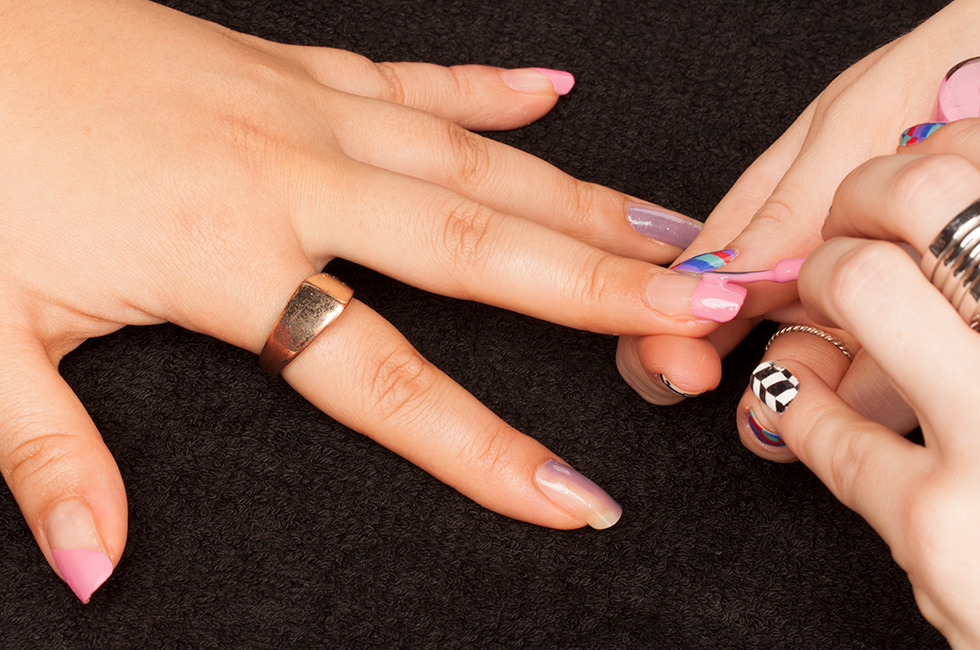
2: Working carefully freehand, cover parts of the nail with color in geometric shapes, as seen here.
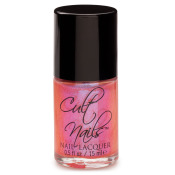
Go over your shapes with a second coat. If you don’t feel comfortable free-handing it, use regular tape to help section and give you straight edges. We used: Cult Nails Nail Lacquer in My Kind of Cool Aid and Kiss My Rose Bush.
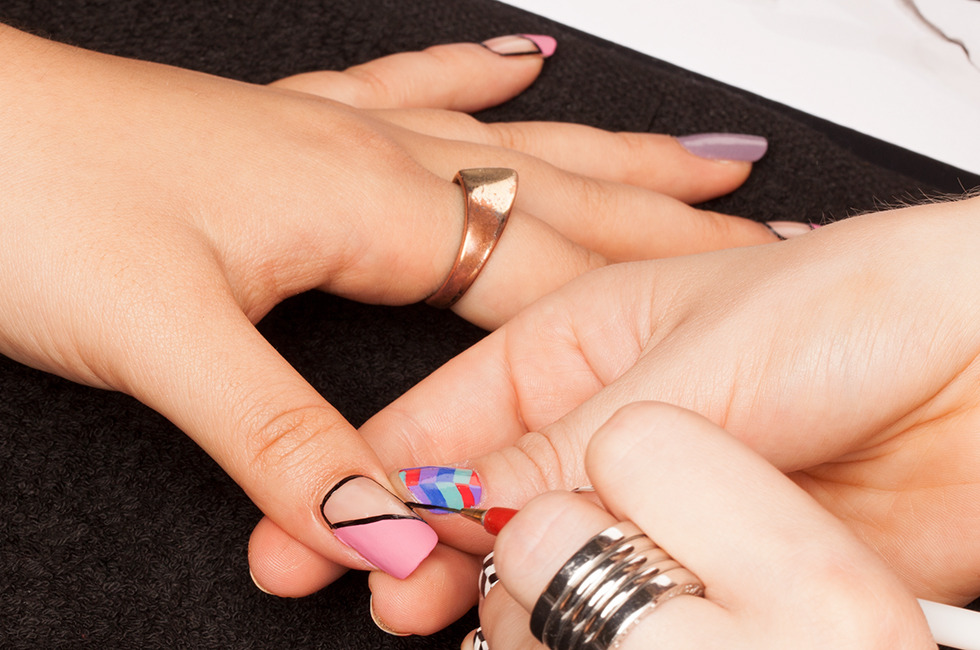
3: Using a piece of paper as a palette, dab out some black nail polish. Dip the brush in acetone, which thins out polish so it’s easier to paint with. Use the black to create a solid outline around the negative, unpolished, shapes. We used: Cult Nails Nail Lacquer in Nevermore.
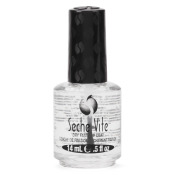
4: Finish with a topcoat. Chelsea likes Seche Vite Dry Fast Topcoat. She says, “It’s really shiny and goes on well, although it can get a little thick toward the end of the bottle.”
Follow Chelsea:
Beautylish: beautylish.com/chelseasgetnailed
blog: chelseasgetnailed.com
Twitter: @getnail_d
Instagram: @chelseaqueen
Pinterest: pinterest.com/queenchelsea
YouTube: GetNailedd
If you love that one as much as we do, see this second must-see nail art tutorial from Chelsea!