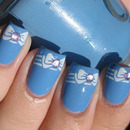
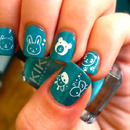
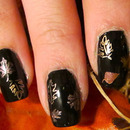
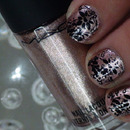
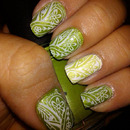
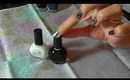
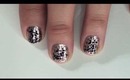
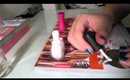
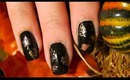
Nail stamping recently became one of the most popular nail art techniques to emerge, and we can see why so many of you are smitten with the precisely patterned effect. From ribbons and flowers to animals and textures (like Mary S.’s gorgeous duo-chrome argyle nails, above), you can easily stamp any type of detailed image on your nails. So how do these designs go from template to tips? Many brands (such as Konad) sell kits to make it easy. You begin by choosing a particular pre-made engraved metal template you like. Then, pour a few drops of nail polish (use a thick formula if you prefer to use your own) over the metal plate, and use the kit's scraper to evenly distribute the product onto the metal engraving. Then, after you’ve evenly spread the lacquer across the engraving, press your rubber stamp over the plate to pick up the excess polish. Once the polish design is on the rubber stamp, gently rock the stamp from left to right onto your nail plate with a steady hand. Repeat this for every finger and let your designs completely dry before applying top coat. Presto—a perfect impression on every fingertip! Do you loathe or love the imprinted effect? Voice your thoughts below.
Featured Products


Featured Brands
You Might Also Like
-

Loathe or Love
Would You Shave Your Brows In The Name Of Beauty?
-
Loathe or Love
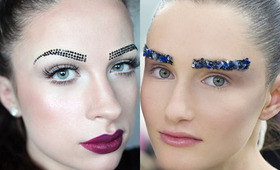
Loathe or Love: Brow Art
-
Loathe or Love
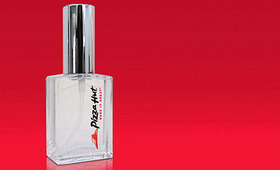
Pizza Hut Perfume is a Thing Now?
-

Hair
Loathe or Love: Granny Hair
-

Hair
Loathe or Love: Hair Tattoos
-

Loathe or Love
Loathe or Love: Lashed Out Lids
-
Looks
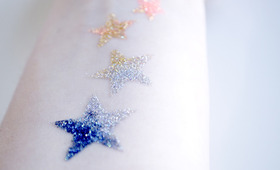
Loathe or Love: Hunger Games' Glitter Tattoos
-

Product Spotlight
This Dry Shampoo Will Save You Hours of Styling