Depotting Demystified: A Custom DIY Palette Is Easier Than You Think!
by Jill Russell
Published May 3, 2013

If you're like us—you like to have your options readily available when it comes to makeup. But carrying around all of your favorite, shadows, concealers, and blushes just isn't practical. And while we're big fans of ready-made palettes, we also love the idea of consolidating a variety of products, from a variety of brands (in a variety of shades)! Getting those products out of their original packaging, though, can take a little bit of time and practice.
To demystify the process of depotting and transferring cosmetics to a catchall palette, we enlisted the help of Z•Palette founder Zena Shteysel, who designed her whole line for this purpose. Read on for the how-to, and go get organized!
You Will Need
- Small metal knife, spatula, or nail file
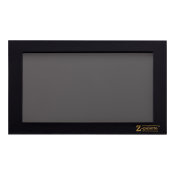
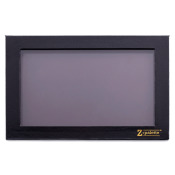
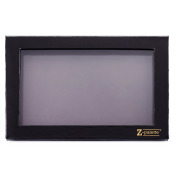
- A magnetic palette, like these from Z•Palette
- All of the products you want to consolidate, in their original palettes and compacts
- A flat iron
- Waxed paper
Step 1
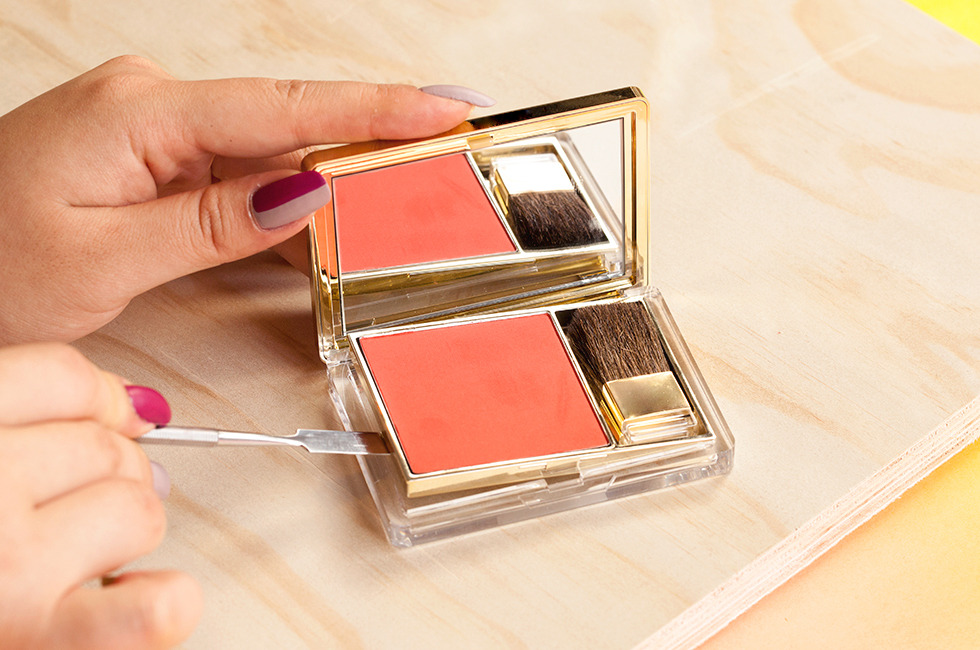
Use your knife to carefully separate the product from the outer compact, and lift it out. Every container is different in terms of size, shape, and composition. You may even find some pop right out of a plastic container and are immediately ready to transfer to your palette. If there's still more packaging to remove, go on to step 2.
Step 2
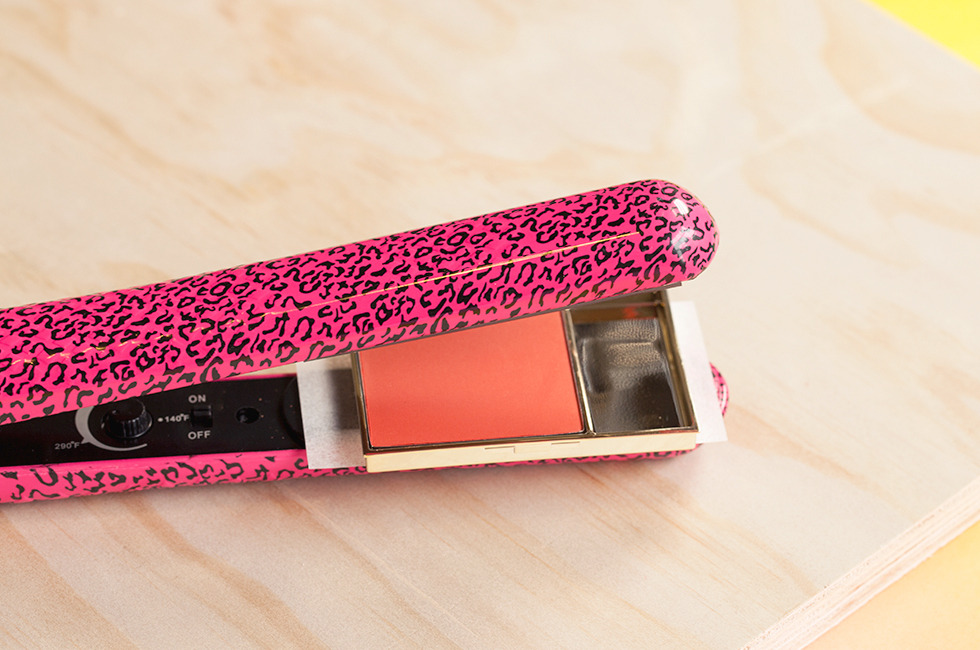
Heat your flat iron to the highest setting. Put a small piece of waxed paper down to protect it. Then place your palette onto the surface of the flat iron and heat for about a minute. The heat will enable you to fully pry the individual pan out of the palette.
Step 3
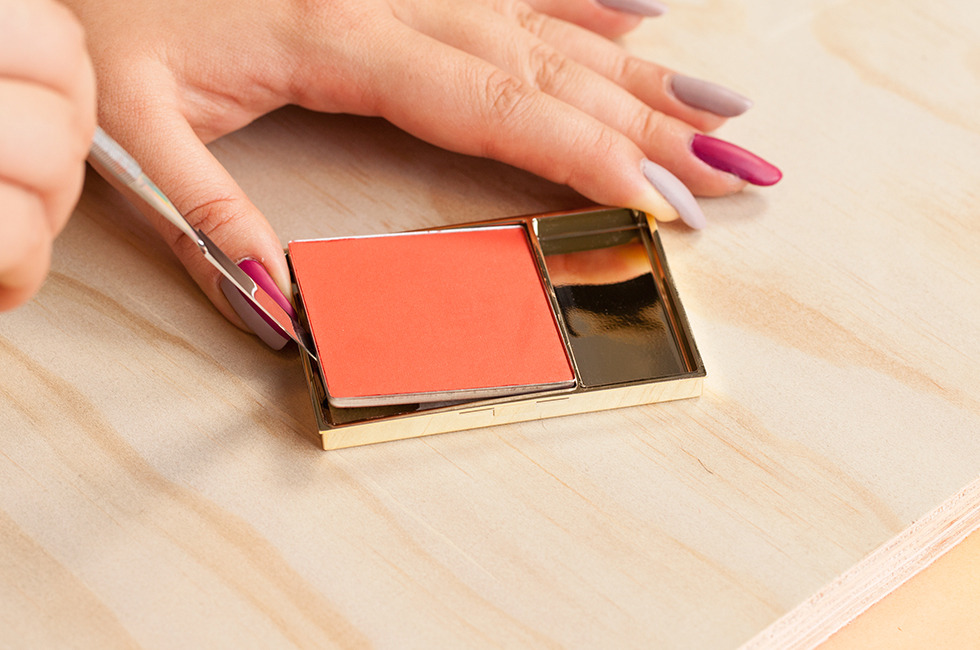
Use your knife to ease the individual pan out of its surrounding packaging. If the pan doesn't budge, return to step 2 and heat for a few more moments. Then try again.

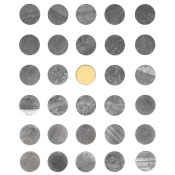
Keep in mind that every product container and compact is different (you'll see everything from cardboard to plastic to metal on the market). Each will behave a little bit differently. The individual pans you'll be prying out will most likely be either rectangular or circular, as you see here. Be careful not to burn your fingers on the hot metal pans or heated glue!
The Finished Product
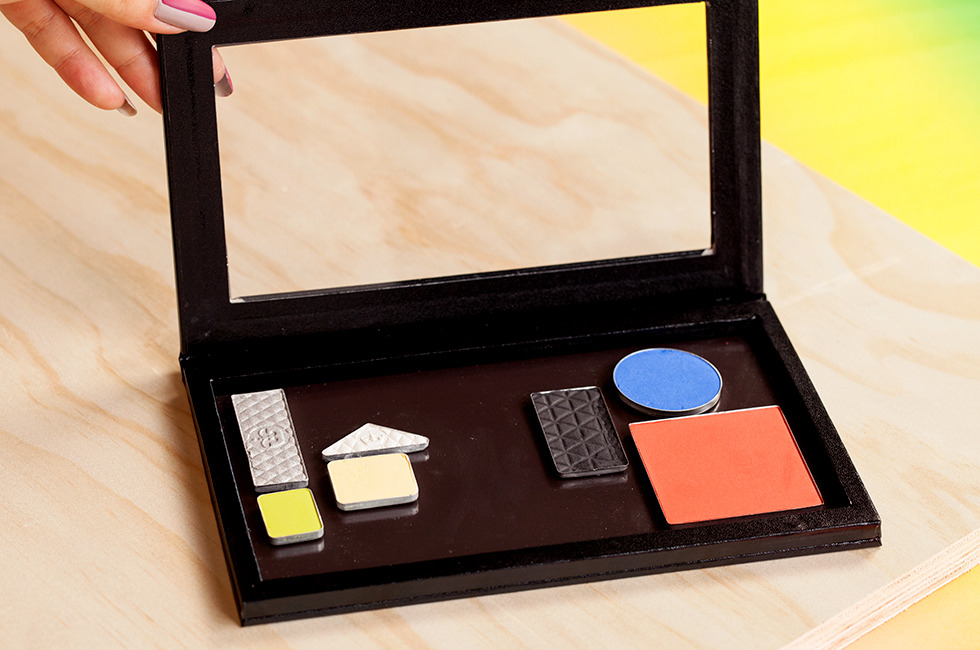
And that's it! If the final pan is metal, you're ready to pop it into your palette. But keep in mind that not all cosmetic brands come in pans that are metal or magnetic. If you find yourself with a plastic one, just peel and stick a metal sticker onto the bottom the individual pans before transferring to your palette. Each Z•Palette comes with metal stickers strictly for this purpose, or you can buy both round and square stickers right here in our shop!
Tips and guidelines
Don't want to use your flat iron? You can get the same effect using a regular oven. Zena recommends heating it to 300 degrees and spreading out products you want to remove on cookie sheet. "Keep an eye on them, and look for when the plastic starts to melt away. Some products will take longer than others depending on the packaging," she says.
While trying this, you may break a shadow or two, but don't throw it out! Read how to fix shattered shadow here.
Parian Spirit, a brush cleaner used by makeup pros, is great removing stubborn glue left on shadow pans after removal. You can also cover glue remnants with regular circle- or square-shaped paper stickers (whatever size and shape fits the pan you're working with).
Use a fine-tipped permanent marker to write the brand and color name on bottom of each individual pan (or back of the metal stickets), so that you always know which product and shade you're working with.
If you're interested in consolidating your favorite lipsticks from tube to palette, read this to find out how!