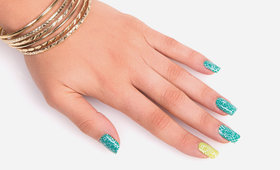
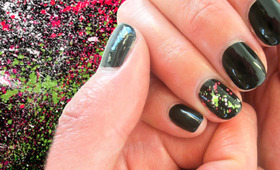
It's the nail art dilemma—you want to create detailed designs on both hands, but you lack the dexterity to draw on both your left and right fingertips. The solution? Nail decals! Brands such as Sally Hansen and Minx offer pre-made nail decals which you can press onto each finger and go. But if you don’t find a design you like, it's time to DIY! These homemade nail stickers are easy to make and you can personalize your manicure in any way you want. For today’s tutorial, we were inspired by the season, and created cute Valentine's candy hearts! With a little patience and time, every finger gets an artist's touch.
- 3 plastic Ziploc bags
- 1 black marker
- 1 nail brush in size zero
- 1 white nail polish
- 6 to 10 candy-colored nail polishes
- 1 black nail polish
- 1 base coat
- Scissors
- 1 top coat
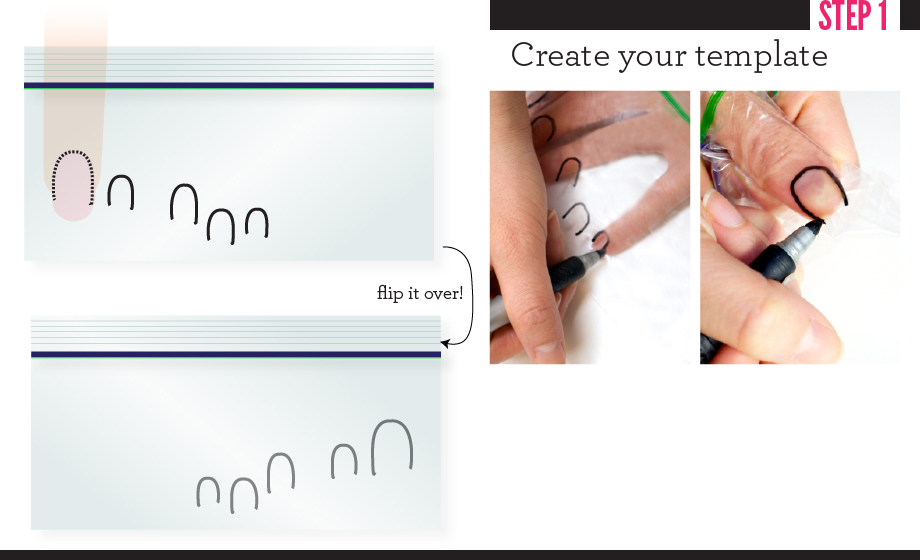
Begin by tracing your nail shape on a plastic Ziploc bag. To do this, place your fingers inside the bag, then use a black marker to outline the general shape of each nail. Repeat this for every finger you need a decal, and use one plastic bag per hand. Before you paint, flip your bag over to the unmarked side to avoid bleeding from your black marker.
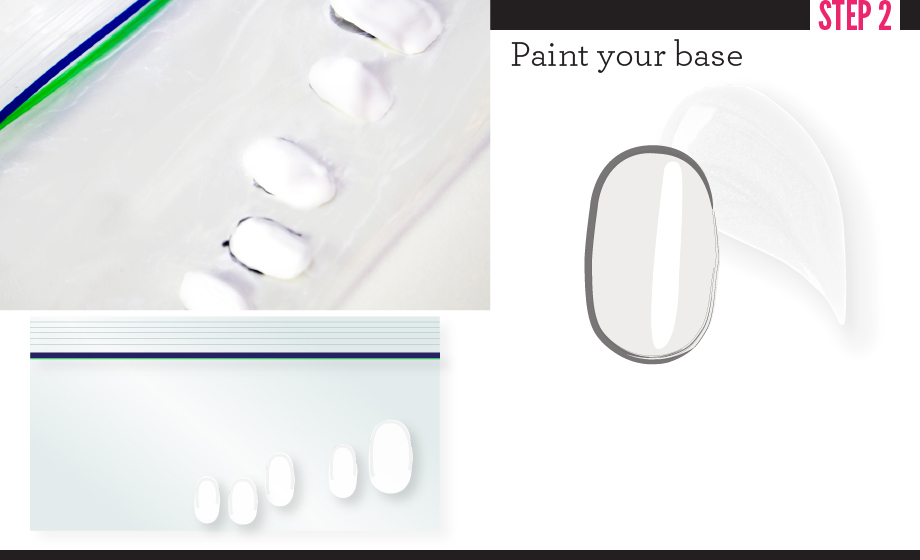
Paint a base color on your bag that’s thick enough to peel off. Be generous in your application—the thicker the better! Paint the nail longer so you can custom trim upon application. Let the nail polish completely dry.
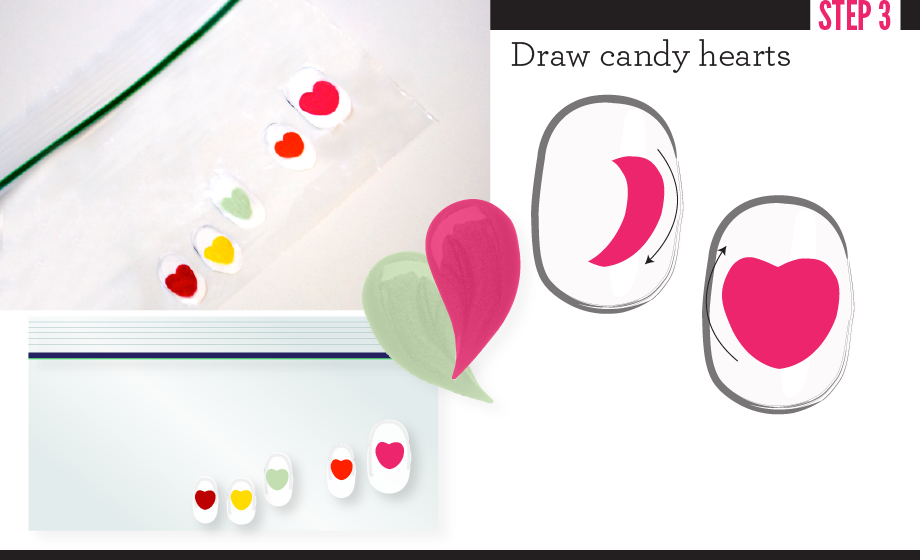
When your nail polish feels dry to the touch, it's time to play! Use a thin art-store brush to paint multicolored candy heart shapes on each nail. You can also use acrylic paint if you prefer a thinner texture to work with. Apply multiple coats until completely opaque, and be sure the design is totally dry before moving on to the next step.
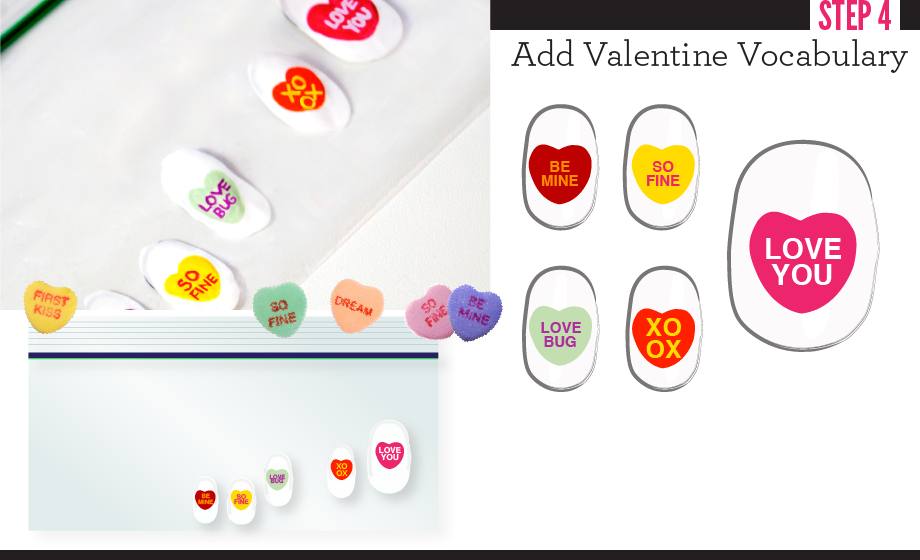
Clean your thin brush with a napkin and nail polish remover. Use dark or pale colors to write common conversation heart sayings such as "Be Mine" or "Love You" onto each candy shape. Take your time in this section to ensure your lettering is legible.
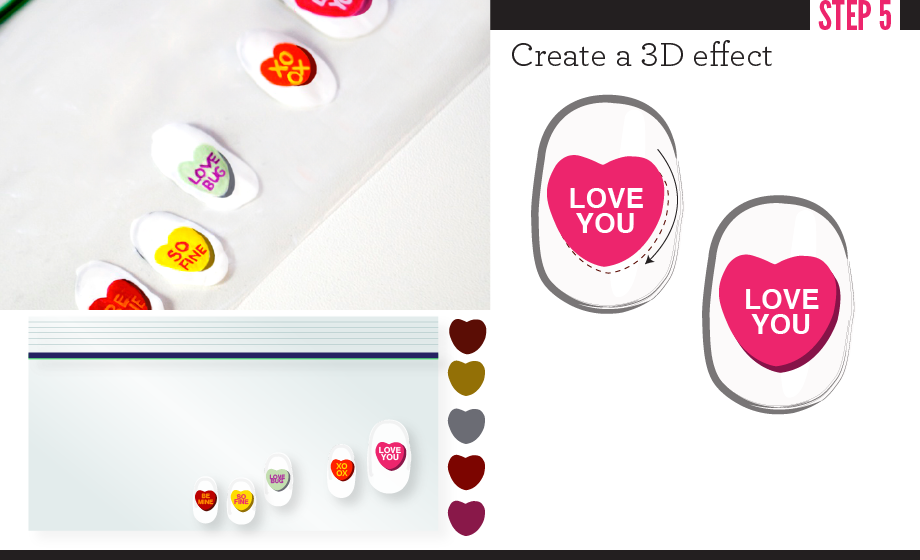
Give your candy hearts more dimension with subtle shading on the bottom right corner of the shape. Achieve the correct shade by mixing the heart's hue with a dot of black nail polish or paint. Now that your design is finished, let the nail decals dry overnight.
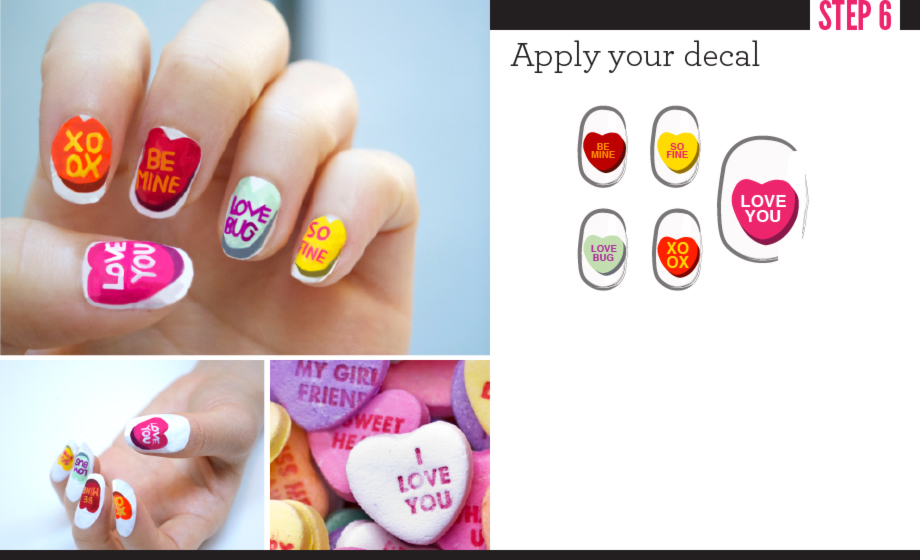
After your DIY decals have completely dried overnight, gently peel them from the plastic bag and let them sit on your bag until you’re ready for application. Coat your own nails with a thick layer of base coat, and let the clear base get tacky for 30 seconds. Position and fit each decal onto your nail, then let them set on your fingers for 10 minutes to ensure the decals don't mix with the base coat. Then, trim and tuck the excess decal using a nail file, tweezers, and small scissors for a perfect fit (this is why you painted the decal longer than the actual nail). When you've custom-tailored your decals to each nail, apply a generous layer of top coat to seal the designs.