


If you think your curls will bounce back fast after starting your natural hair journey, I have good news and bad news. The bad news…unfortunately, they won’t snap into place immediately. After heat styling, chemical treatments, and the like, your newly transitioned strands need time, patience, and a whole lot of TLC to get back on track.
However, staying the course leads to the good news: springy ringlets are definitely within reach when you build healthy (and hopefully lifelong!) hair habits. As au naturel styling becomes your everyday reality, incorporate these tips into your routine to build a strong foundation for restored curls.
Decide: Trim or Big Chop
Congratulations, you’ve decided to transition to natural hair! As much as we curly folks appreciate length, part of the journey involves cutting part (or all) of our existing manes in order to remove damage that can derail the decision.
If growing your curly hair from scratch is out of the question, start with a trim. Although it’s not the most ideal option, the “big chop” (which means cutting off all damaged hair) is the best way to reveal your natural texture and start fresh for the healthiest results. This is especially true if you’ve undergone chemical hair straightening, which yields permanently straight hair with curly growth.
However, if you aren’t mentally prepared for the drastic cut (which can be a shock), start small. Transitioning is a marathon, not a sprint, and snipping off dead ends offers a less arduous reset that’ll keep you from burning out on your natural hair journey.
Switch to silk
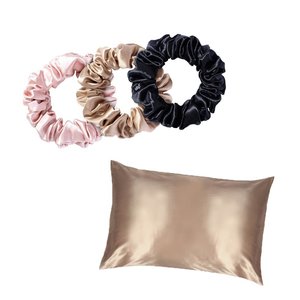
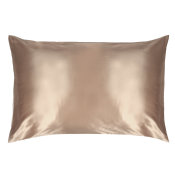
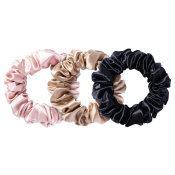
Naturally curly hair is often drier and more prone to breakage–that’s where silk comes in to save the day. Switch to silk scrunchies, which reduce the pulling, tangling, creasing, and friction associated with ordinary hair ties. At night, gather your hair into a loose high ponytail, secure with a scrunchie, and lay your head down on a silk pillowcase to counteract the damaging effects of tossing and turning. This “pineapple” hairstyle method, coupled with the smooth case, will help keep curls protected and intact as you sleep.
Deep condition at least once a week
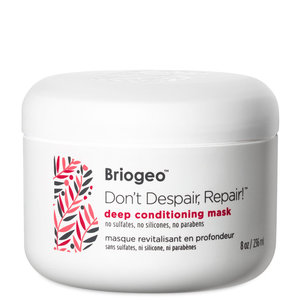
What happens in the shower sets the tone for curly hair strength, hydration, and overall health. Make sure you deep condition your hair at least once a week with a formula enriched with fatty acids and B vitamins to bring vitality back to dry/damaged hair.
This doesn’t just mean applying a mask for a hot sec in between shampooing and conditioning–the “5-10 minutes” recommended doesn’t cut it for curlies. Instead, after shampooing, apply a mask to strands, cover your head with a shower cap, fill the bonnet with heat from your blow dryer, and leave it on for 30 minutes before rinsing. This will help deeply moisturize and restore hair’s protective barrier to prevent breakage.
Start off with an easy styling routine
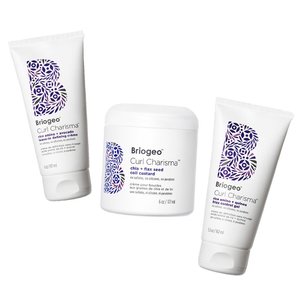
If you’re not used to styling curly hair and have sought out YouTube intervention, you’ve likely navigated a rabbit hole of multi-step routines and product lists that range considerably from person to person. It’s already overwhelming enough to test out a new look, so starting off with a simple 4-step routine can help kick off your first go at styling newly transitioned hair.
First, always style your strands when they’re considerably wet. And if they get dry throughout the process, use a water-filled spray bottle to re-wet. This 4-step routine coincides with the 3 products you’ll need: leave in, styling agent, and gel.
-
Finger comb a frizz-defying, ultra-hydrating leave in cream through strands for a moisturized base. Note: Don’t create a part where your hair “should fall.” This method will encourage volume and movement as you can flip your hair to any side throughout the day.
-
Section off hair and apply a curl-defining styling custard or cream. Rake the formula through locks with your hands and then scrunch upward to form your curl pattern. Twist strands that need extra shaping, especially those framing your face.
-
Flip over hair, so that it’s in front of your face and apply gel using a scrunching motion to seal in the style. Flip your hair to your right side and continue scrunching strands upward, repeat on the left side.
-
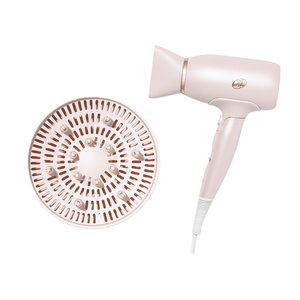
Air dry or dry with a diffuser that affixes to your blow dryer to distribute heat evenly, while lifting and separating hair for enhanced body and curl definition.
Make oil the star of your curly hair care routine
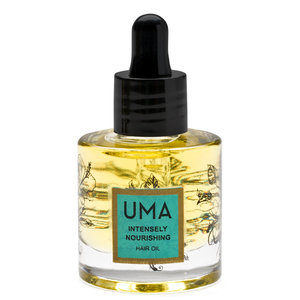
If you only follow one tip from this list, I hope it’s this one. Oil blends (look for ones with jojoba and coconut oil) are some of the most versatile, unsung heroes of the curly hair community. Use a few drops daily to add shiny nourishment and perk up day-old curls or heat it and use it as a pre-shampoo. Since hair grows from healthy scalps, I recommend massaging the oil into your skin for ten minutes every week to moisturize your roots and help stimulate curly hair growth.
Featured Products


You Might Also Like
-
Hair Styling Products
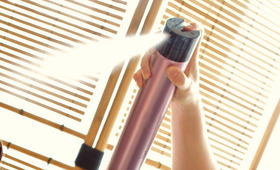
Hair Spray 101
-

Hair Tools
Here’s How to Get Bouncy, Beachy Curls With a Flat Iron
-
Hair Health
Winter Hair Tune Up
-
Hair & Scalp Treatments
Exfoliate Your Scalp With the Same Active Acids Found in Skincare
-
Hair Health
Could You Be Shedding Too Much?
-

Hair
Would You Use Hair Perfume?


