Why the Halo Effect Is the Most Flattering Lip Trend Right Now
Published Jan 28, 2026

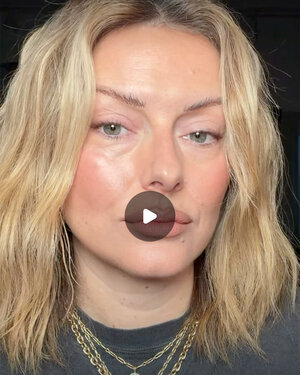
Read our lips: soft-focus lip looks are about to take over the beauty world. Honestly, they kind of already have.
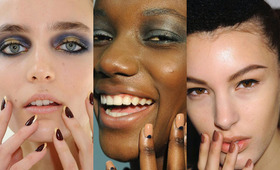
Dubbed “Halo Lips,” this trend skips defined liner in favor of softly contoured, blurred edges using natural hues. The effect creates lips that look pouty, full, and almost filter-like, while still looking natural.
While halo lips have been trending, makeup artist Katie Jane Hughes has been perfecting the diffused lip on celebrities for some time. More recently, makeup artist Nina Park propelled the look forward, sparking an internet obsession. Hughes has shared an in-depth breakdown of how to achieve the effect—a multi-step process that’s worth the effort. We’ve distilled the technique to its essentials, pairing her expert application tips with our product recommendations, so halo lips feel effortless and attainable.
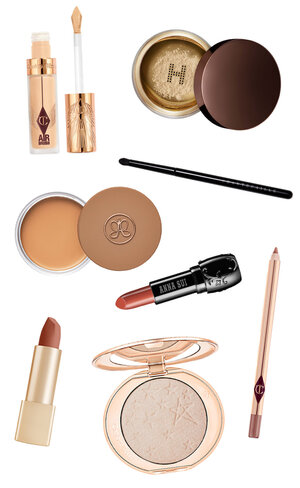
What You’ll Need:
- Concealer
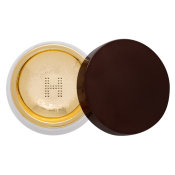
- Powder
- Cream bronzer
- Precision blending brush
- Brown-toned lip liner
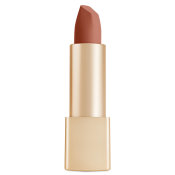
- Toasted brown lipstick (satin or matte finish)
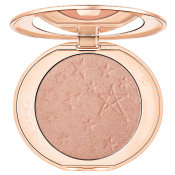
- Highlighter
Step-By-Step:
-
For a lip look that lasts all day, pat a small amount of concealer and then setting powder onto lips to lock in the steps to follow.
-
Using a precision blending brush, lightly tap into a cream bronzer, then press it onto the back of your hand to sheer out any excess. Gently shade around the perimeter of the lips, building the signature halo effect. Look closely and you’ll notice a faint white line framing the lips (what makeup artist Katie Jane Hughes refers to as the “halo”, or volume area). This is where you want to concentrate the product to subtly enhance fullness and dimension. Finish with a light dusting of powder to soften and eliminate excess shine.
-
Using a brown-toned lip liner, softly define the center of your bottom lip line to enhance fullness. Next, shape the cupid’s bow on the upper lip, lightly feathering the liner down the sides. Diffuse the edges with a blending brush, then return with the pencil to concentrate a bit more pigment at the center of the upper and lower lip line. Remember to stay on the lip line itself, not the lips. This targeted placement is key to creating a naturally pouty, sculpted effect. And just keep blending!
-
For our take on the look, we recommend a warm, toasted brown lipstick in either a satin or matte finish. Apply with a light hand, focusing mainly on the center of the lips and avoiding the halo effect you’ve already created. Using your brush, softly blend the lipstick into the lip edges, merging everything seamlessly. The key here is a diffused, gentle blend rather than sharp definition.
-
Optional: Using the pad of your ring finger, gently tap a hint of highlighter onto the cupid’s bow for a subtle, light-catching finish.