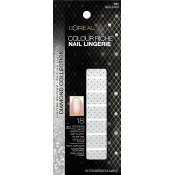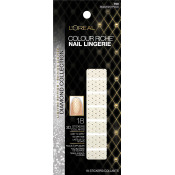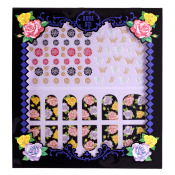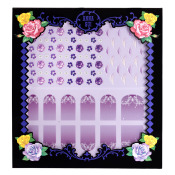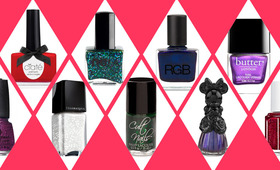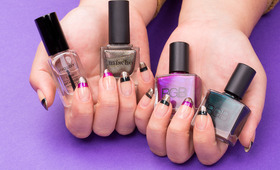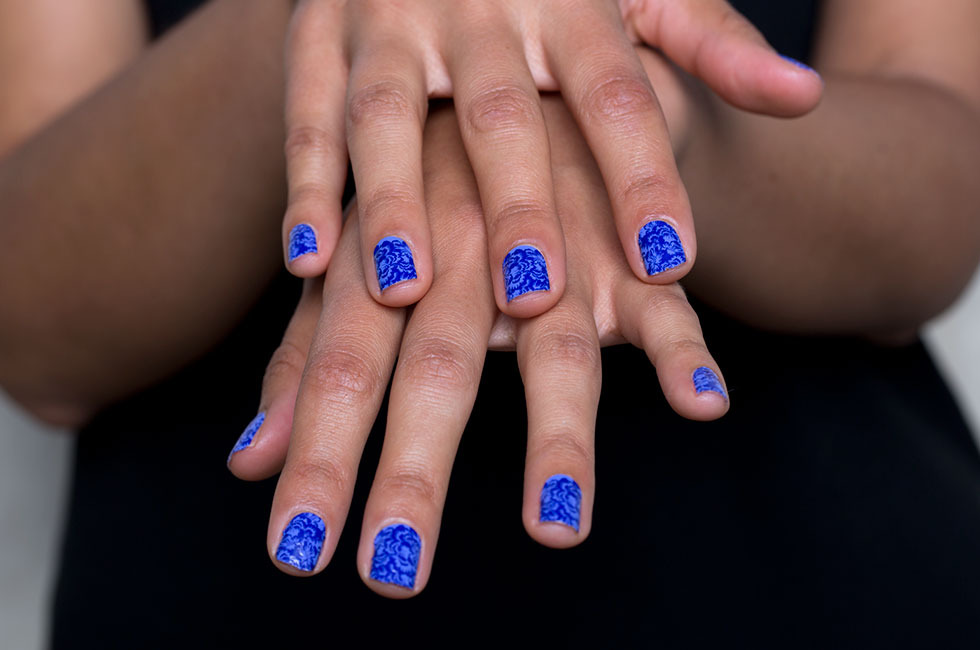
For beauty skeptics, stick-on nail decals—the kind that cover your full nail bed—seem right up there with at-home eyebrow waxing kits. The whole process seems easy enough at first glance, but once you start thinking about it, it's even easier to talk yourself out of trying it. I’d stared at great designs on store shelves for months (including this floral set from Anna Sui in our boutique!) but wondered about the ins and outs of application. How do you fit them? How do you prep your nails? Do they last, or will they just peel right off?
To find out the answers and share the secrets with you, we called in a pro—celeb manicurist Michelle Saunders. Her take on stickers is simple: “They’re fun and convenient ... a way to update a manicure with no drying time!” Here are Saunders's tips for getting a perfect application, every time.
You Will Need
nail file
cuticle pusher
small scissors
set of nail stickers
Steps
1: Start with clean, dry nails. They should be completely bare of polish. Push back cuticles gently, too.
2: Most nail stickers on the market are pre-cut to match common nail shapes, but it’s always good to have small scissors handy just in case any decal is too large or slightly off shape. Often sets come with more than 10 stickers per set, so you should find one that fits each nail pretty well (and have extras in case you botch or tear one!)
3: For a perfect match, before you remove the backing, pre-measure the nail sticker on top of your nail. Saunders's hint for fitting to your nail beds? “Go larger if you’re in doubt, because you can always trim excess.” If necessary, pre-trim a decal before you stick it on—once it’s applied, it’ll be more difficult to get a clean cut.
4: Press on your nail sticker close to the cuticle and smooth it out toward the end.
5: After applying, there will be a "flap" of sticker at the tip of your nail. Use your file downward along tip of nail to remove the extra, taking care not to file on top of sticker! If you accidentally file too much you'll see your nail showing through at the tip. But don't take sticker off, just yet! For an easy fix, says Saunders, just add a little polish in a shade that matches sticker, right along the edge as needed.
6: The final trick to keeping stickers put is to "iron" them! Push and pull your thumb down onto each nail, from cuticle to tip. The heat generated from the "ironing" effect will help them last longer! And, “You don't need a top coat or gel over the sticker!” says Saunders.
7: Depending on the directions listed on the your stickers, you'll either peel them off or remove with regular polish remover.
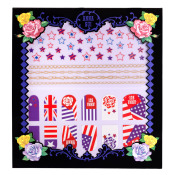
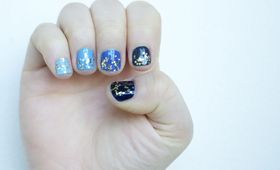
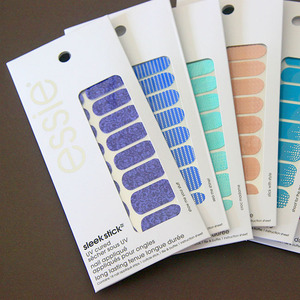
Voilà! I tried out this purple patterned applique set from Essie, and the entire application process took me about 15 minutes. (Next time, I imagine it’ll go even quicker!) My mani lasted two solid weeks before chips started to show. When it was finally time, I peeled off the decals in about two minutes, so removing them is just as easy as putting them on. I'm sold!
Which nail decals have you tried, and which do you love? Tell us below!