

Nail Art Doesn’t Have to Be Difficult! 3 Super-Simple Manis to Try Now
Published Mar 12, 2014

Everywhere I go, I see people with cool nails. Nails that have tiny roses painted on them, nails with polka dots, nails with tiger stripes and, in one memorable case, The Simpsons characters.
Inspired, I then I go home and try to do my own nail art. And the results are hilariously terrible. Even when I buy polish with superfine “nail art” brushes and follow tutorials online, it never quite works out. I’ll smear the tiny polka dots. I’ll try to carefully pull on boots before the paint dries, and smudge my precious handiwork. I’ll make a squiggle I didn’t mean to make and then howl, “They’re ruined!!!” and decide I hate nail art and vow to never do it again as I take all the polish off in a huff.
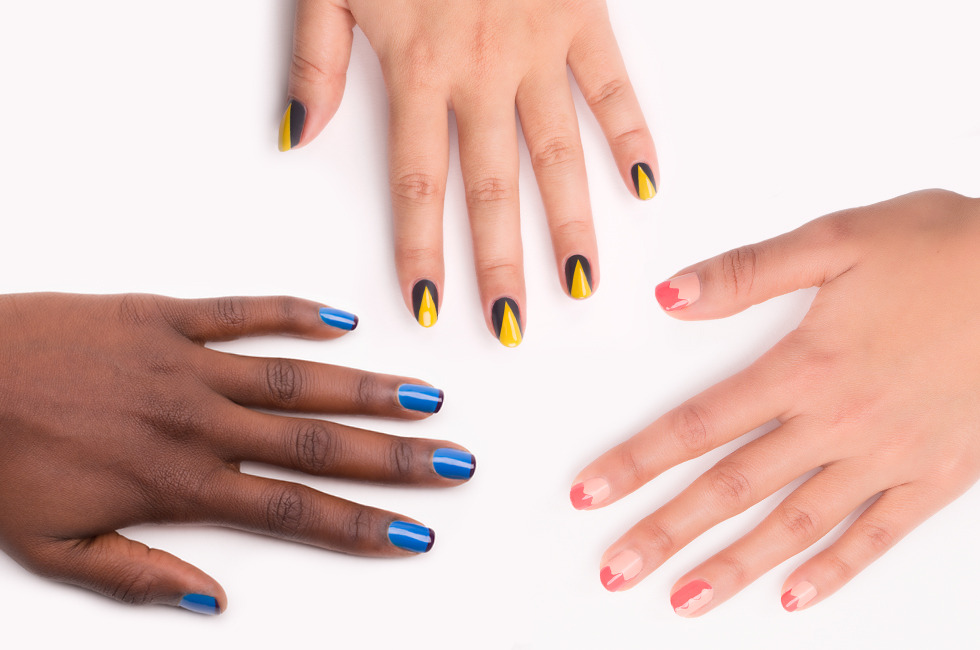
Are you, too, plagued by the feeling that life would be more fun and way more seasonally appropriate if only you could master the artful DIY manicure? Then tape manis are for you. As in, designs you make using plain ol’ Scotch tape. You paint on a base color and let it dry, then apply tape in different configurations, and paint with another color, which will then show up only where the tape is not. Then you peel it off the tape and boom! Crisp, professional-looking lines! Little crosses, triangles, chevrons—it’s all possible. People will say: “Omg did you do that yourself?”
You will need
- tape (any kind of clear plastic tape works, I used Scotch)
- scissors
- multiple nail polish colors
- pinking shears (crafting scissors that cut geometric jagged edges, an optional tool for Level 3)
Tape mani tips
Before you start, we want to throw out a few general tips for doing tape manis.
Allot drying time! Let the base color dry completely, not just “almost,” before moving on to the tape step. Or the tape will end up peeling off the base. If you can let it dry at least an hour before moving on, that’s best. You can also do your base coat one day, and your accent work the next.
Paint and peel quickly. Peel off tape immediately after painting your accent color over it. We found that if we let the accent color dry on the tape before removing it, it might break when you go to peel it off, or leave an imprint that fogs up your base.
Customize. Each how-to below explains the steps for doing a single nail. You can, of course, repeat the designs on every nail, or just do an accent nail or two, or invert or switch up your shades from nail to nail.
Add base and top. As always, we recommend a good base coat and top coat to make your mani last as long as possible.
Level 1: The French Cheat
Alors, voici mes ongles. That is French for “Okay, here are my nails,” and that is exactly what le very stylish people with this fake French would say if they could speak after seeing how easy this is.
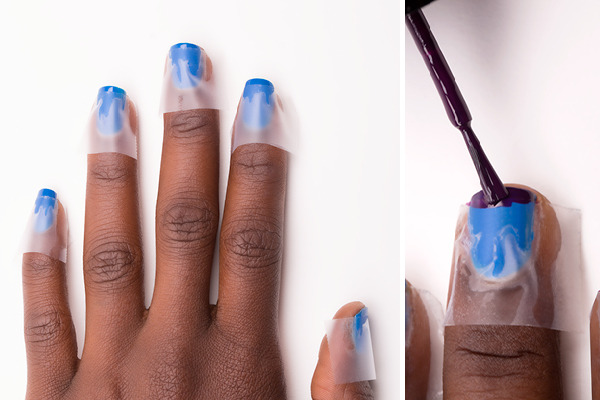
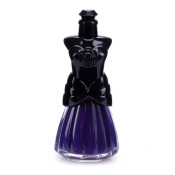
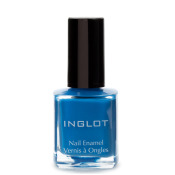
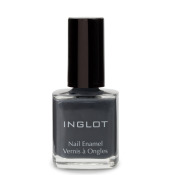
This one is so simple, we don’t even need to break it into steps. Apply your base coat (electric blue, perhaps?). Let dry completely. Then rip off a small piece of tape and completely cover your whole nail, except for a thin line at the top. Paint the uncovered part a different shocking shade, or white, or black. Then peel off the tape slowly and carefully. Magnifique! Why you so fancy?

base: Inglot Nail Enamel in 991 | tips: Anna Sui Nail Color in N212
Level 2: The Searchlight
A bold streak of color extending up from the base of the nail, like a searchlight flashing into the night. Dramatique. Chic. Really freakin’ easy.

Step 1: Paint your base color (we used grey here). Allow to dry completely.
Step 2: Rip off two small pieces of tape, each about the length of your top pinky knuckle. With these, we’ll form a “V” shape on the nail. Apply one side of the tape at an angle—the bottom of the tape should start at the very center of the base of the nail and extend out. Do the other side to mirror that, angling out in the other direction. Make certain you’ve pressed the tape down everywhere. Now you have tape covering all of your base color except a “V” in the center.
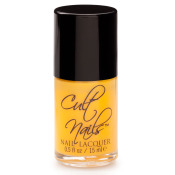
Step 3: Paint over the V. Here, we used yellow, to give the effect of flashlight beams poking through grey fog.
Step 4: Peel off the tape slowly and voila! Crisp, clean lines.

base: Inglot Cosmetics Nail Enamel in 363 | accent: Cult Nails Nail Lacquer in Feel Me Up
Level 3: Alligator Teeth
Like the jaws of destiny. Welcome to your new favorite, retro-looking going-out mani! Les dents de crocodiles looks complicated when it’s all said and done, but it’s so easy to do, you might cry tears of joy.

Step 1: Paint your base color. Let it dry completely.
Step 2: Rip off a piece of tape. If you have pinking shears, cut lengthwise up the side of the tape to leave little teeth in the tape. Alternately, you can use regular scissors to cut tiny triangles into the side of a strip of tape. It doesn’t have to be perfectly even—variation will just make your mani come out more avant-garde. Apply tape to the nail, making sure to press down everywhere.
Step 3: Paint over with a different, contrasting color.
Step 4: Pull the tape off slowly, and spend the next several hours admiring your nails. Make sure to reserve more time throughout your day to field compliments, because seriously, you are soooo good at nail art.

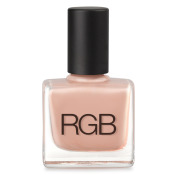
base: RGB Nail Polish in Punch | accent: Anna Sui Nail Color in N325
Good Molecules: See a difference in your skin


Featured Products

You Might Also Like
-
Tips & Tricks
DIY Beauty: Make Your Own Lip Balm
-

Mascara
Make the Most out of Your Mascara Wand
-
Foundations
Fiona Stiles on Foundation Part 2: Full Coverage, Matte and HD
-

Makeup Removers
DIY Beauty: Makeup Removers
-

DIY
DIY Body Oils
-
Nail Effects
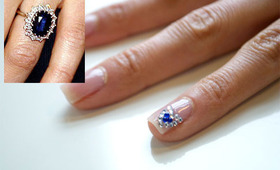
Royal Wedding Ring Nail Art Tutorial
-
Tutorials
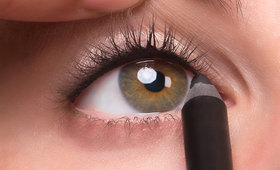
How to Tightline Eyes
-
Nails
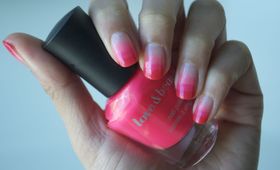
Ombré Nail Tutorial