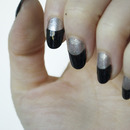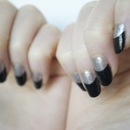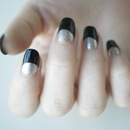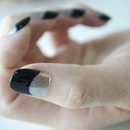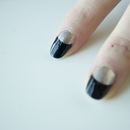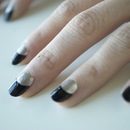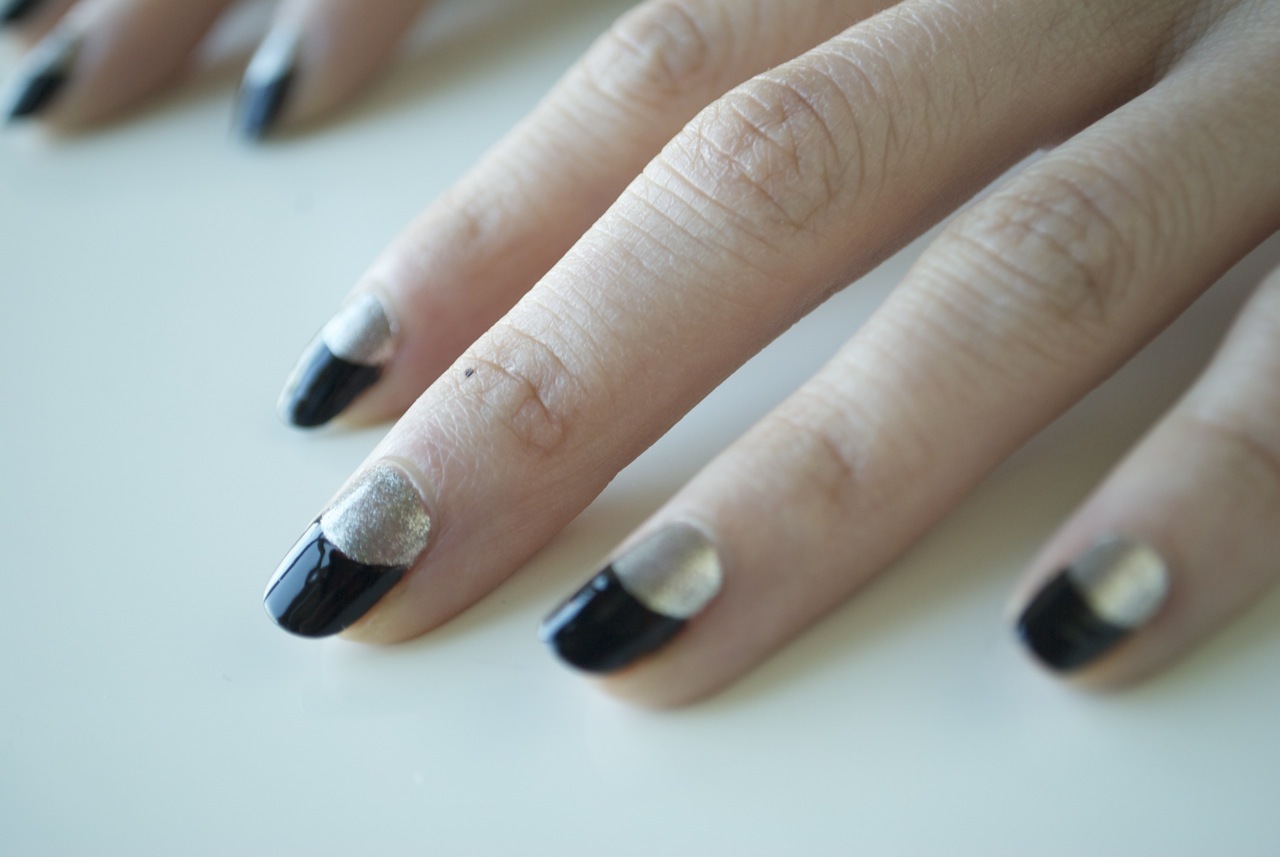
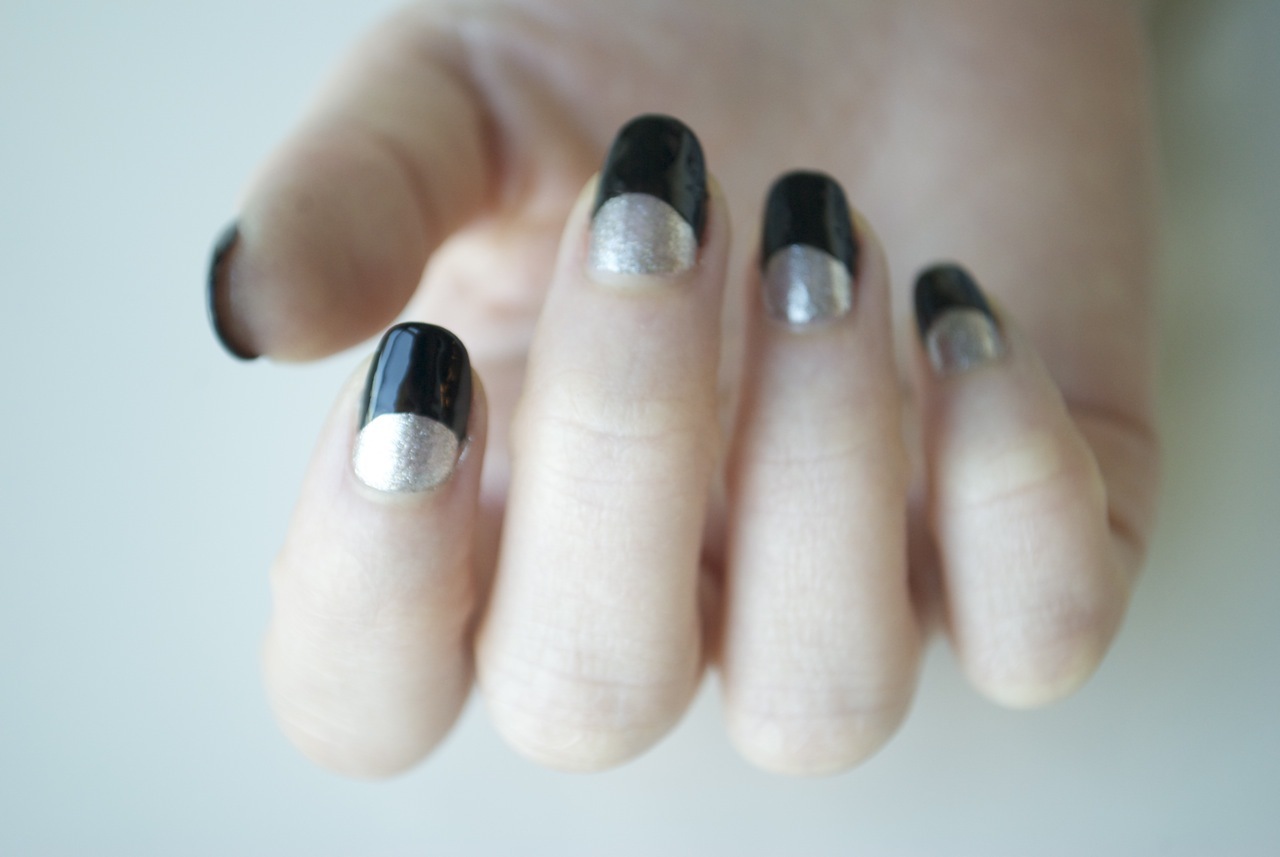
 The retro half-moon is modern again! We love the simple yet chic statement of two-toned nails, and we’ve crafted an easy how-to so you can try it yourself.
What You’ll Need:
- Favorite Base Coat
- Favorite Top Coat
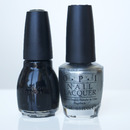
- Sinful Colors Professional Nail Color in Black On Black 2
- OPI Nail Lacquer in Your Royal Shine-ness
Step 1
BASE COAT
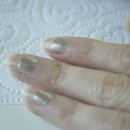
In broad, even strokes, apply a thin layer of your favorite base coat.
Step 2
POLISH HALF
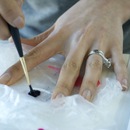
Apply two coats of the lighter polish to the bottom half of your nails (since the other polish shade will cover the upper half of the nail). Be sure your nails are completely dry before you move to the next step.
Step 3
PAINT THE CRESCENT
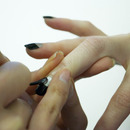
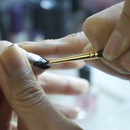
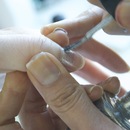
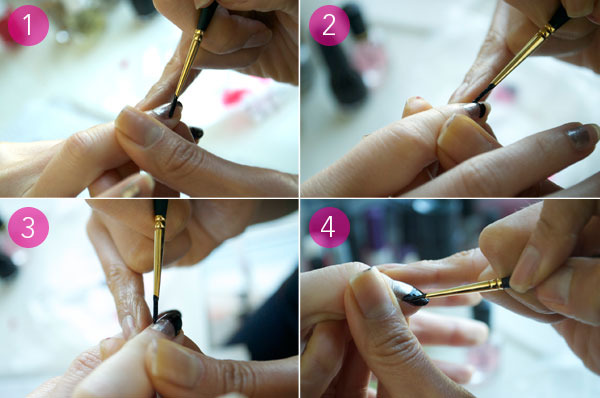
Grab a thin brush from the arts and crafts store (we’re using a Princeton Art and Brush Co. Round 3050R size 0 brush), and paint a line with your black lacquer that mimics the shape of your natural lunula (the white area at the base of the fingernail) or the shape of your nail bed. After painting the initial line, fill in the rest of the nail. Apply a second coat with the nail polish brush. If you have issues hand drawing an even line, use a French manicure nail guide or a hole punch sticker as a stencil for that perfect crescent shape.
Step 4
TOP COAT
Allow 15 to 20 minutes of drying time before you apply top coat so your colors don’t bleed. When your tips are dry to the touch, seal the deal with a top coat.

Good Molecules: See a difference in your skin

You Might Also Like
-

Makeup
Fast Fix Makeup Tricks
-

Nails
Cocktail Ring and Manicure Combinations
-
Nail Polish
Cupcake Nails!
-

Nails
Vivienne Westwood Beauty, Paris Fashion Week S/S 2012
-

Makeup Tutorials
How-To: Leopard-Print Eyes
-

Nail Polish
With Colors Like BritBrit2000, How Could We Not Love Floss Gloss Polish!
-

Nail Polish
Something Blue: A Manicure for the Modern Bride
-

Nail Polish
Down on the Farm!