


We're always looking for ways to organize our ever-expanding beauty collections. Nothing is more annoying than going into the bathroom to get ready only to find that the one thing you’re looking for is nowhere in sight. Sure, standard store-bought organizers can help, but what’s the fun in that? Upcycling old mason jars (or pickle jars, or spaghetti sauce jars...) is a popular solution for a reason. They're perfect for stowing brushes, pencils, lip glosses, cotton pads, or basically anything you can think of in a neat, accessible way. What we really love is making plain jars our own with simple embellishments. Remember, these are just a few ideas—there are endless possibilities. You can make jars in different sizes coordinate, or create a hodgepodge of mismatched vessels spruced up with different techniques. Just take inspiration and do whatever speaks to you!
Photographic

Materials:
jar (washed and dried)
a photo of your favorite person, animal (or anything!) on regular printer paper
scissors
Mod Podge (a water-based sealer glue and finish)
sponge applicator
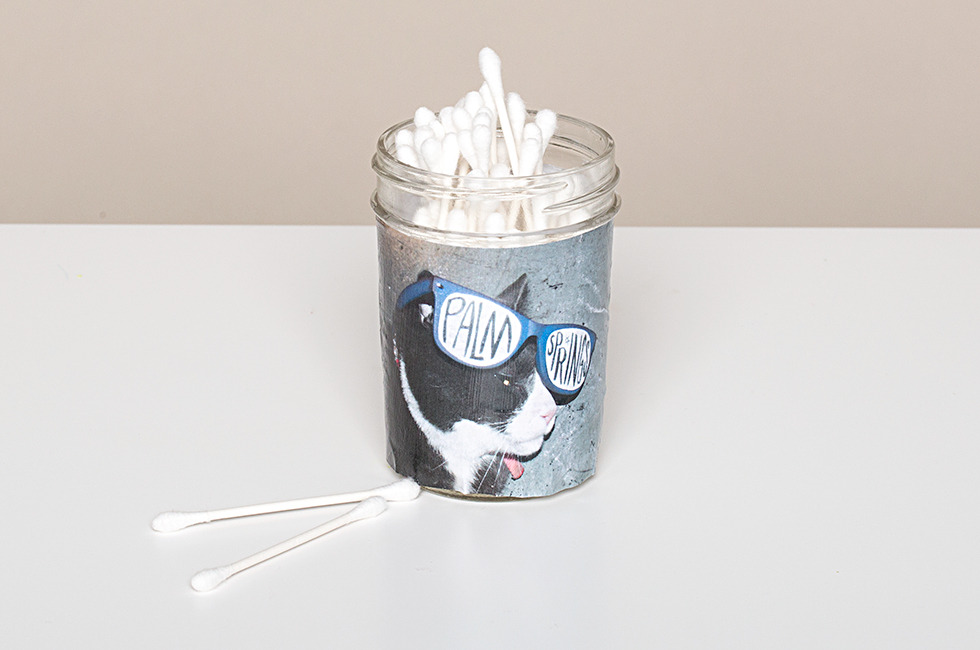
Pick one of your favorite photos, upload it to a computer, and print it out on regular white printer paper. Place the image over the jar and wrap it around to size it; and lightly mark the areas to cut. The height should be about a quarter inch shorter than the height of the jar to keep the paper from warping. Trim your photo to your liking. Put some Mod Podge on your sponge and evenly apply to the jar, all the way around. Carefully place the cut-out image, smoothing it onto the jar, wrapping around (it helps to start from the center of the image). If you see any bubbles form, try to readjust the image and iron out with your fingers. Apply another coat of Mod Podge over the picture to seal and let it dry. Here we used a single image to cover the whole jar; you can collage several together, all the way around, for a different effect.
Color-Dipped

Materials:
jar (washed and dried)
Plasti Dip (a multipurpose synthetic rubber coating, available at hardware stores or online, in multiple colors)
bowl
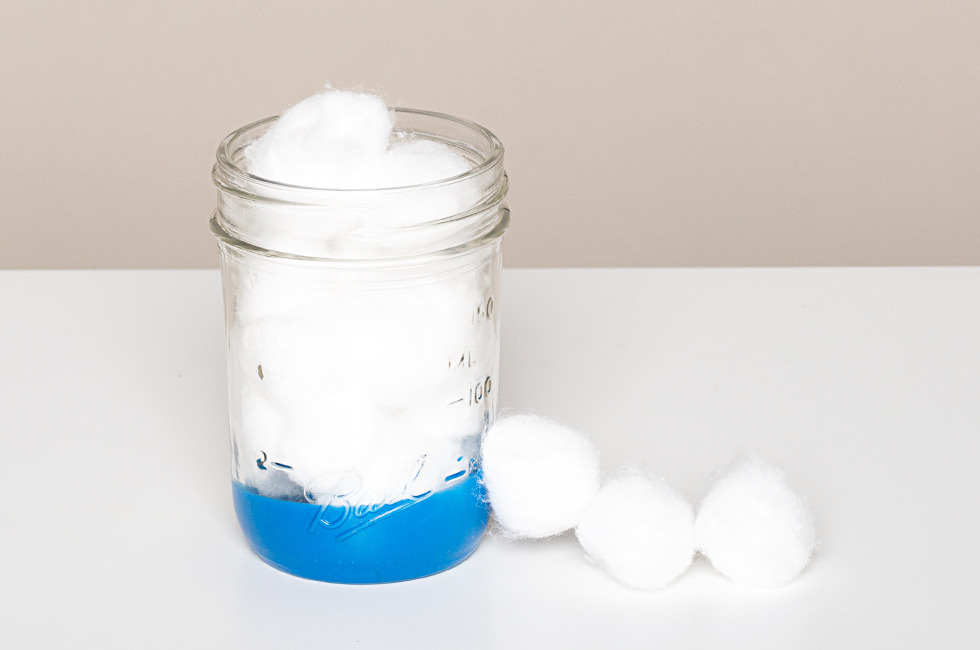
Pour some Plasti Dip into the bowl. Follow the instructions that are included with the product to mix your color. Once you get your desired shade, dip the jar at an angle into the bowl of product, pull out, and let it dry. The idea is to get an organic shape for a drip effect—we dipped just to cover the bottom third of the jar in vibrant blue. You can also layer multiple colors; just be sure each layer is dry before you move on to the next.
Lace-covered With Moss

Materials:
jar (washed and dried)
length of lace (store-bought or cut from an old garment)
Mod Podge
scissors
preserved reindeer moss (available in craft stores; we used Super Moss Preserved Reindeer Moss in Chartreuse)
sponge applicator
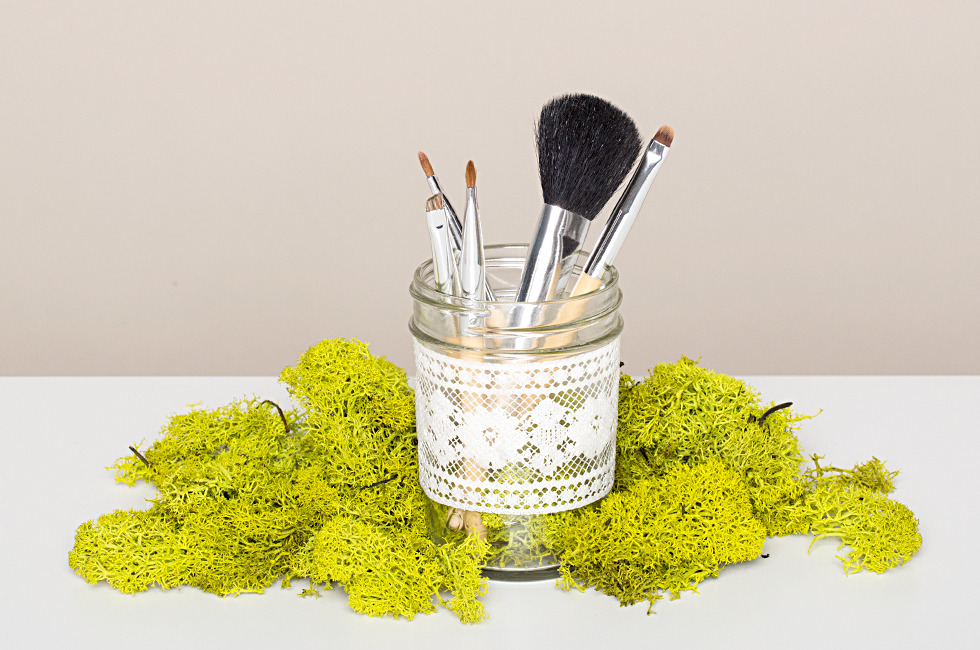
Start with measuring your lace to cut. Wrap the length around the jar until the ends overlap by a 1/4 to 1/2 inch. Cut to fit your jar. Then, use the sponge to apply an even layer of Mod Podge around the jar. Start from the center, wrap the lace around and spread it out as even as possible. Just be sure not to over-stretch it, as it may warp. Add a layer of Mod Podge over the lace to set it and let it dry. Place a few pieces of moss inside the jar to help hold pencils and brushes in place.
How do you store your makeup? Share your tips in the comments below!
Good Molecules: See a difference in your skin

You Might Also Like
-

Self-Tanners
Bye Bye Tan Lines
-

Liquid Foundation
Foundation Techniques for Women of Color
-
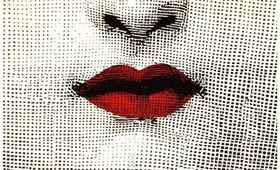
Red Lips
Beauty School: Smudge-Proof Lips
-
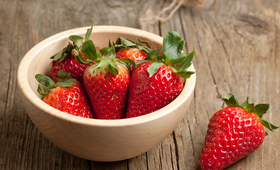
Masks
DIY Beauty: Strawberry Face Masks
-
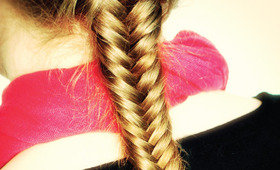
Hair
The Ultimate Fishtail Braid Tutorial
-

Hair Straightening
24-Hour Beauty
-

Wellness
DIY Sunburn Soothers
-
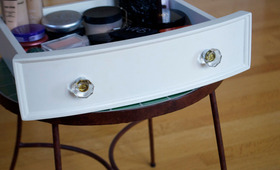
Tips & Tricks
Pretty Organized: Deep Drawers