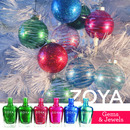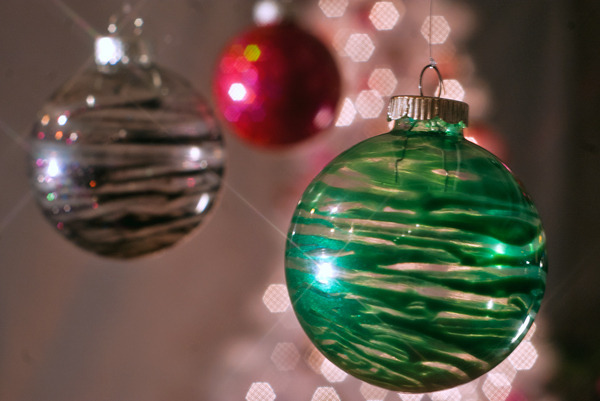
What do you get when you combine simple Christmas ornaments with the newest, prettiest winter nail colors? Stunning DIY beauty decorations! See how we created these pretty baubles for the holidays.
What You’ll Need
-
Multiple nail polishes, at least one-tenth to one-quarter of a bottle of each
-
Cotton swabs
-
Clear glass Christmas ornaments, available at your local craft store
Swirl Ornaments
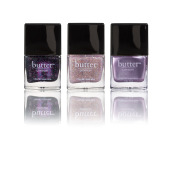
Choose a metallic nail polish texture that’s neither too thin nor too thick, then take off the metal cap of your glass ornament. Depending on the size of the glass, slowly pour in one-tenth to one-quarter of the bottle into the ball—when in doubt, start small and add more polish if necessary. Swirl the polish inside the glass with a cotton swab, spinning the ornament as you go. Bend the cotton swab’s tip to reach difficult areas such as the top of the ball. After you’ve coated the inside with polish, keep spinning the ball for three minutes until the polish is dry so drips won’t ruin your striped design. Once the polish is dry, replace the metal cap and hang the ornament on your tree for all to see.

Sparkle Ornaments
Since this technique uses approximately a quarter of a bottle of polish, choose a nail color with a thin yet opaque texture. After a lot of testing, we found that sparkling, glittering finishes give the nicest holiday effect on a tree. Pour a generous amount of polish inside the ornament, then spin and swirl the glass until the inside is completely coated. Wait 10 minutes for the varnish to dry, then pour in extra polish to cover any missed spots.
-
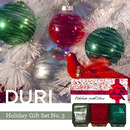
Gift Guides
- 230
-
Bath and Body
- 174
Good Molecules: See a difference in your skin
New Arrivals
-
Nudestix Nude Beach 6-Piece Eye Pencil Palette
$69
-
Danessa Myricks Beauty ColorFix 24-Hour Cream Color Matte Sundaze
$20
-
Danessa Myricks Beauty ColorFix 24-Hour Cream Color Matte Oasis
$20
-

Danessa Myricks Beauty ColorFix 24-Hour Cream Color Matte Dreamsicle
$20
-
Danessa Myricks Beauty ColorFix 24-Hour Cream Color Matte Bunny
$20
Featured Products
-
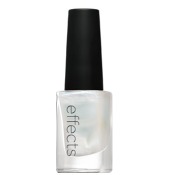
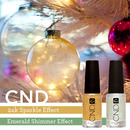
CND
Effects
/ 3
-
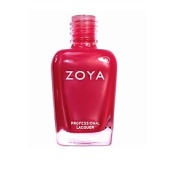
Zoya
Nail Polish
/ 50


Featured Brands
You Might Also Like
-
Trends
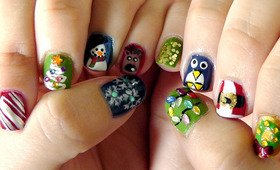
More Merry Manicures!
- 237
-
Inspiration
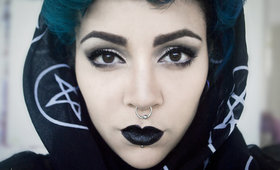
Goth vs. Halloween: The Struggle Is Real
- 337
-

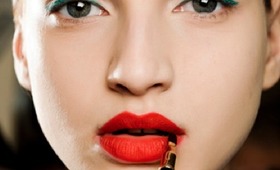
Lipstick
5 Flower-Inspired Lipstick Shades
-
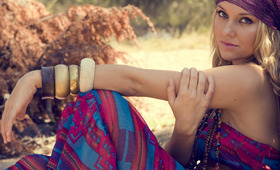
Inspiration
Bohemian Beauty Inspiration
- 182
-
Trends
3 Runway-Inspired Color Combinations To Try
- 60
-
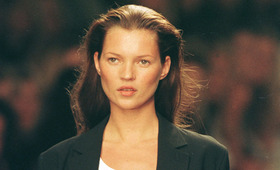
Inspiration
Beauty Icon: Kate Moss
- 167
-
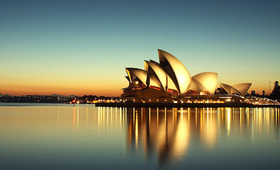
Trends
City Inspiration: Sydney
- 27
-
Trends
Hair Bow Inspiration
- 999