

Sonia G. knows a few things about makeup brushes. As the creator of her own Fude brush line and foremost expert of handcrafted makeup brushes, she wants to make sure your tools last a lifetime. Lucky for us, she’s here to show us how to keep our precious brushes as pristine as possible.
First of all, let’s be real: good, artisan-crafted brushes are not cheap. They are one-of-a-kind tools and not easy to replace. Materials and artisans change, specific brushes are sometimes discontinued, and some brushes may have considerably increased in price since we first got them.
All that said, brushes are not collectibles; they are made to be used. Let’s enjoy our brushes! But if we want them to last, we need to take good care of them.
Here’s how to clean:
STEP 1: Gently wet brush.
Use lukewarm water.
STEP 2: Brush in soap.
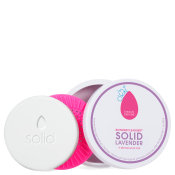
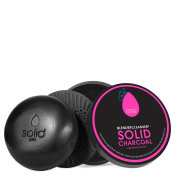
Be gentle when picking up the soap with the bristles. I like to use the beautyblender blendercleanser solid, which comes with a charcoal or lavender infused soap and a silicone cleaning pad. If you don’t have a special silicone pad, you can simply use a bar of soap and your hand. Be gentle! Avoid excessive pressure and bending the bristles—this will limit the stress at the core of the brush, where the glue is located.
STEP 3: Rinse
After the brush is clean, make sure all the soap residue is thoroughly rinsed (Rinsing can depend on the soap or the hardness of the water). It’s important to be thorough because soap residue may damage the core of the brush and interfere with the performance. Be sure to also avoid getting water in the ferrule.
STEP 4: Blot and Reshape
Gently remove excess water with a towel or a paper towel, and then gently reshape your brush. The faster the bristles will be able to dry, the better—but don’t press on the metal ferrule as it can alter its shape.
STEP 5: Dry
Don’t dry brushes in direct sunlight or with a hair dryer, just lay them flat in a well-ventilated room. Take extra care with the handles. If they are special (for example showcasing maki-e details or lacquered handles), make sure they are not on a surface that could scratch them. Avoid the temptation of playing with the bristles or pulling on them when the brush is still drying, the glue area needs to be fully dry before we put any stress on it.
STEP 6: Put them away
Store them only when they are fully dry. Humidity is extremely bad for the brushes so the faster they can dry the better. Also, make sure the brushes are completely dry before reusing them. Putting pressure on a brush that is not entirely dry could alter the stability of the glue area.
Things to Keep in Mind...
How often do I clean them?
The frequency of the wash will depend on a couple factors: how often you use them and the type of makeup products employed. For example, brushes used with creams and liquids require a more frequent washing. In between uses (if you only use the brushes on yourself) wipe them on a gentle microfiber cloth to remove excess product and bacteria. This will considerably help and reduce the frequency of a wash.
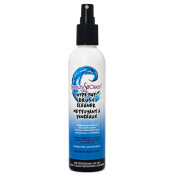
What about spot cleaning?
If you want to spot clean a brush using a cleaning or sanitizing brush spray, be aware of the material of the handle (natural wood, special lacquer, maki-e, etc). Some cleaning or sanitizing sprays can be harsh for the handles, especially with repeated use. Instead of directly spraying the bristles, it’s safer to spray a towel and then wipe the bristles on it.
Don’t clean this way!
The materials that artisans use to make a Fude are often rare or luxurious, and they can be more delicate. Handmade brushes should not be washed in spinning machines or left dipped in water. Both will drastically reduce their durability.
Join us in Sonia’s Fude Corner where brush designer Sonia G. shares expertise and knowledge about handcrafted Fude. Get tips, techniques, and advice to make the most out of your makeup brushes. Sign up here to get notified about Sonia’s newest articles.
Featured Products
Featured Brands
You Might Also Like
-
Hair
How To Do A Waterfall Braid/Cascade Braid
- 2448
-
Makeup
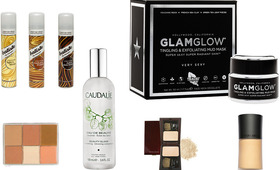
Which Products Do You Love So Much You Finish? We Ask the Experts!
- 934
-
Hair
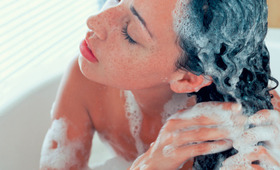
What Shampoo is Right For You?
- 266
-
DIY
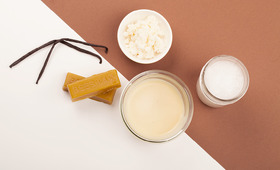
Indie Lee’s DIY Vanilla Body Cream
- 1451
-
How-to
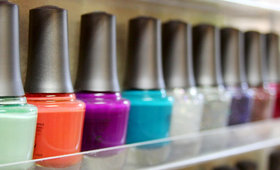
Organize Your Nail Polishes! 5 Creative Ways to Do It
- 604
-

Expert Advice
Pregnancy Beauty: The Do’s and Don’ts for Skincare, Makeup, Hair, and Nails
- 475


