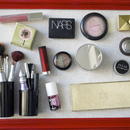
Are you sick of shuffling around your makeup drawer? When my good friend and fellow Beauty Shayna L. lamented on her jumbled beauty collection, we decided to de-clutter her cosmetic chaos and get a little crafty. After reading about blogger Laura's ingenious Makeup Magnet Board, we knew this nifty beauty organizer was the solution for Shayna's stash. This magnet board is surprisingly easy to make and really fun.
Materials:

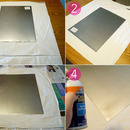
- Old Wooden Frame without glass (sorry, puppy painting not included!)
- One sheet of metal cut to frame insert size (we got ours cut at Home Depot and used 22 gauge steel)
- Gloss/Enamel Spray Paint (in any color you prefer)
- Old pill bottles (for brush containers)
- Spray glue or regular Elmer's Glue
- Magnets (available at your local craft store)
- Glue gun
- One yard of thin (not transparent) fabric
Step 1
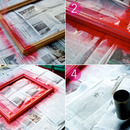
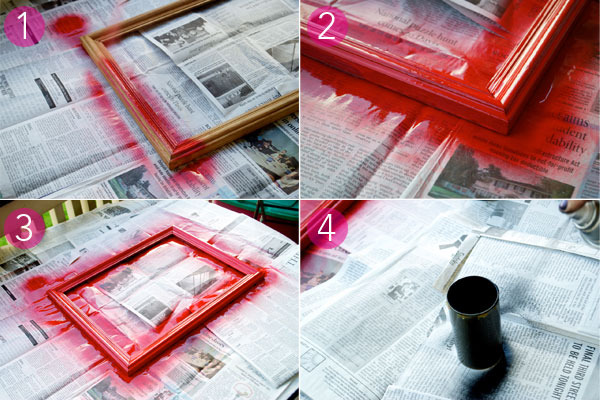
SPRAY PAINT
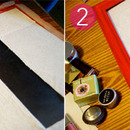
In a well-ventilated outdoor area, spray-paint an old wooden frame (we found ours for $3 at the thrift store!). Apply your first coat, wait a few minutes, then mist on the second coat for a high-shine, opaque finish. Spray paint your pill bottles with any color you wish (we chose black for a neutral and clean finish). Wait 20 minutes for these to dry completely.
Step 2
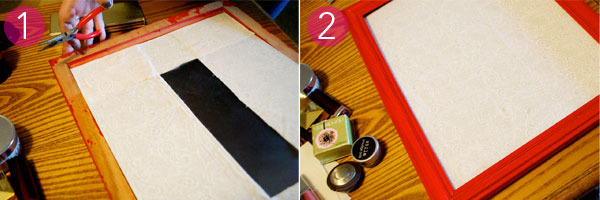
CUT AND GLUE
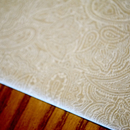
While your frame and brush holders are drying, attach your fabric to the pre-cut metal sheet. Lay out your fabric with the back facing up. Cut the excess fabric, and lightly mist a layer of spray glue on top of the metal. You can use regular school glue, but spray glue gives a more even finish on the metal. Remember to put newspaper underneath for easy clean-up.

Step 3
FOLD DABRIC
Fold your fabric on the metal lengthwise first, then fold the other edges in. Remember to pull tight on each fold for a smooth, taut, and flat finish in the front.

Step 4
ATTACH MAGNETS
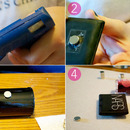
Heat up your hot glue gun. When it's ready to go, glue a dot in the center of your magnet, then immediately attach it to the center back of the makeup and containers you want on the board. We used more heavy-duty magnets to ensure the makeup would stick, but the regular refrigerator variety works just as well. For more linear items, use two magnets for an even hold.

Step 5
FIT INTO FRAME
If your frame feels completely dry to the touch, it's ready to go. Secure your fabric-covered metal into the frame. Place your makeup on the board and play around with placement. Prop the frame up and you've got yourself a fantastic way to visually organize your collection!

-
Products
- 587
-
Gift Guides
- 230
-
Bath and Body
- 174
Good Molecules: See a difference in your skin
New Arrivals
-
Nudestix Nude Beach 6-Piece Eye Pencil Palette
$69
-
Danessa Myricks Beauty ColorFix 24-Hour Cream Color Matte Sundaze
$20
-
Danessa Myricks Beauty ColorFix 24-Hour Cream Color Matte Oasis
$20
-

Danessa Myricks Beauty ColorFix 24-Hour Cream Color Matte Dreamsicle
$20
-
Danessa Myricks Beauty ColorFix 24-Hour Cream Color Matte Bunny
$20
You Might Also Like
-

Nails
Nail Art Doesn’t Have to Be Difficult! 3 Super-Simple Manis to Try Now
- 1005
-

DIY Skin Care
DIY Winter Citrus Beauty Recipes
- 1466
-

Social Experiments
I Used AHA & BHA Instead of Deodorant—and It Actually Worked
-
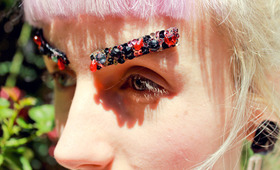
DIY Projects
How to DIY Chanel’s Bejeweled Brows
- 198
-
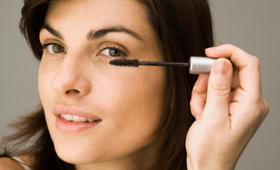
Mascara
DIY Beauty: Mascara Protector
- 318
-

DIY
This Secret Beauty Weapon Is In Your Pantry
- 1118
-

DIY Skin Care
DIY Flaky Skin Remedy
- 452
-
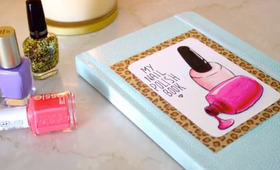
DIY
DIY Nail Polish Swatch Book With Cutepolish
- 969