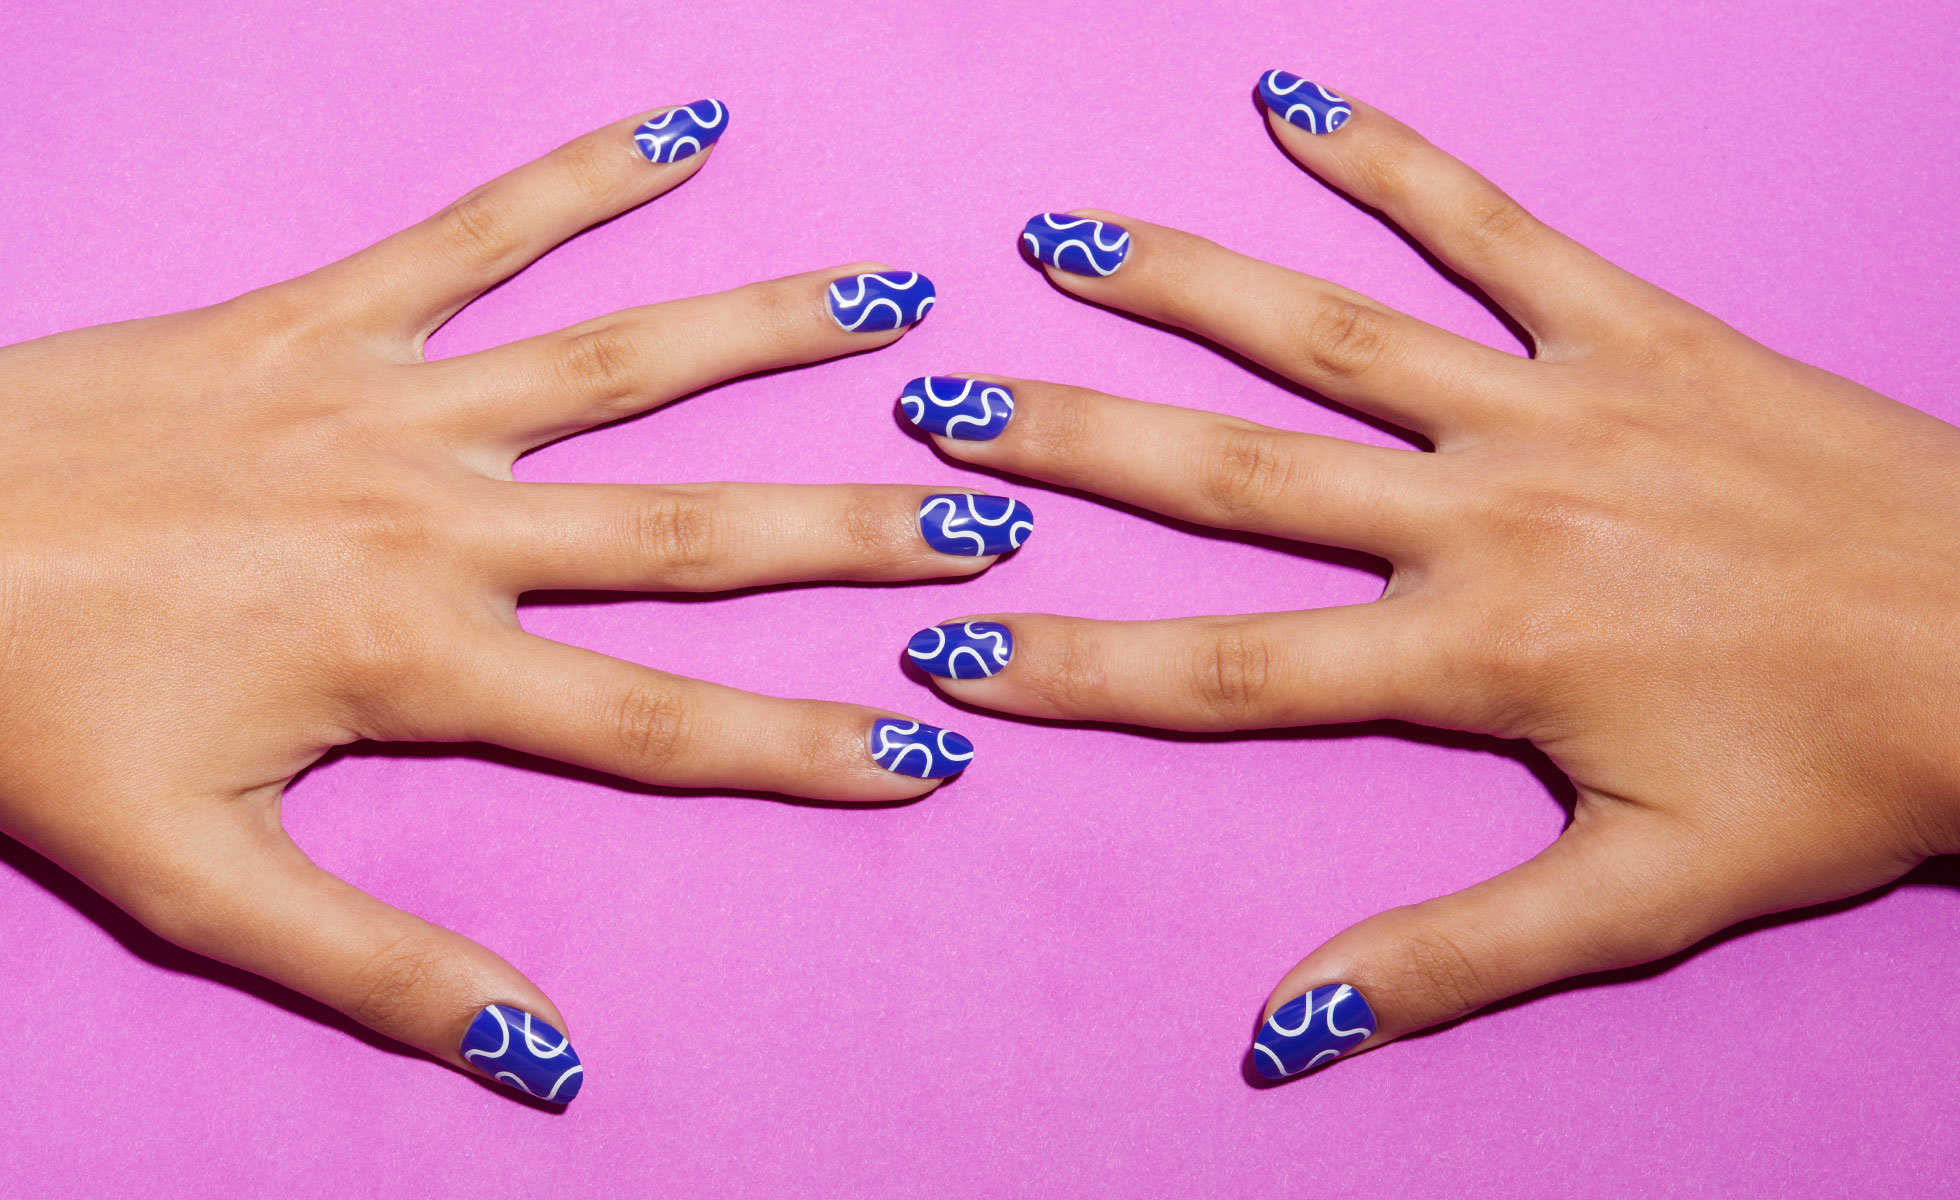
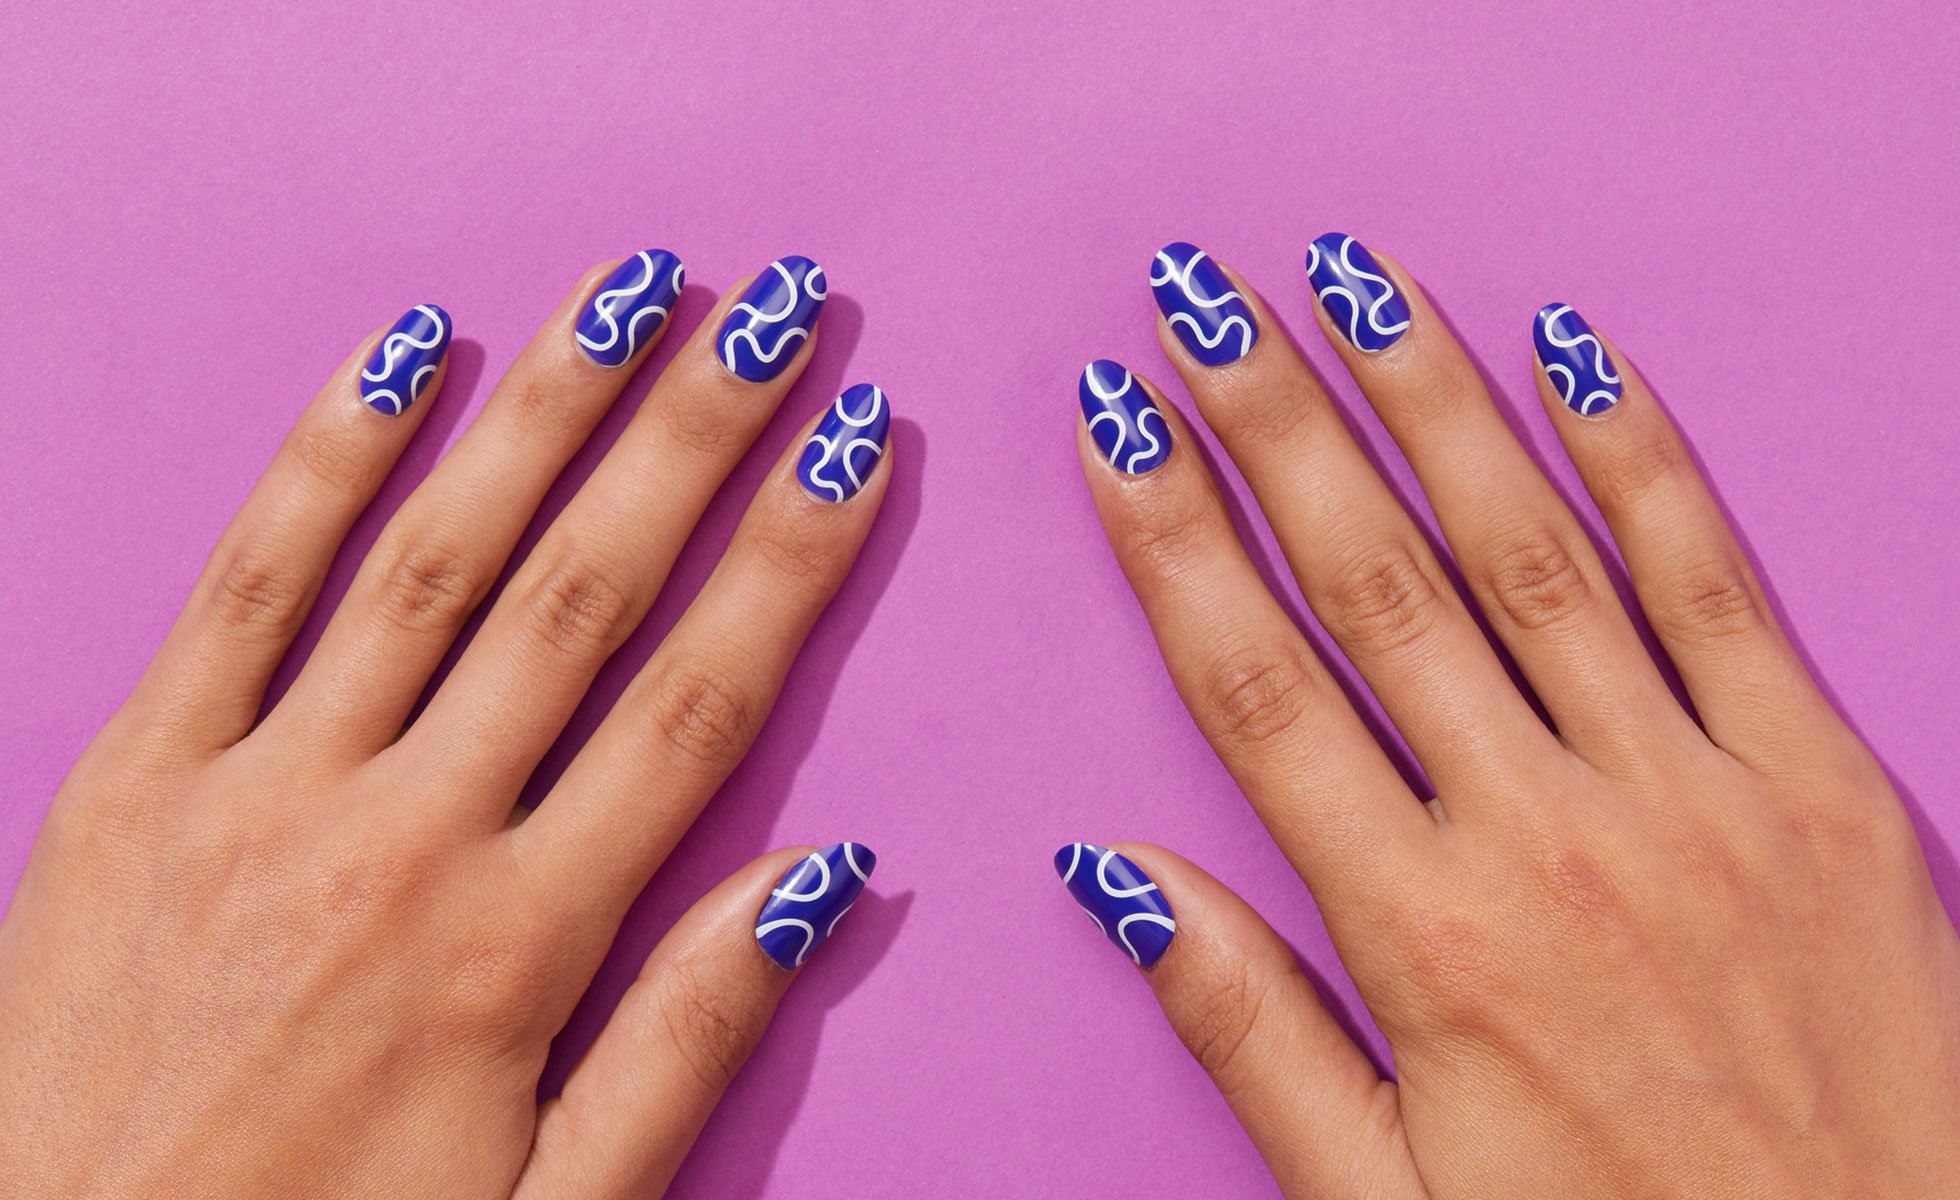
Tips and Tricks To Get the Most Out of Your Chillhouse Nails

Press-on nails have had one of the most impressive glow-ups in recent years. We’ve swapped the old unreliable drugstore stick-ons that popped off minutes after application only to leave your nails damaged for Chillhouse. Not only do their modern, artsy designs match my saved nail inspo IG folder, they’re also surprisingly sturdy and come with nontoxic glue that doesn’t ruin nails. If you’re ready to give the editor-approved tips a try, here are some tips and tricks for seamless application and removal, so you don’t make the same mistakes I did.
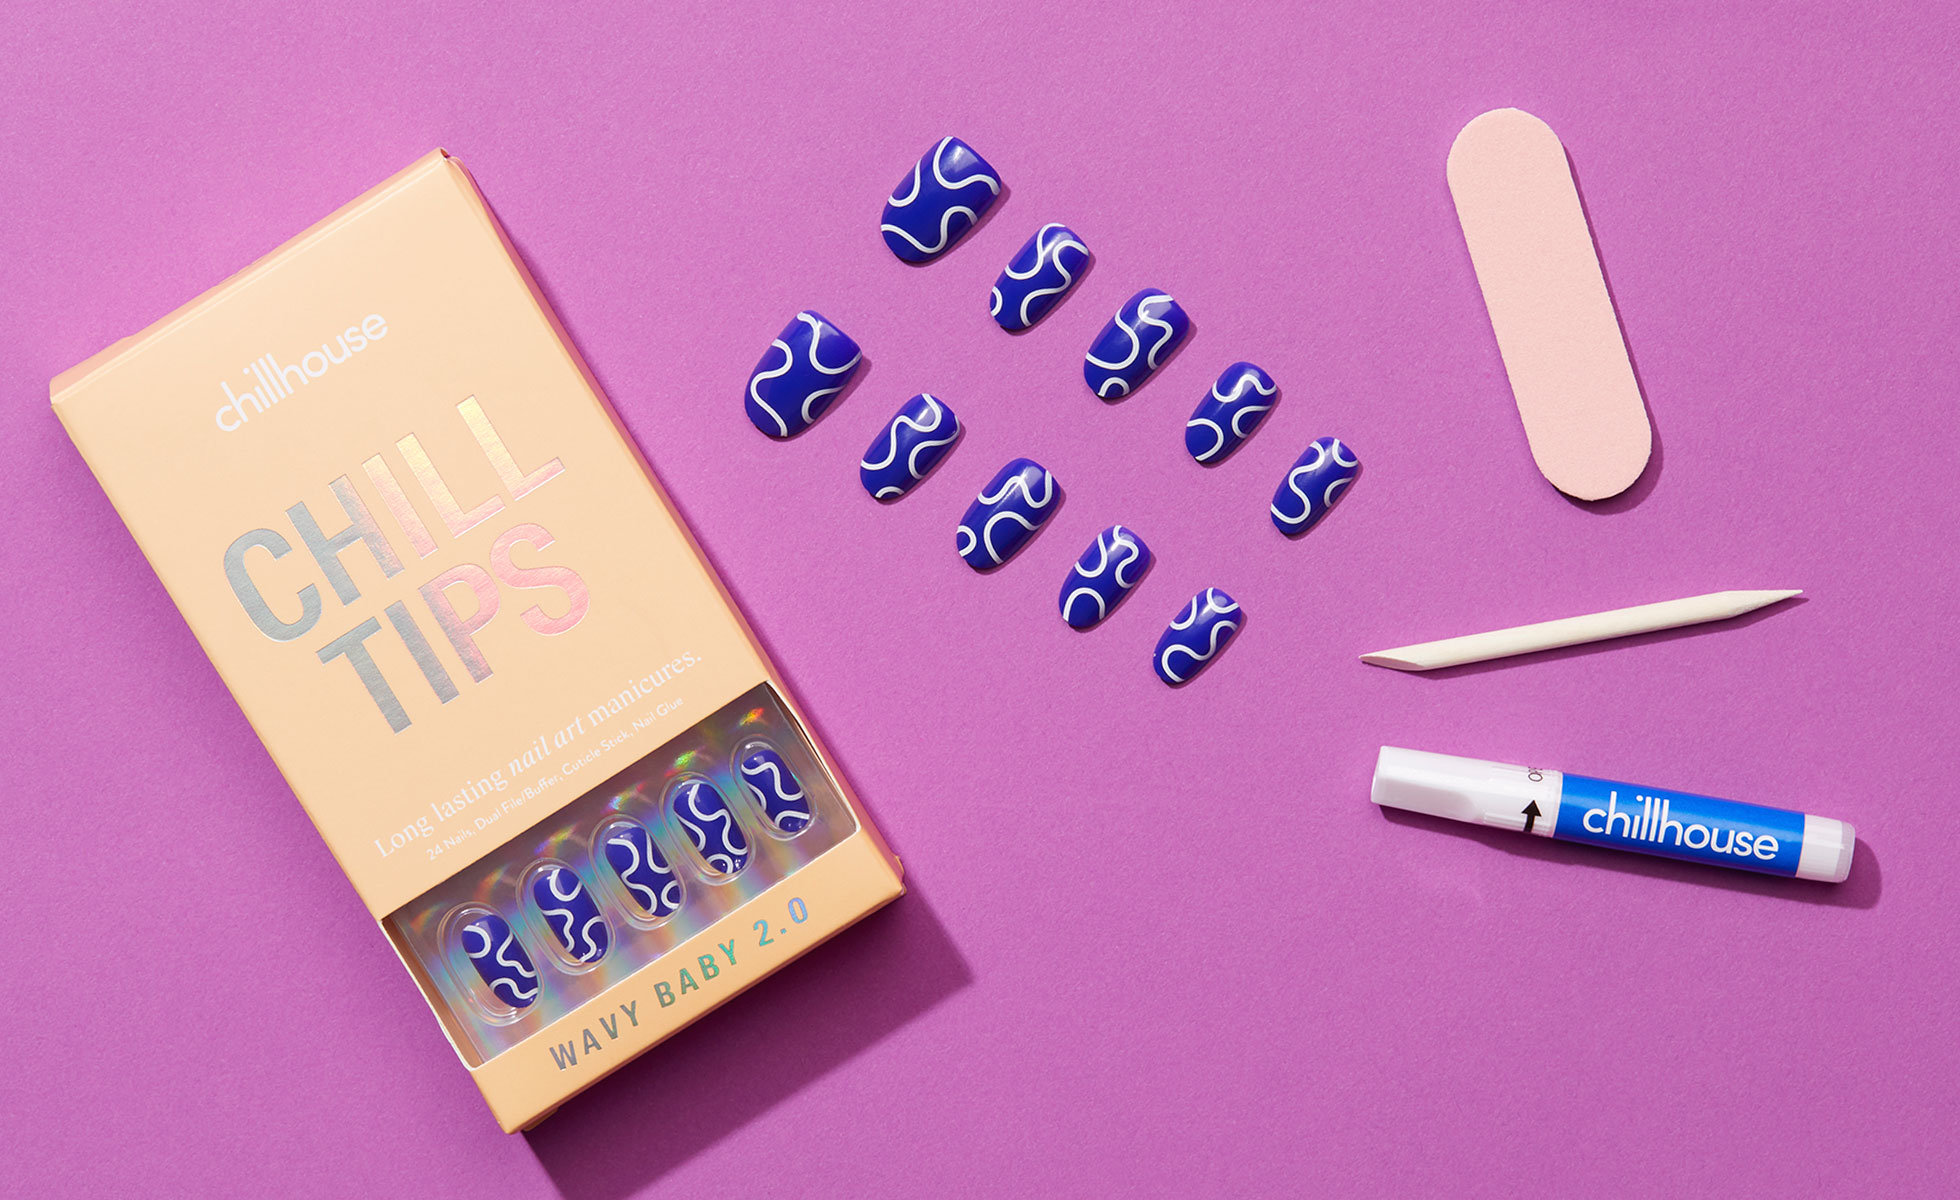
Applying Chillhouse Nails
The set comes with 24 nails—to ensure you find the perfect fit for each nail—along with non-toxic glue, a dual-sided file-buffer hybrid, and a cuticle stick. In other words, everything you’ll need for ideal application.
1. Prep
To maximize weartime, I recommend using either the included or your go-to tools to push cuticles back and buff nails to start. Don’t forget to wash your hands or apply some alcohol to make sure there’s nothing getting in the way of your nail and the tips. And for good measure, try the nails on for size and lay out the perfect fit for each finger (in order from thumb to pinky) to avoid any confusion.
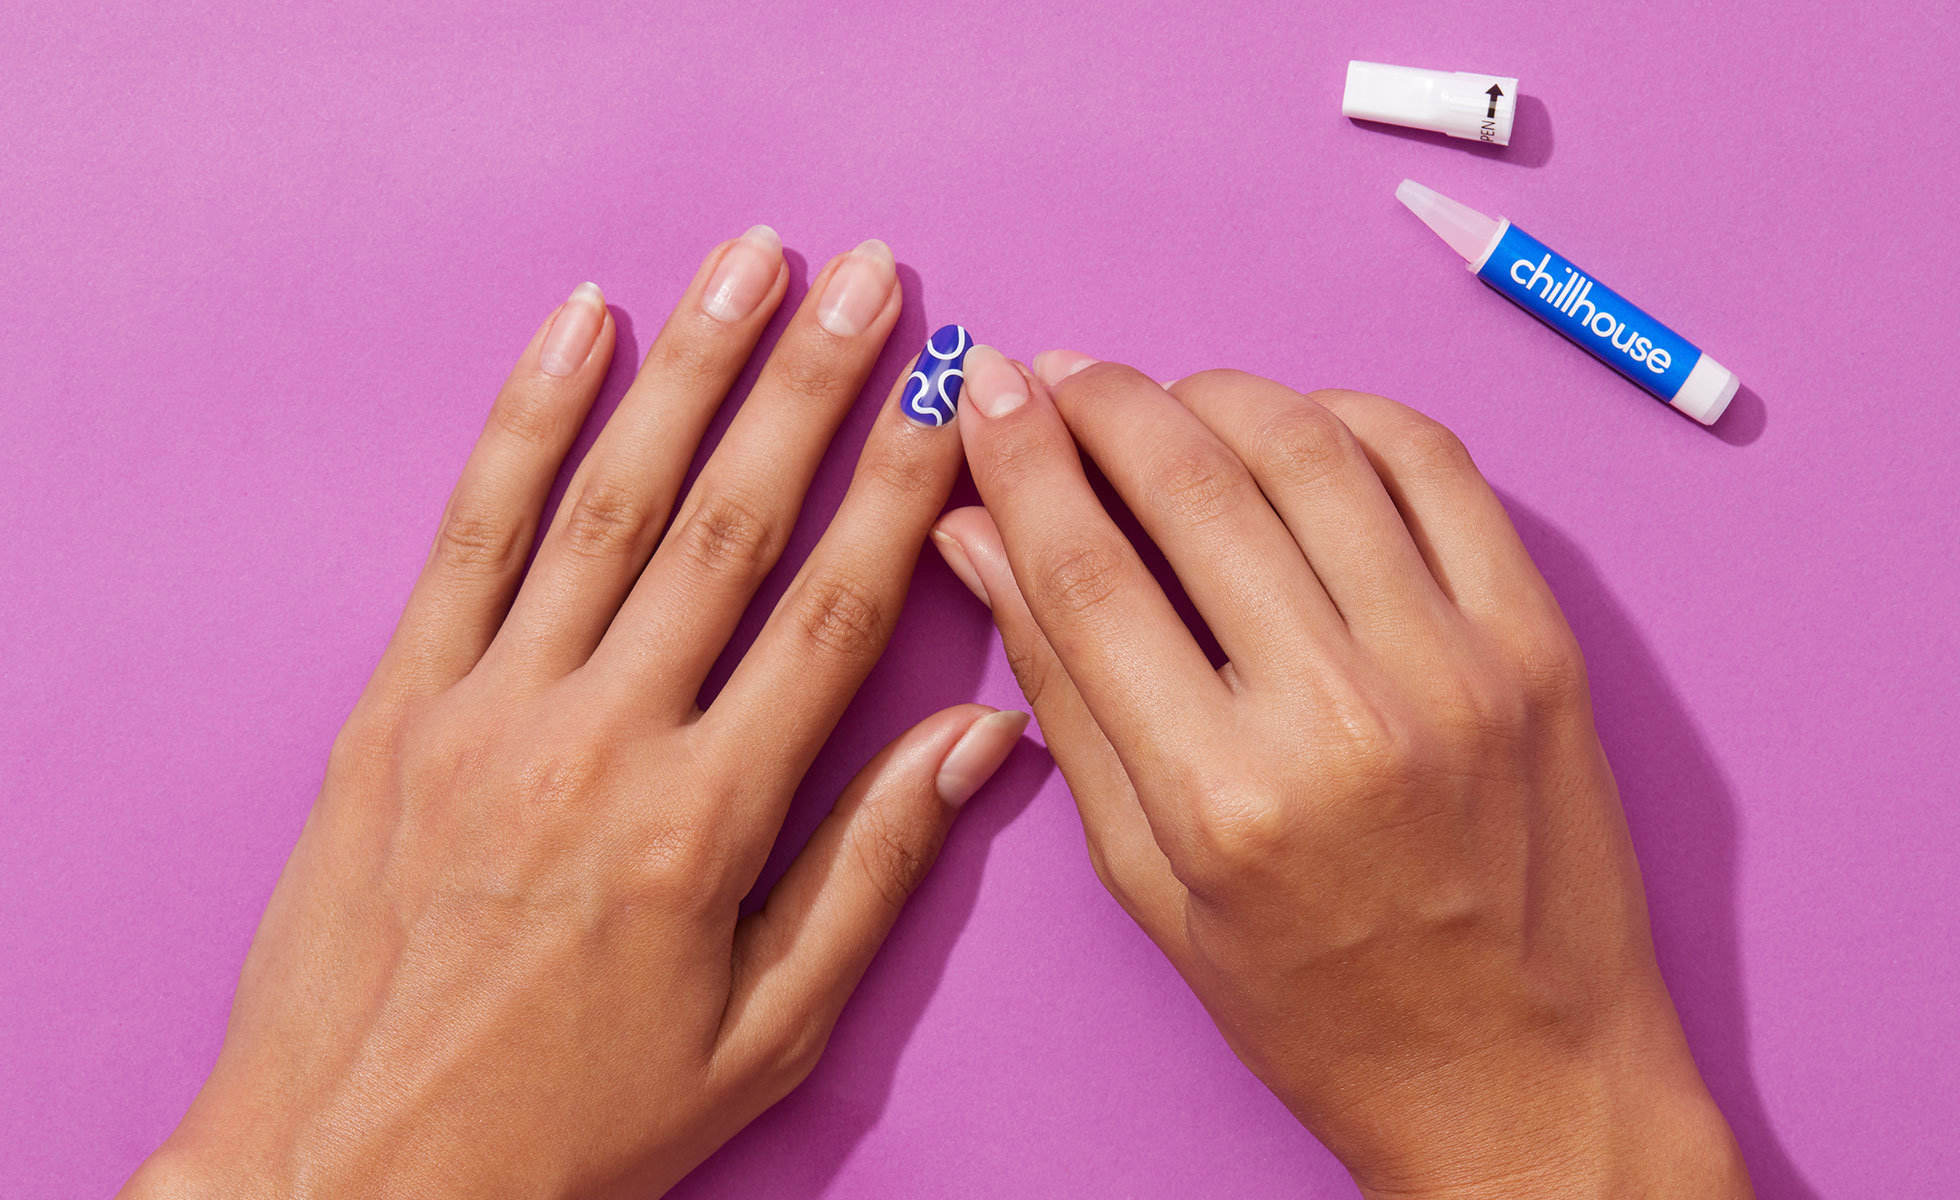
2. Apply glue
Per Chillhouse’s instructions, I applied a thin, even layer of glue to the back of the press-ons and a more generous amount to my nail, waited 3 seconds, then applied the press-ons, holding each nail down for at least 30 seconds with even pressure. The more glue you apply, the longer they’ll last.
Pro-tip: If you want the nails to last 7–10 days, I recommend making sure to apply a generous amount of glue in an even layer to your natural nail. I was a bit light-handed, and had a couple of nails pop off unexpectedly.
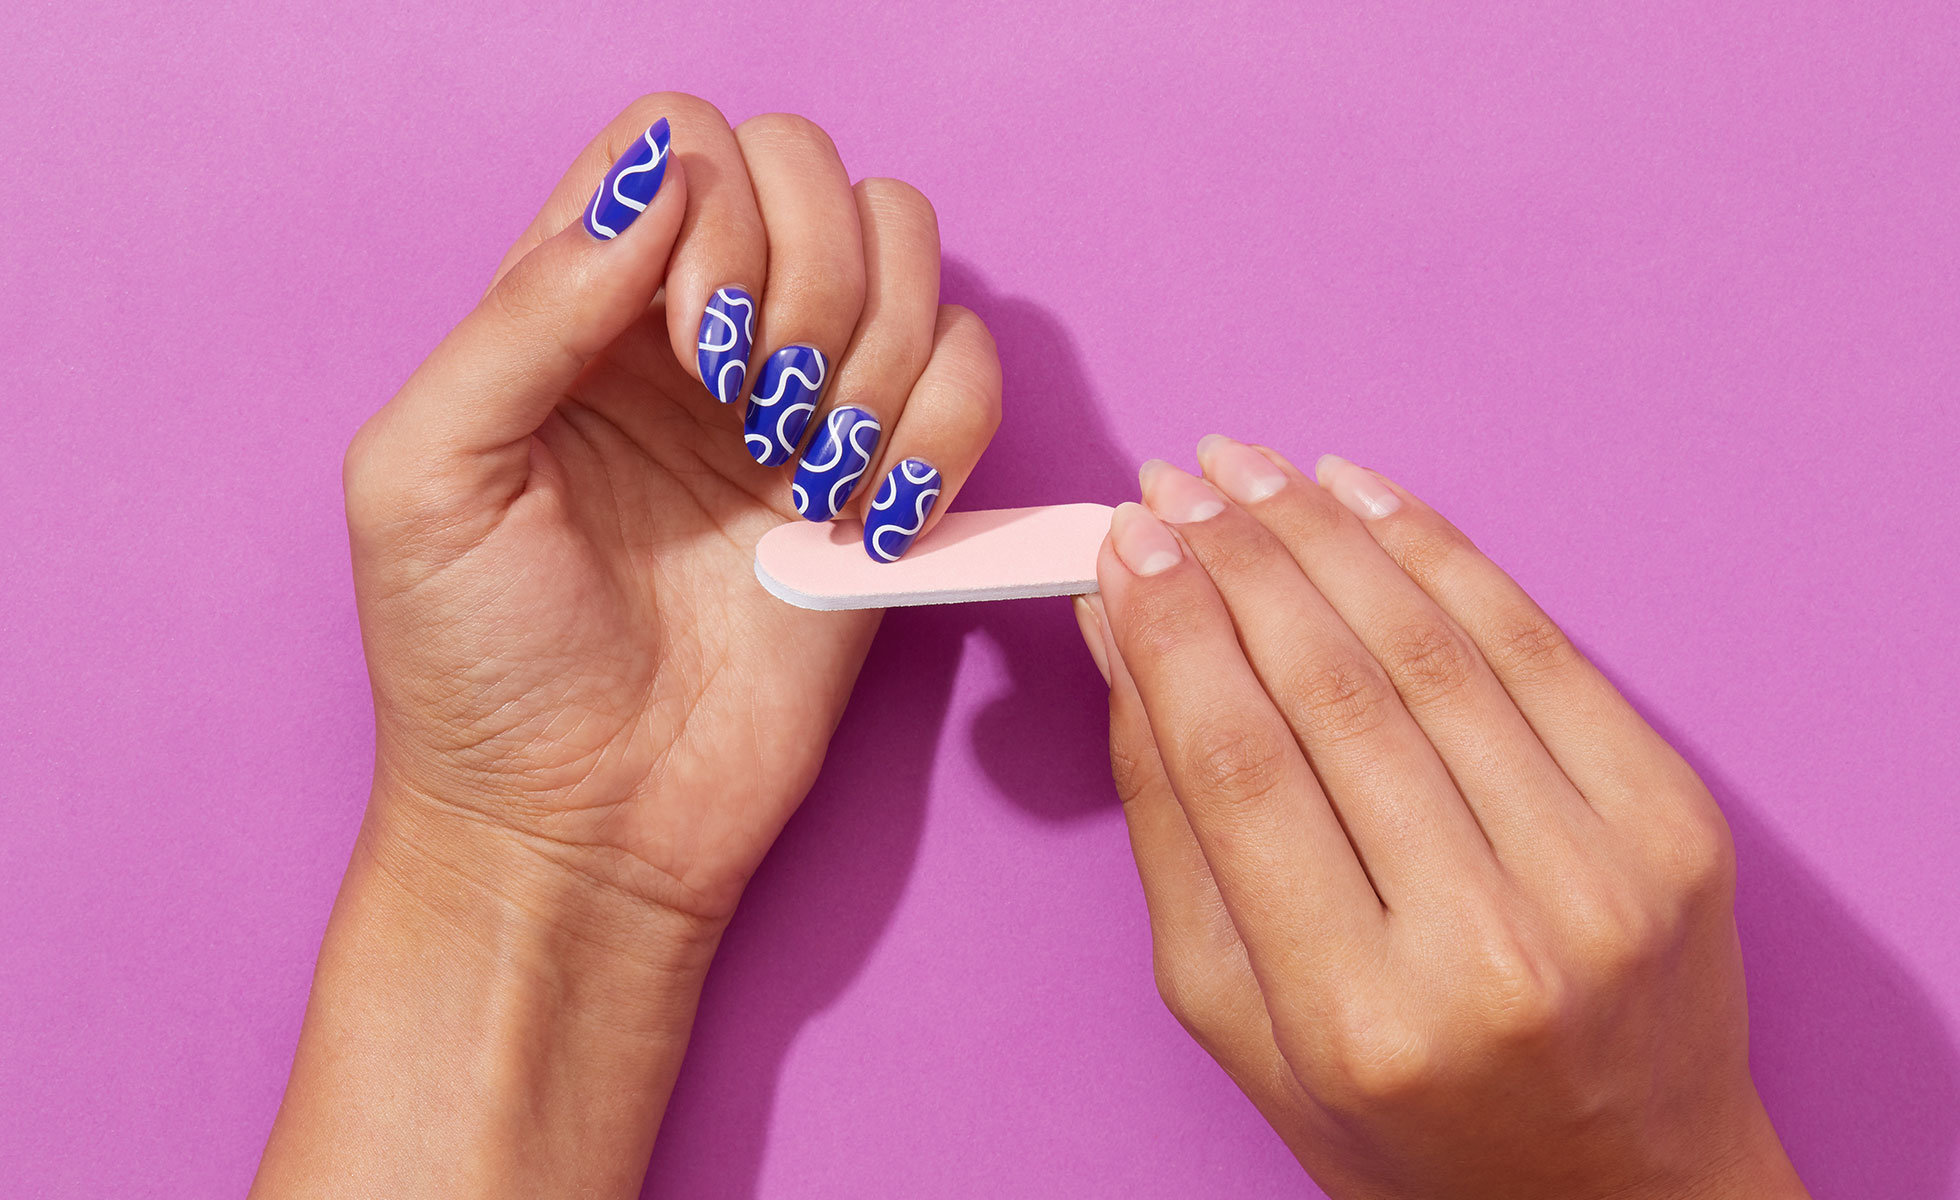
3. Customize
After applying the nails, you can file them to get your desired look. They come with an oval shape that was the perfect length for me—not too long, not too short, so I skipped this part.
4. You’re good to go!
The nail adheres within the 30 seconds—no additional wait time required. I applied my nails right before packing for a flight the next morning without any issues.
Removing Chillhouse nails
The trick to removing Chillhouse nails is to wait for them to start gaping at the sides or edges a bit. If the nails aren’t ready yet but you are, the first step of soaking should do the trick.
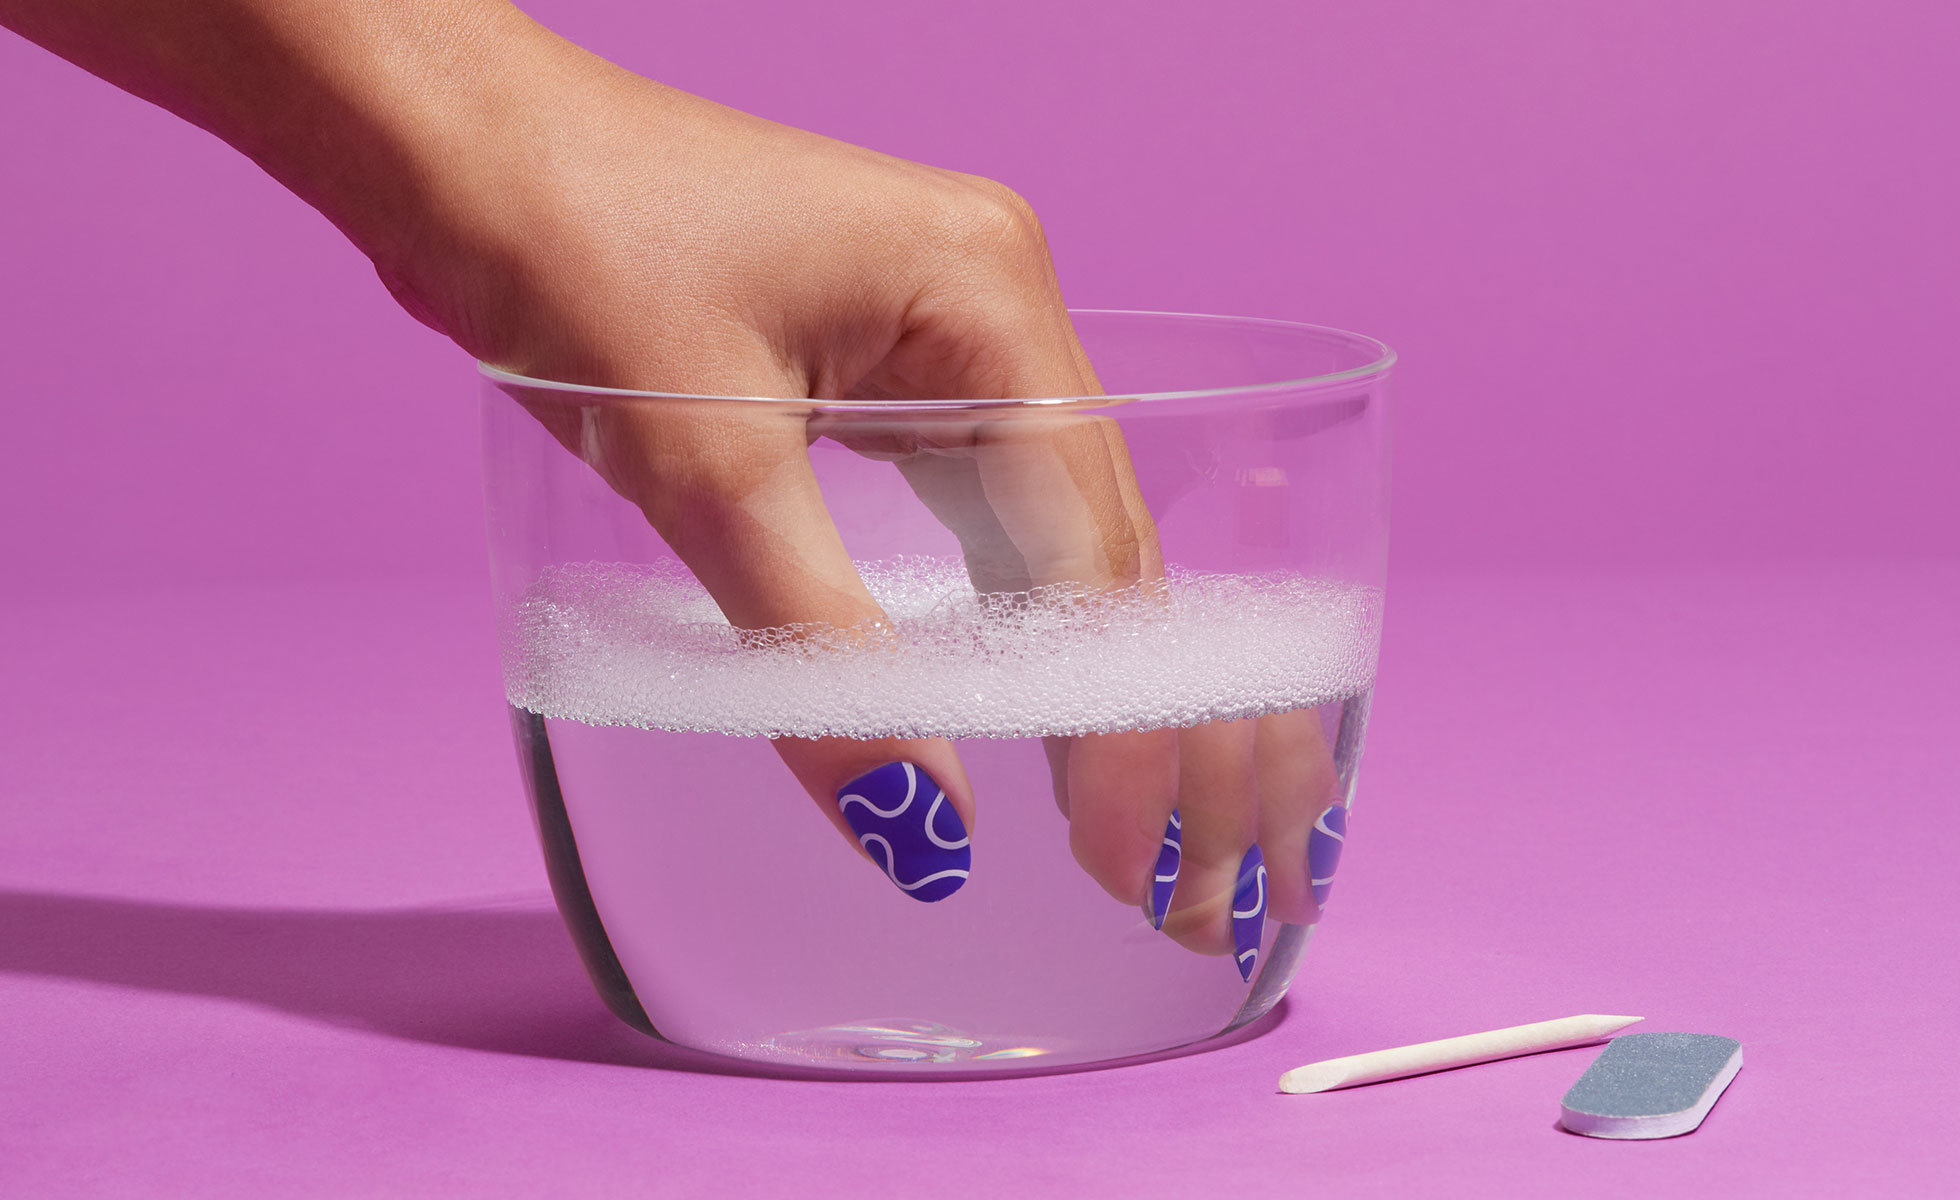
1. Soak
Start by soaking nails in warm water. Chillhouse recommends adding either a gentle soap or oil to the water—I went the oil route to simultaneously nourish my cuticles and skin.
Heads-up: Acetone can do the trick too, but it can also damage the press-ons. If you plan on reusing the tips, I would avoid going this route.
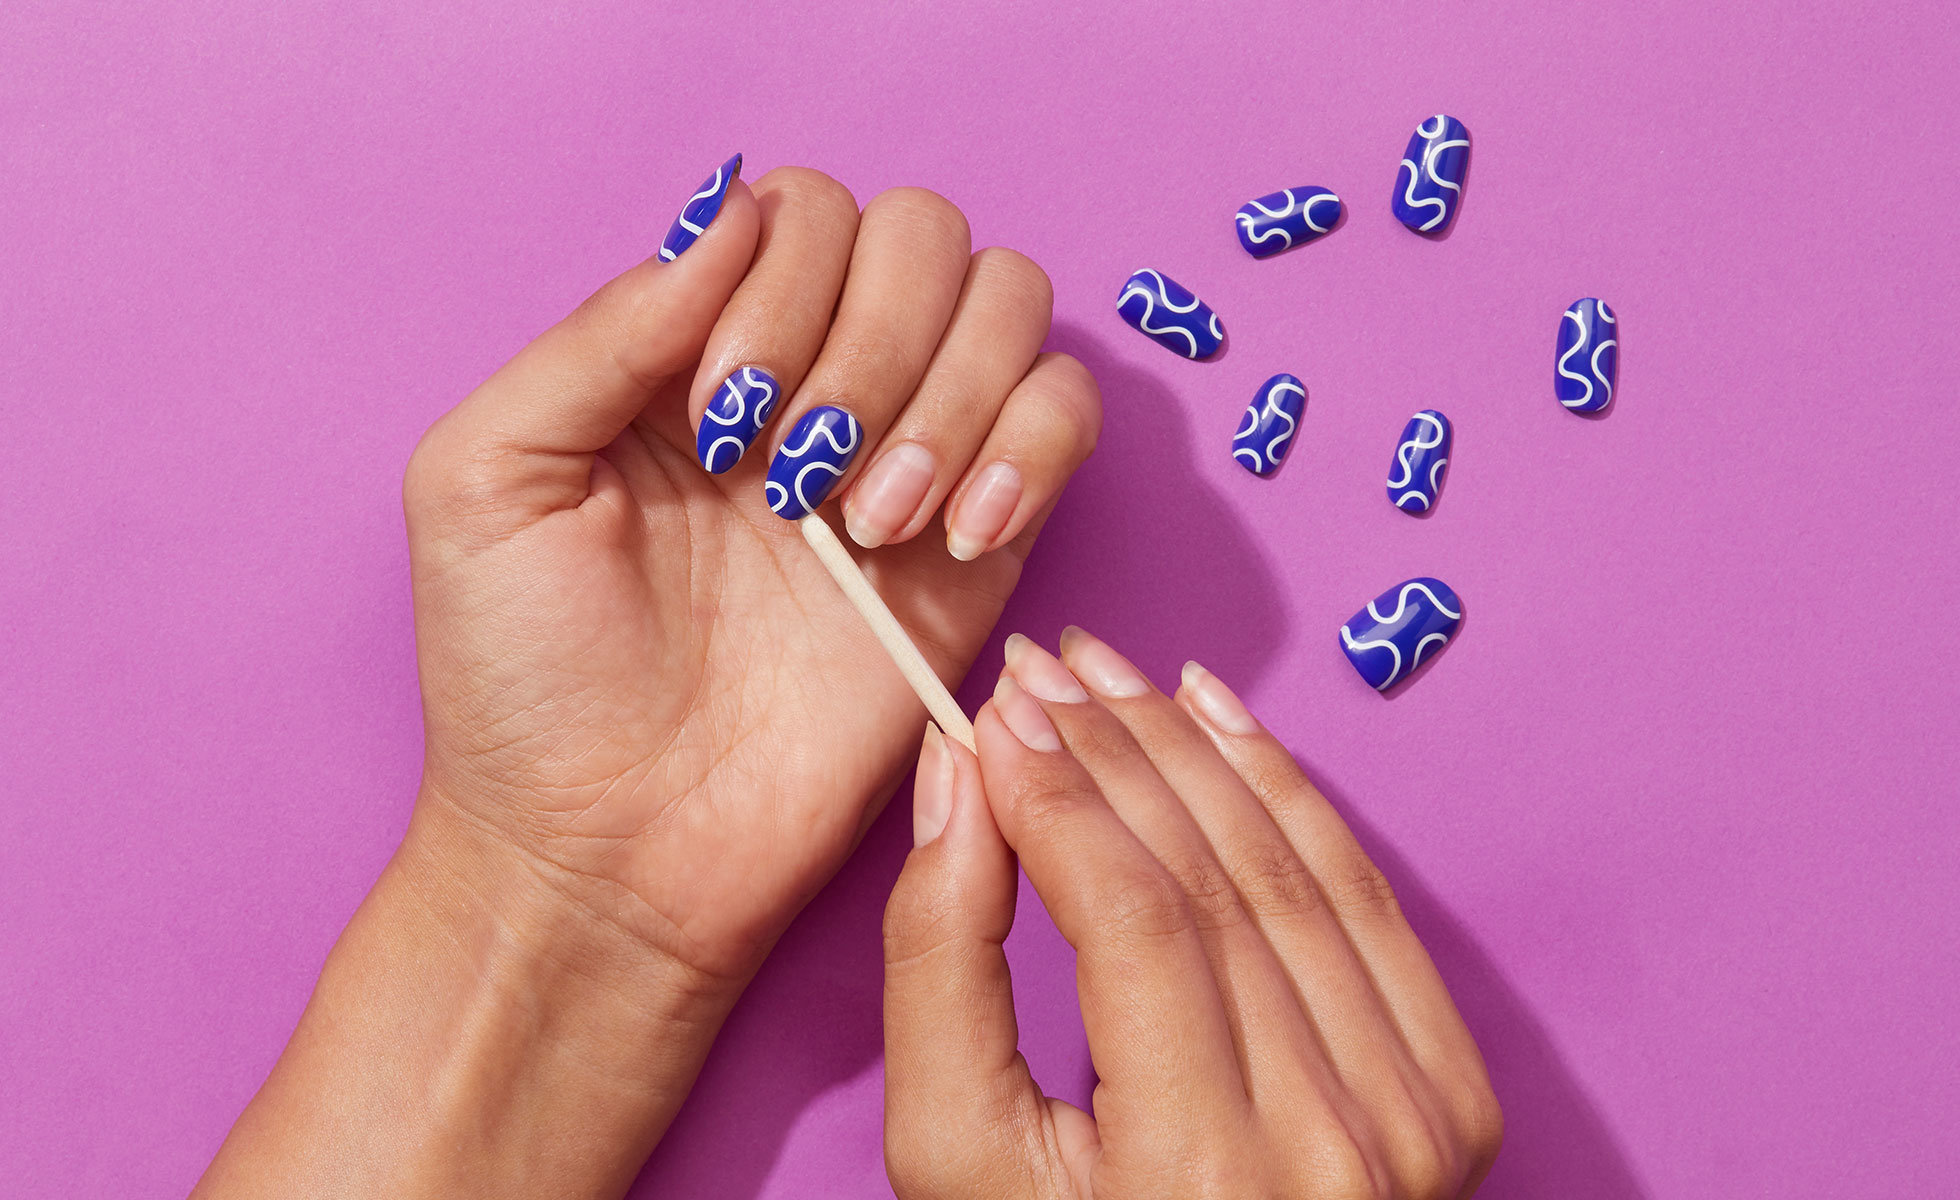
2. Remove
After soaking nails for a few minutes, use the included (or your favorite) cuticle stick to help wiggle the nails off. Go slow and gentle to avoid damaging the Chillhouse nails. I’ll admit, I broke a few nails trying to impatiently pull them off. Again, if you want to save the nails to reuse, be as gentle as possible during the removal process.
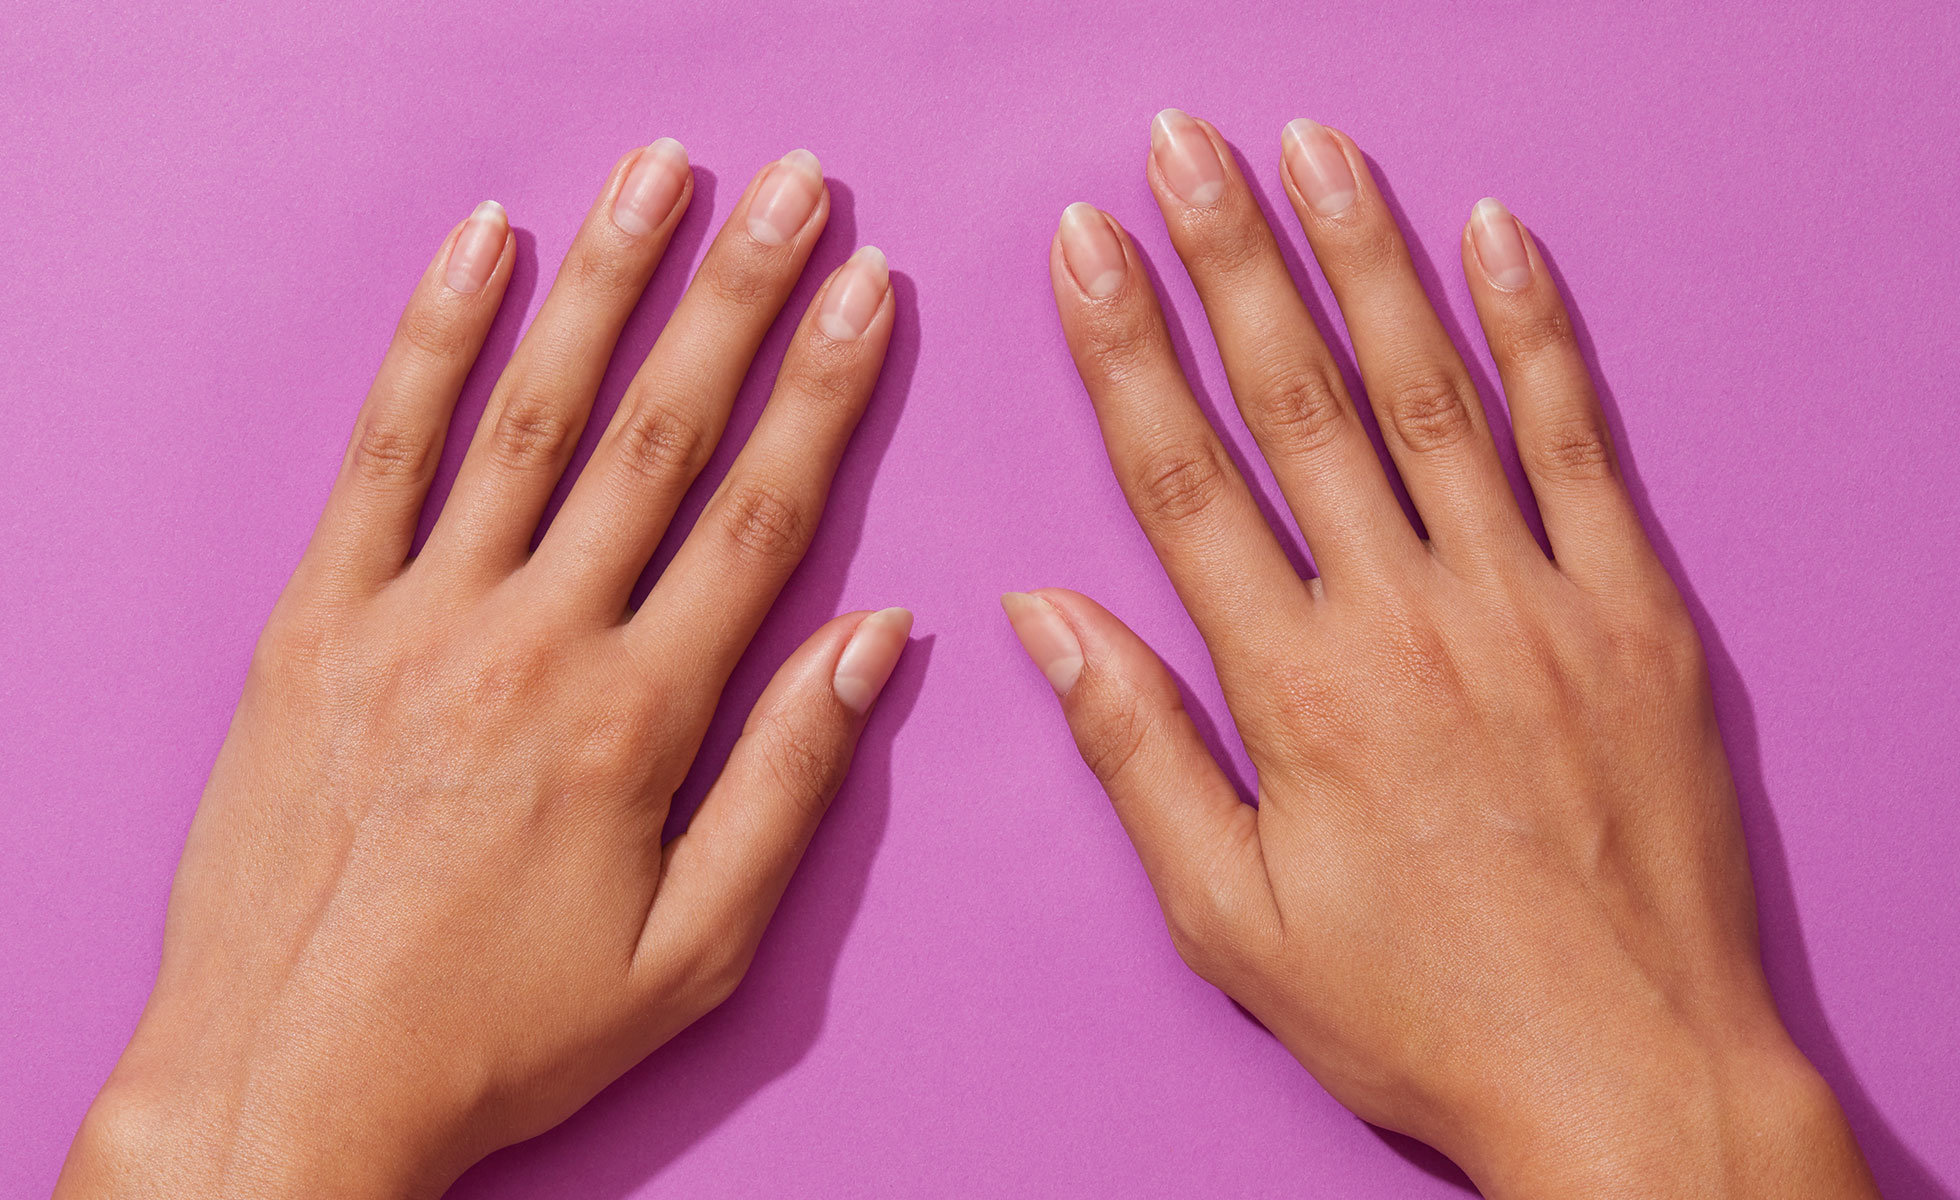
3. That’s it!
After removing, I gave myself a quick clean up—file, buff, and push cuticles back. Not only is the removal process quick and simple, you’re left with undamaged nails that leave no trace of press-ons or glue.
The final verdict
If an Instagram-worthy manicure for $16 without stepping foot in a salon sounds too good to be true, I’m living proof that it exists! The nails are seamlessly easy to apply, and they’re surprisingly sturdy! If you plan to leave them on for a longer period of time or while traveling, I’d take the glue along just in case. I had a couple of nails pop off, but that was more user error than a nail default. It may take some trial and error to get the perfect ratio of glue, but once you get the hang of it, you can have a salon-worthy mani (that provides endless compliments) in minutes!