

Back when I was in high school my mom and I would go to the nail salon every two weeks for a mani, and once a month we’d include a pedi. It’s one of the luxurious I really miss. It was such a treat to always have freshly painted nails, but since I’ve been on my own for the last six years, I’ve fallen out of that routine for a number of reasons. The main one being that it’s kind of an expensive habit—something I’ve realized since moving away from home. Sure, it’s nice to have an hour of pampering, but I’m not willing to spend an extra $70+ a month just to have my nails done by a pro. And since I’m a self-proclaimed polish hoarder, I’ve got plenty of colors to work with. The only issue is getting my application as perfect as the pros. Practice obviously helps, but getting insider tips from a nail aficionado like Stephanie Lavery, Editor-in-Chief of Nail It magazine, can really perfect your technique. Here, Lavery breaks down how to properly apply polish, even with your non-dominant hand!
Prep nails first
Before you do any color, you always want to prep your nails. “This step is usually overlooked, but there’s always a buildup of dead skin on your nail plate,” says Lavery. “You can get rid of it with a cuticle eraser or remover—it actually helps keep the polish on longer, as lacquer won’t stick well to that dead skin.” File and remove any leftover debris on your nails with acetone, polish remover, or a nail-cleansing solution. After you’ve finished prepping, apply a base coat. “This will act almost like double-sided tape, keeping your polish on your nails,” says Lavery.
How to work with your non-dominant hand
Lavery suggests painting your nails using your non-dominant hand first. So if you're right-handed, use the left hand to paint the right hand first. Why? Because if you go to use your non-dominant (in this example left) with freshly painted nails, you're more likely to cause a smudge. Be sure to keep your forearm, wrist, and side of your hand firm on a flat surface; it’ll give you more control and a smaller chance of messing up.
Application tips
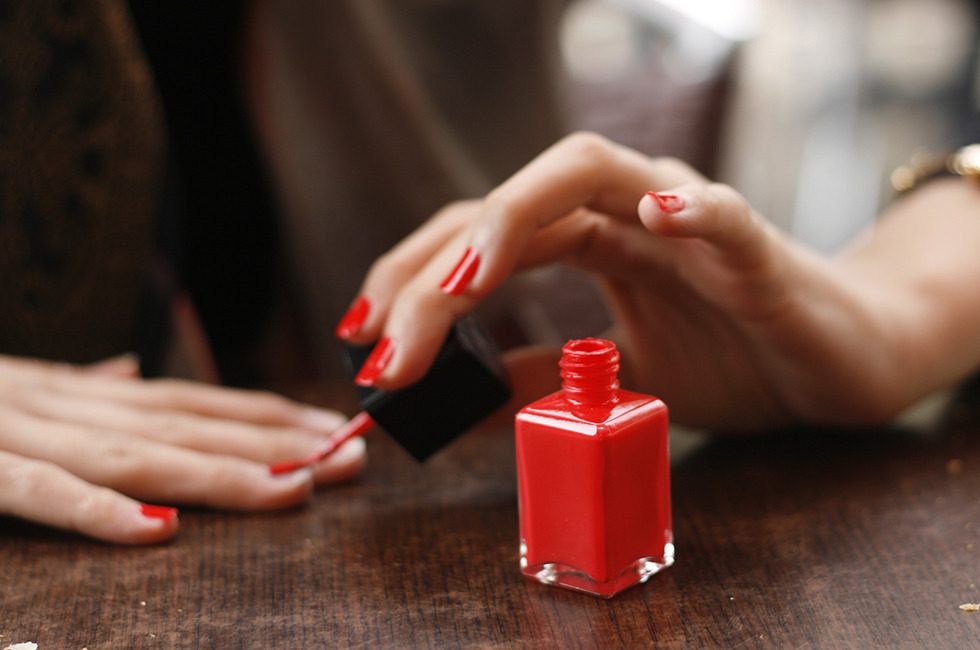
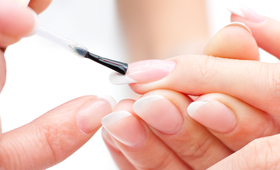
For a neat application, Lavery likes the “three strokes method.“ First, dip and wipe one side of your polish brush off on the top of the bottle—too much polish on the brush may leak over your cuticles; too little, and it will come out streaky. Begin on one side of your nail, right above the cuticle, and push the side of the brush towards your cuticle without actually touching it. Bring the polish up your nail in one continuous stroke. Dip the brush back into the bottle and wipe any excess lacquer off the side, and repeat down the other side of the nail. To finish, re-dip the brush into the polish, and paint the center of the nail. Do this process for every nail, and repeat with a second coat—just be sure you wait a few seconds between each layer. Don’t forget to add a top coat! And if your nails are long (beyond the fingertip), swipe the tip edge too, to help prevent chipping.
Last-minute advice
To make your mani last for as long as it possibly can, Lavery suggests applying top coat every other day, as well as cuticle oil daily (we’re fans of the RGB Cuticle Oil). Oh, and practice, practice, practice!
Photo: Shatha Al-Emadi
-
Gift Guides
- 230
-
Bath and Body
- 174
Good Molecules: See a difference in your skin
New Arrivals
-
Nudestix Nude Beach 6-Piece Eye Pencil Palette
$69
-
Danessa Myricks Beauty ColorFix 24-Hour Cream Color Matte Sundaze
$20
-
Danessa Myricks Beauty ColorFix 24-Hour Cream Color Matte Oasis
$20
-

Danessa Myricks Beauty ColorFix 24-Hour Cream Color Matte Dreamsicle
$20
-
Danessa Myricks Beauty ColorFix 24-Hour Cream Color Matte Bunny
$20
Featured Products
-
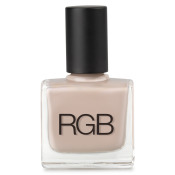
RGB
Nail Polish Doll
/ 18


You Might Also Like
-
Nails
Beauty Remorse: Nail Breakage
- 286
-
Cream Foundation
Fiona Stiles on Foundation Part 3: Creams
- 184
-

Tutorials
Back to School Makeup
- 275
-

Skincare
How to Properly Dry Brush Your Skin
- 3
-

Hair
Sexy Party Hair
- 132
-
Tutorials
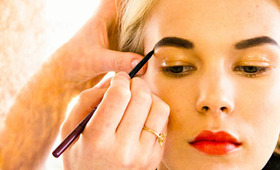
Get Perfect Eyebrows
- 520
-
Wellness
Allergy-Proof Your Beauty Routine
- 134
-
Tutorials
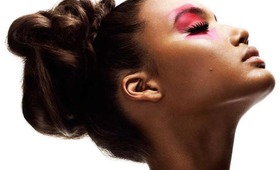
Bright Eye Shadow Inspirations for Summer
- 53