
Basic Photoshop Editing Tips, Part 2: Image Size and Orientation
Published Sep 29, 2011

Proper photo size and orientation are important when uploading your beautiful images, and Adobe Photoshop has several ways to adjust them. Our tips will get you going in the right direction.
Resizing Images
CHANGING PHOTO SIZE
An important attribute to your photo is its size. If it's too small, no one is will see your beautiful face. If it's too large, it may not upload online. In the top menu under Image is Image Resize. Here, you'll learn how to change the size of your photo.

A window will open that shows you dimensions in pixels and inches. For online uploading purposes, we're going to look at pixels.

Find out the recommend dimensions for the site you're uploading to. Most sites automatically resize photos, but if your file is too large for the site, the upload could take a very long time. In some cases, the site will just deny the large file and you will have to edit it to make it smaller. Why not save yourself the frustration and do it right the first time? On the right, you will see a chain link next to the size of the width and height. This link ensures that your photo will resize proportionately and you won't end up with a wide or long face. For Beautylish photos, we suggest using the highest resolution possible and making sure the photo is within a 600 pixel width.
Using the Crop Tool
RESIZING AND CROPPING
Another way to resize your image is by using the crop tool in your toolbox. It can not only resize your image but also determine what's included in your photo. For example, if there’s a passerby in the background that you don’t want in your frame, you can simply crop them out with this helpful tool.

Before you go ahead and crop away, be sure to input the end size of the image you desire in the width and height fields below your menu choices.

Once you have those parameters set, click and drag over the portion of the photo you want to use. You will create a bounding box within the image. The section inside the box will be kept while the rest will be cropped out.
Picture Orientation
ROTATING AND REFLECTING
If your camera sets an image sideways and you want to rotate it, you can easily fix that by going to Image Rotation under the Image drop-down menu. The top three choices will let you rotate them if your camera saved the image sideways or upside down. Sometimes a photo looks a little unbalanced in a layout. Reflecting the image will give it a new look without heavy editing.

Simply select either Flip Canvas Horizontal or Flip Canvas Vertical to reflect the image. As you can see in the image below, the image was flipped horizontally.

Good Molecules: See a difference in your skin
New Arrivals
-
Nudestix Nude Beach 6-Piece Eye Pencil Palette
$69
-
Danessa Myricks Beauty ColorFix 24-Hour Cream Color Matte Sundaze
$20
-
Danessa Myricks Beauty ColorFix 24-Hour Cream Color Matte Oasis
$20
-

Danessa Myricks Beauty ColorFix 24-Hour Cream Color Matte Dreamsicle
$20
-
Danessa Myricks Beauty ColorFix 24-Hour Cream Color Matte Bunny
$20
You Might Also Like
-

Beautylish Recommends
Spring Storage Solutions Part 4: On-The-Go Beauty
- 91
-
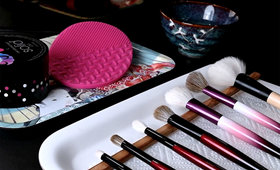
Makeup Brushes
The Definitive Guide on How To Clean Your Brushes
- 3
-
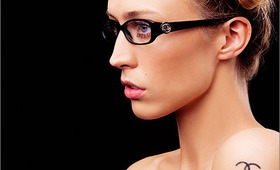
Tips & Tricks
Makeup Advice for Glasses
- 391
-
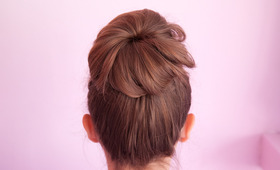
Tutorials
How To Do a Sock Bun
- 8624
-
DIY
DIY Edible Beauty Remedies
- 1682
-

DIY Skin Care
DIY Grape Skin Care Recipes
- 632
-
DIY Hair
DIY Deep Hair Treatments
- 2151
-

Wellness
Allergy-Proof Your Beauty Routine
- 134