
Tutorial: Learn to Apply RCMA Foundation Just Like a Pro
Published May 15, 2014

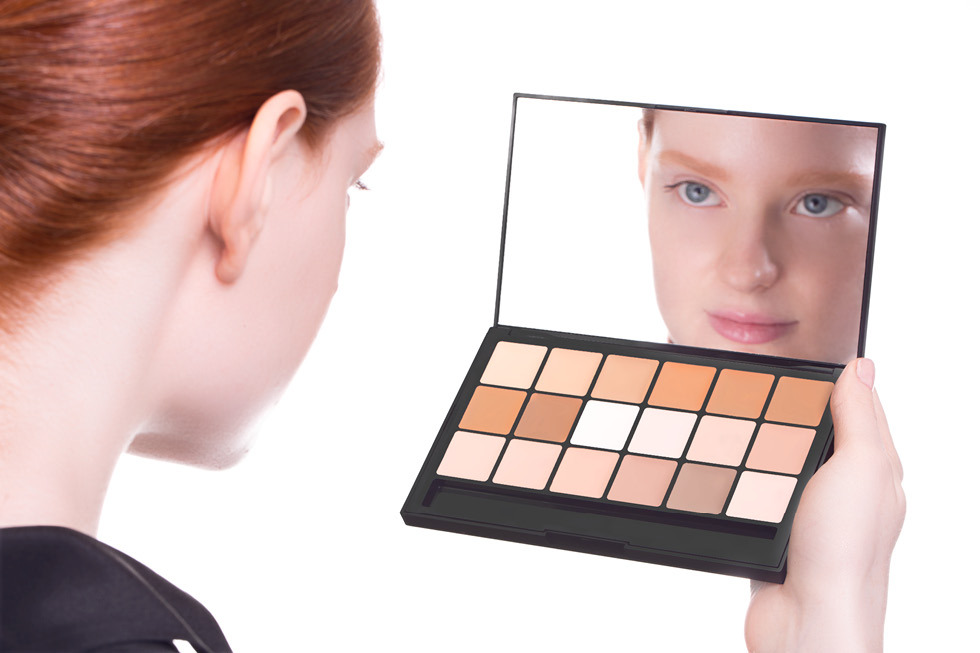
RCMA Makeup is best-known for its foundation, which is considered the best product of choice by professional artists—and for good reason. For starters, there are dozens of colors available, and one for every skin tone (for more on choosing ideal RCMA shades, read this). The enormous shade range, though, is just one reason RCMA is a favorite in the industry. There’s also the fact that the colors are so reliable from batch to batch; because everything is hand-mixed, you always know you’re going to get the exact shade you need when you restock your kit. Another thing pros love most about this foundation is its superior pigmentation—which means you can achieve flawless full-coverage looks that won’t budge. But the latter is the thing that sometimes throws off everyday makeup enthusiasts.
RCMA products are always made with at least a 50 percent pigment-to-filler ratio (the filler in this case is comprised of waxes and oils). To compare, most commercial liquid makeup products contain 18 to 23 percent of pigment-to-filler; typically, theatrical foundation brands have higher pigmentation, in the 35 to 40 percent range. What this means is, when you go to use RCMA—especially for the first time—it’s going to work differently than the foundations you’re use to. With this product, you only need a tiny bit, even for full coverage and serious lasting power.
And for that reason, you need to approach your application of RCMA differently than you would your average drug- or department-store foundation. But there’s no reason to be intimidated! As with learning to work with any new product, practice makes perfect. And we’ll walk you through it—follow our step-by-step instructions, including extra supplies you might want to have, and you’ll be a pro in no time. Trust us, once you perfect your RCMA application technique, there’s no going back!
You Will Need
- Skin toner
- Moisturizer
- Cotton balls or pads
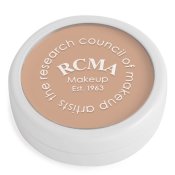
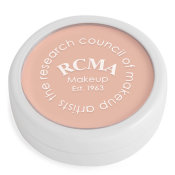
- RCMA Foundation (a few shades: base color, under eye, & spot-coverage)
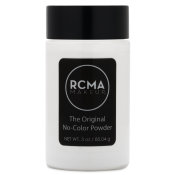
- RCMA No-Color Powder
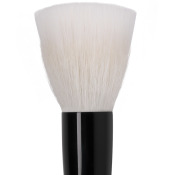
- Foundation brush or makeup sponge
- Concealer brush
- Powder puff
- optional: makeup mixing palette (like a Paw Palette)
- optional: palette knife
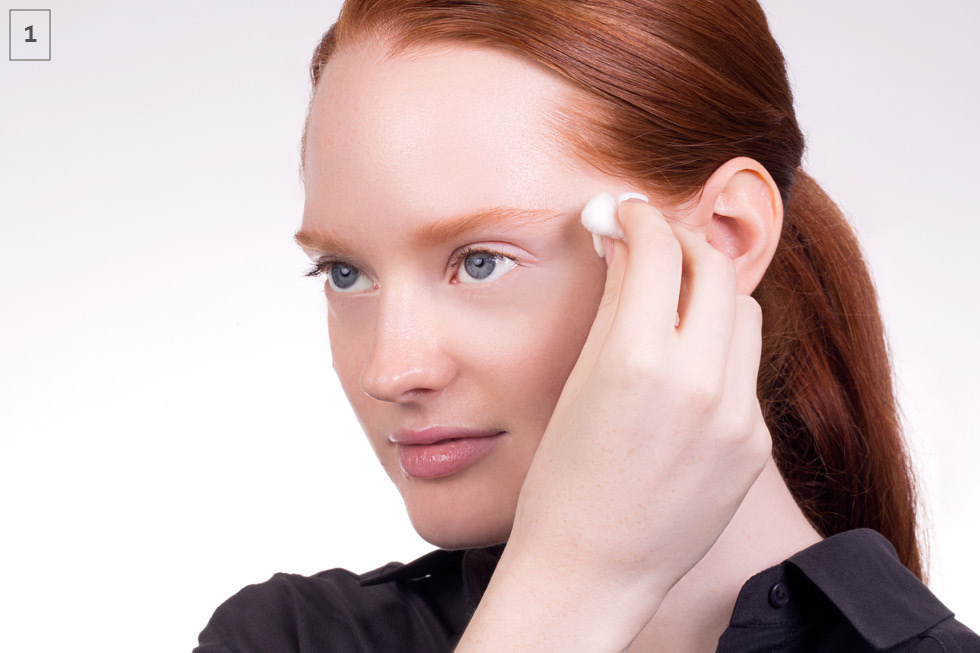
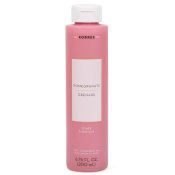
1: Before you start, pour a bit of toner on a cotton ball or pad, and swipe it over your face to get rid of any excess oil. (We used Korres Pomegranate Toner.)
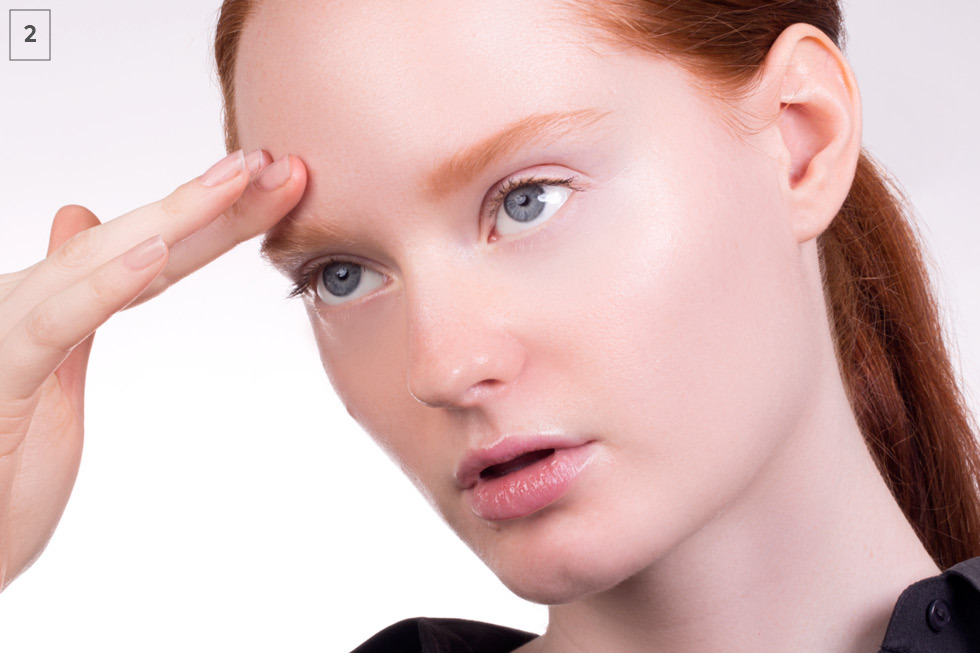
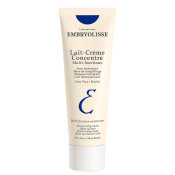
2: Next, massage in a pea-sized amount of moisturizer. Embryolisse Lait-Crème Concentré always does the trick.
3: Using a palette knife, or the back of a brush, scoop a very small amount of the colors you want to work with (base, under eye, spot coverage) onto your palette or the back of your hand. Mix each shade around to emulsify and warm up the product, and make it easier to work with.
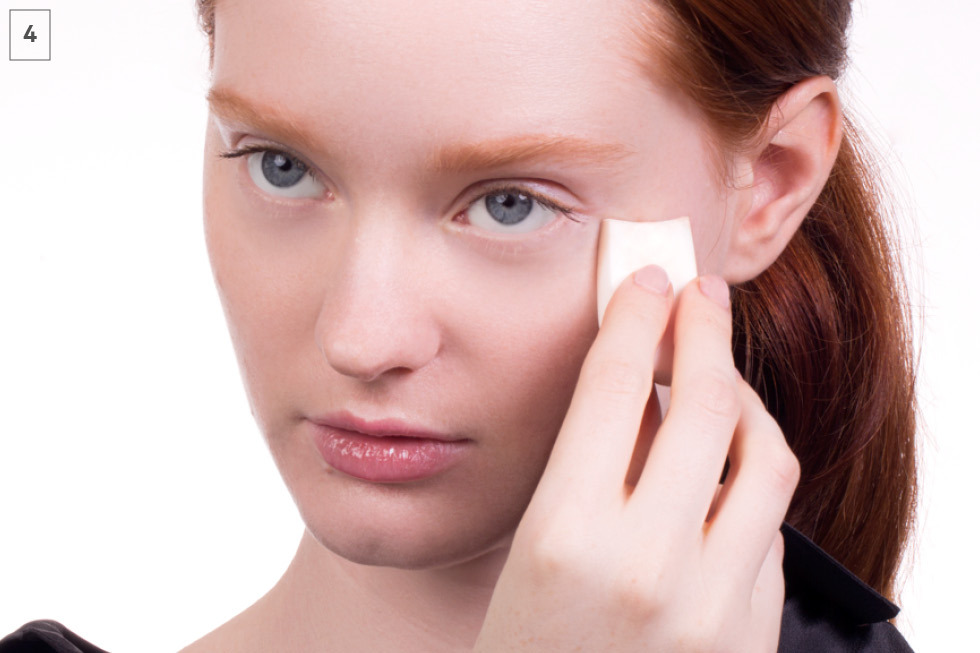
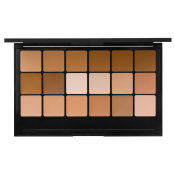
4: Swirl the tiniest amount of your base color onto your foundation brush or a small makeup sponge like the beautyblender. Apply lightly to your face, stippling it on in soft, light strokes. Work slowly and in small sections. You want the foundation to be an even sheer coat so it looks natural. Remember, you can always go back and layer on more if you need it—the key to RCMA is using a light hand. Here, our model is wearing Ivory (from VK Palette #11).
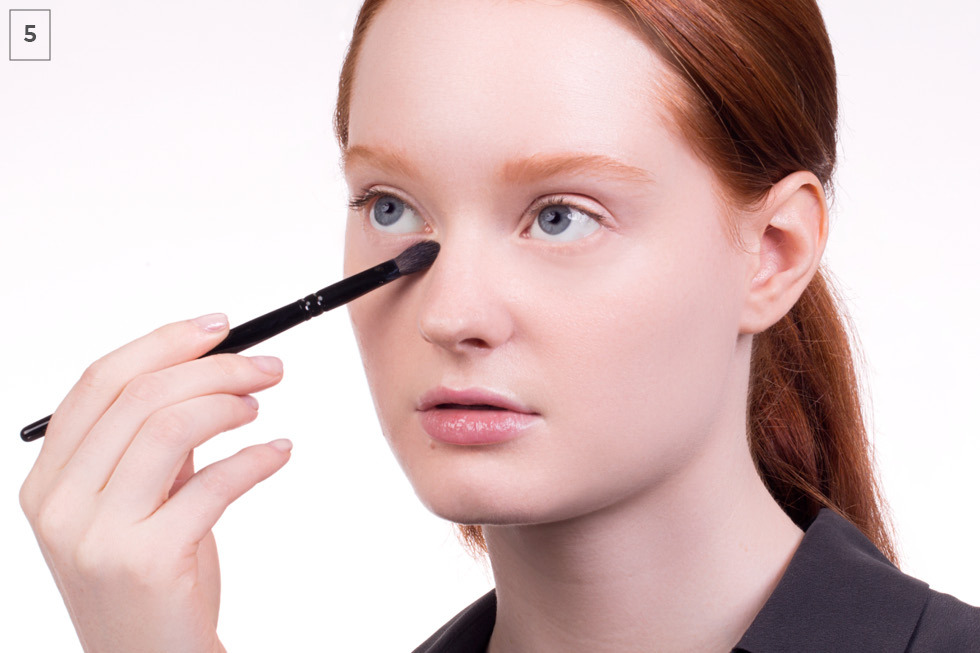
5: Next, use a concealer brush to apply under eye color to counteract any darkness. We used shade CS-2 (from VK Palette #11), which has a peachy-orange undertone perfect for concealing any blue-ish discoloration.
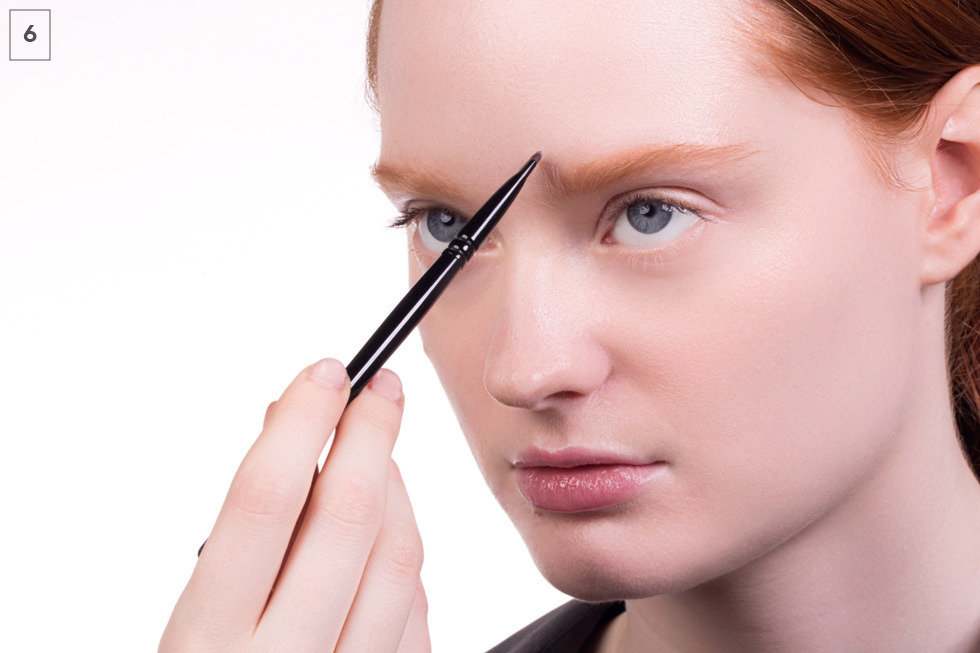
6: Check your face to see if there are any areas that need spot coverage. Either using a small concealer brush or one of your fingers, apply your concealer shade to cover any blemishes or discoloration. Our model is wearing Gena Beige.
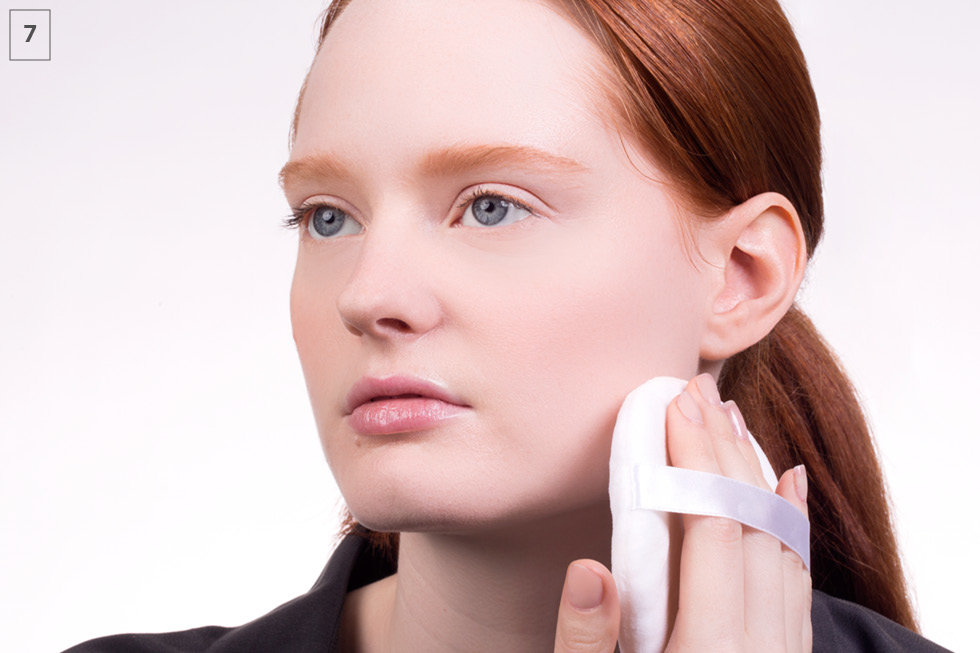
7: As the final step, set your makeup. Pour a little of the No-Color Powder, which is totally translucent, into your palm, and lightly dip a powder puff into it. Use a light patting motion to apply the powder all over your face.
Expert tip!
Mix a bit of your base shade with each of the others: your under eye and spot coverage shades. “Straight colors—for highlighting, blush, concealing, etc.—will often look too bright or stark on skin. Getting a bit of base color into those neutralizes that effect,” according to Justin Raleigh, makeup artist and CEO of the special effects studio Fractured FX. That way, when you apply them, it’s easier to blend and achieve smoother transitions between different shades you’re working with.
Shown at top: VK Palette #11.
Featured Products
You Might Also Like
-
From the Shop
Peppermint Perfection
- 296
-

Tips & Tricks
The Five-Day Blowout
- 2133
-

Eyes
The Cat Eyes of Paris Fashion Week (and the Perfect Liner for the Look)
- 384
-

Inspiration
Rae Morris Talks About Going Pro and What It Takes to Overcome Your Fears.
- 294
-
The Lipstick Reviews
Peep Show: The Pinky-Nude Lipstick Review
- 689
-
Nails
2 Tricks For Removing Glitter Nail Polish
- 1275


