
Editorial
-
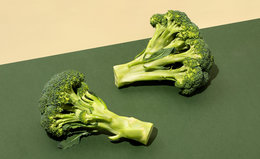
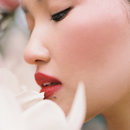
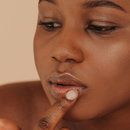
Broccoli May Be the Best Faux Freckle Tool on the Market
These may just be the most *organic* looking freckles you could draw up.
-
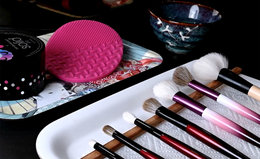
The Definitive Guide on How To Clean Your Brushes
Makeup brush Expert Sonia G. gives us her expert advice on cleaning our most precious tools
-

How to Recycle Your Used Beauty Products
Your cheat sheet to recycling empty makeup, skincare, and haircare packaging.
-

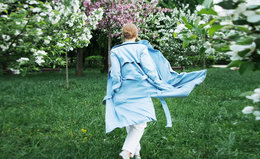
How to Make Your Beauty Routine More Eco-Friendly
You can make your beauty routine more friendly to the planet without compromising. Here’s how.
-

-
10 Must-Have Spring Beauty Essentials 2024
From pastel eye colors to botanical-infused body oil, we round up this season’s freshest finds.
-
Bath and Body
- 174
The Best Body-Firming Creams
These 4 creams harness the power of hydration to help you tone up without lifting a finger.
-
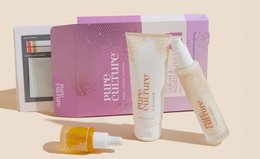
The Easiest Test You’ll Ever Take—Pure Culture Beauty’s Skin Test
A comprehensive skin analysis from the comfort of your home in under 20 minutes. Here’s how it goes.
-

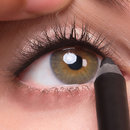
We’re Dropping Our Pencils and Liquids for This Eyeliner Formula
The unique formula is versatile and flexible, so you can go from precise tight lines to dramatic cat eyes in a snap. Plus, it dries to a matte finish with a long-lasting, smudge-proof wear—what’s not to love?
-
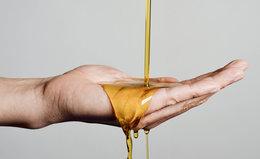
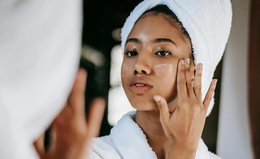
Oil as an Exfoliator? The Internet May Be On To Something
Similar to oil pulling for teeth, this trend is based on the belief that oil serves as a magnet to gently pull impurities from the skin. Read on to see if it works.
-
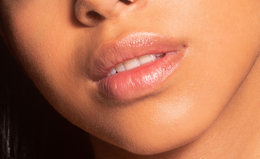
Can Hyaluronic Acid and Vaseline Really Replace Lip Fillers?
I tried the latest trend for plump lips—layering hyaluronic acid and vaseline.
-

Meet Pretti5—A Brand Inspired by the Founder’s Personal Skin Struggles
While Dorothy’s career thrived in a busy, metropolitan city, her skin did the exact opposite. Here’s how her personal skin issues inspired TCM-infused formulas.
-
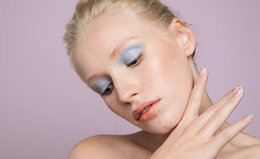
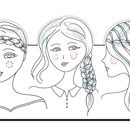
6 Trending Colors for Spring Makeup This 2024
From butter yellow to steel gray, update your beauty routine to match the season’s hottest hues.
-
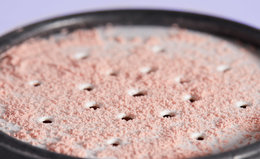
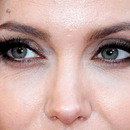
Makeup Artists’ Hack for Brighter Skin: Pink Setting Powder
Turns out, pink-toned powders help brighten the complexion and can be a gamechanger, especially for the under eye area.
-

Product Trends
- 124
Spring Break Beauty Packing List
These customized packing lists will help you decide what makeup and skincare you’ll need this spring break no matter where you’re headed.
-
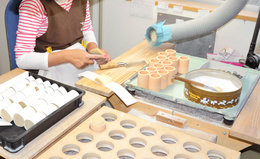
A Rare Interview with Top Makeup Brush Maker, Hakuhodo
Sonia G. interviews Hakuhodo to discover what goes into brushmaking
-
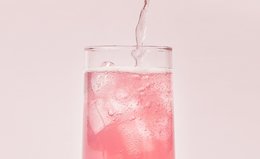
I Tried These 2 Moon Juice Sleepy Girl Mocktail Recipes and Slept Like a Baby
Step aside piping hot nightcap, I’m spilling the (bedtime) tea about the cool new way to catch Z’s.
-
4 Top Primer Picks and Essential Tips From the Beautylish Team
Prep and prime with these 4 essential primer picks recommended by our team of makeup and skincare lovers.
-
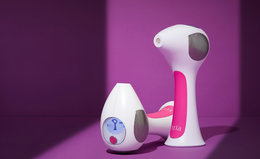
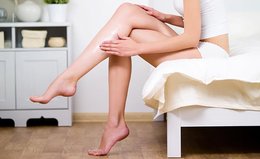
Read This Before Trying Laser Hair Removal
Our beauty advisor Monica O. reveals the truth about laser hair removal. Spoiler: It’s not as painful as you’d think.
-
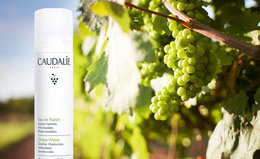
Here’s Why Grape Water Facial Spray Is a Must Have for Hydrated Skin
Made from 100% organic grape water, this antioxidant spray from Caudalie provides the purest form of liquid hydration for skin.
Popular Articles
-
Red Lips
-
Inspiration
-
Lips
-
Eyes
-
Tutorials
-
From the Archive
-
Tutorials
-

Face Skincare
-

Trends
-
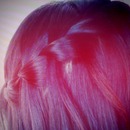
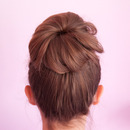
Hair