


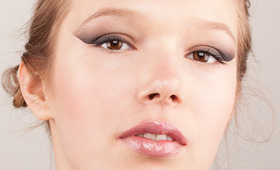
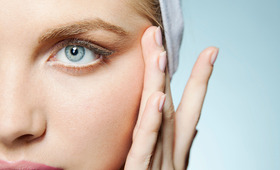
Blotting papers have been used by Japanese women for hundreds of years because they really work: there’s no better way to eliminate shine throughout the day without messing up the rest of your makeup. They let you instantly spot-degrease on the fly, anytime, anywhere, without having to sneak off to the bathroom to wash up.
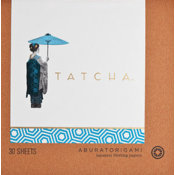
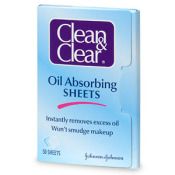
Products on the market generally come in super thin, tissue-paper-like sheets made of rice bran or other naturally derived pulp. Cult-favorite Tatcha blotting papers are made from abaca, or banana leaf; drugstore standby sheets from Clean & Clear are made from a silky plastic designed to pick up oil. But truthfully, all you need is some sort of thin paper product.
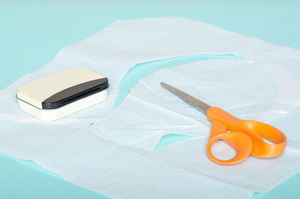
The best material we’ve found to make your own blotting sheets? Toilet seat covers. Yes, really. They’re the perfect weight and texture for blotting, and they really work (without bits sticking to your face, which can happen if you blot with, say, toilet paper or facial tissues). You can get several pocket-sized sheets out of one single seat cover borrowed (ahem) from a bathroom out in the world—so just think of how much mileage you’d get out of a less-than-$5 pack of 125 covers. You’d have blotting papers for years. So worth trying! And, you can also recycle tissue paper left over from gift boxes or mailed packages.
Whether you want to save a few pennies, make a gift for the beauty devotee in your life, this project, which is virtually self-explanatory, will only take a few minutes.
You Will Need
• paper toilet seat covers or leftover tissue paper
• scissors
optional: small tin with lid or any small storage container
Steps
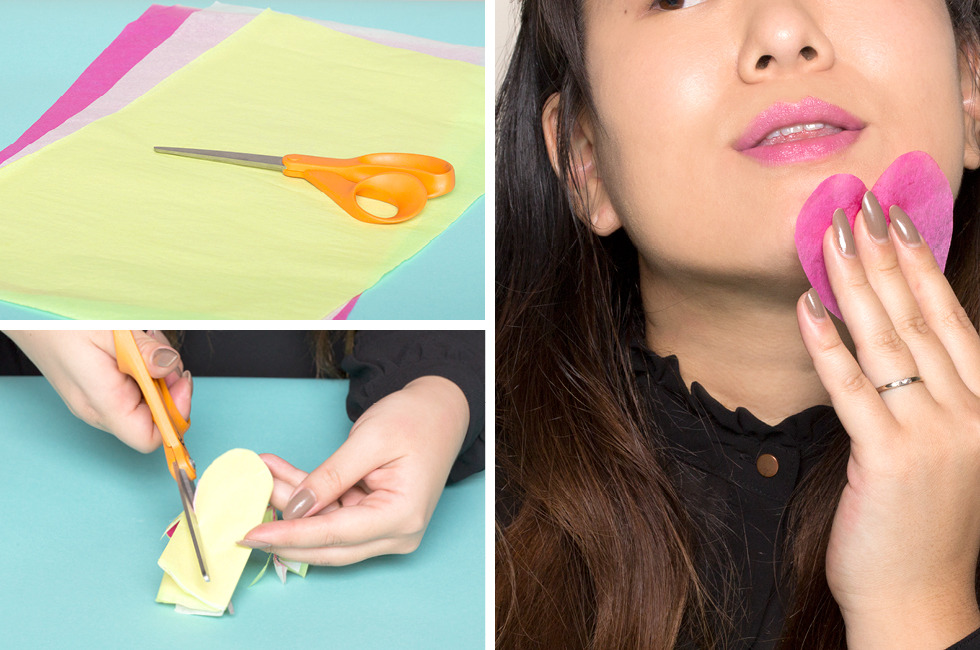
1: Flatten out your sheets. If you want wrinkle-free sheets, press under a heavy book for a day or so first.

2: Cut your paper into sheets. If using some sort of storage vessel, cut them to it. For really uniformly sized sheets, you can use a pencil and ruler, but we like the sort of loose, handcrafted feel you get if the sheets are not-so-perfectly shaped.
3: Put sheets in the container, the container in your bag or pocket, and fight shine on-the-go. That’s it!
Fun Variations

• Make shapes! Of course, you don’t have to stick with rectangles. We did a variation using colored tissue paper (recycled from old gifts), cut into grade-school-style fold-and-cut hearts. Cute!
• Use tip envelopes. Small paper envelopes are ideal for storing your papers. They’re not only nearly weightless and travel-friendly, but also easy to customize. Think: if you're making them as gifts, you can deck out the envelope with pens, pencils, markers, magazine clips—whatever inspires you! We suggest picking up tip-size envelopes (the kind salons keep at the front desk for tipping stylists) at any office supply store or here.
Good Molecules: See a difference in your skin


Featured Products
You Might Also Like
-
DIY Skin Care
You'll Never Guess Which Kitchen Ingredients Are in This DIY Mask!
-
Tips & Tricks
Surprising Beauty Tools That You Probably Already Have at Your Desk
-
DIY
How To Make Your Own Detangler
-
Tutorials
How to Tightline Eyes
-
DIY Makeup
DIY Brush Cleaner
-
DIY Skin Care
Four Strange Skin Care Substitutes You Have To See To Believe
-
DIY Skin Care
DIY Lash Conditioner
-
Wellness
Juice Your Way … to A Better Mood!