It’s hard to experiment with cool designs on perpetually short nails. So as a self-acknowledged nail-biter (I’m quitting the habit!), I have to get a little more creative with my designs. I especially love the ombré trend on nails, and wanted a way to rock this uber-popular fashion statement.
What You’ll Need:
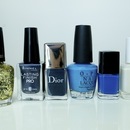
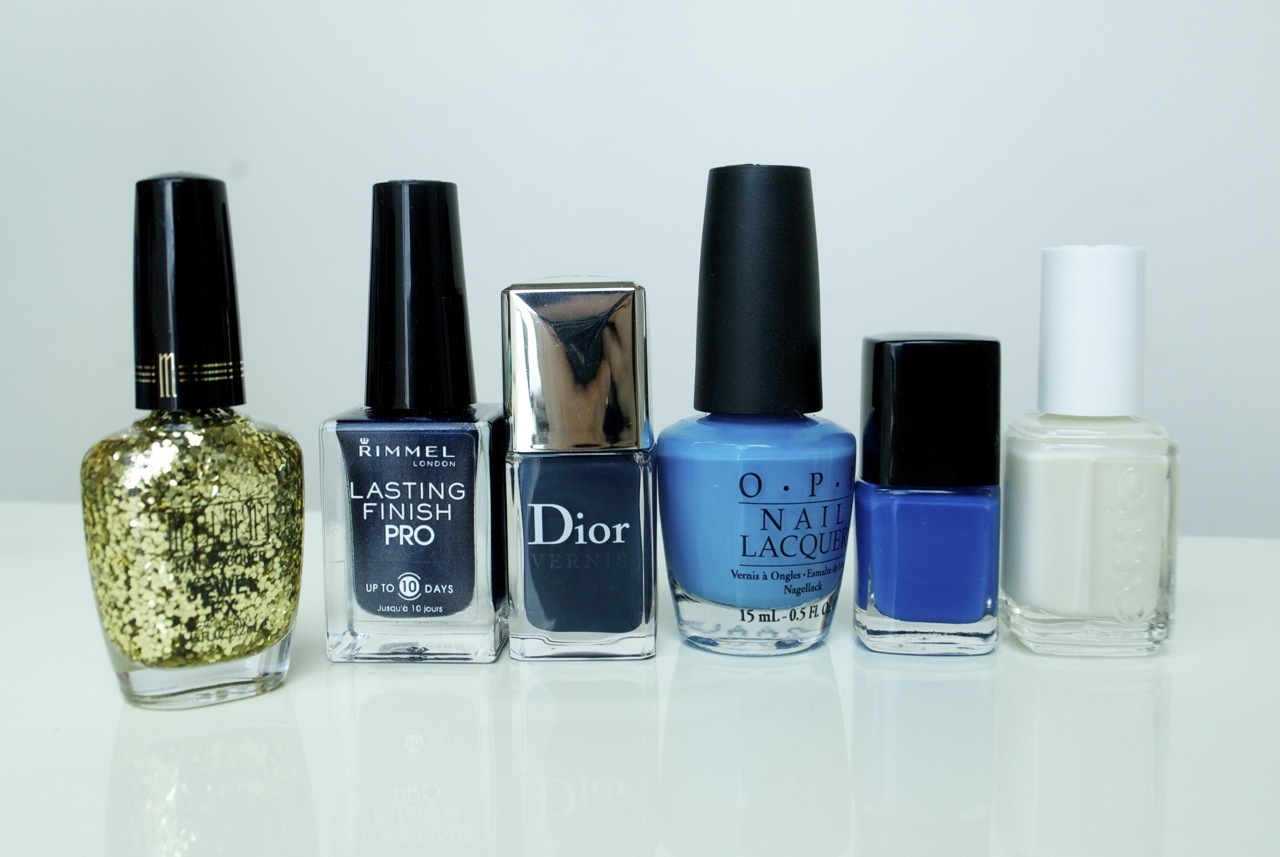
- Milani Jewel FX in 531 Gold
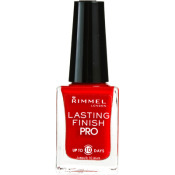
- Rimmel Lasting Finish Pro Nail Polish in 420 Midnight Blue
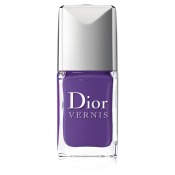
- Dior Vernis Nail Lacquer in 797 Bond Street
- Forever 21 Polish in Electric Blue
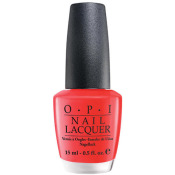
- OPI Nail Lacquer in No Room For The Blues
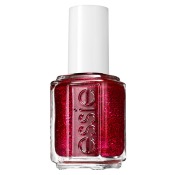
- Essie Nail Polish in 337 Waltz
- Base + Top Coat
Step 1
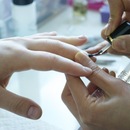
PREP AND BASE
File nails in a squoval shape (not sure what that means? Read our Guide to Nail Shapes!). Then clean cuticles and hydrate hands. Apply a thin layer of your favorite base coat in broad, even strokes.
Step 2
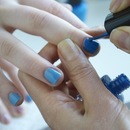
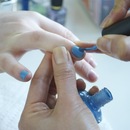
POLISH
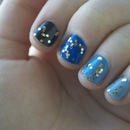
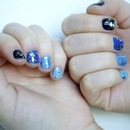
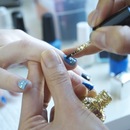
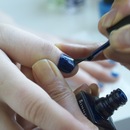
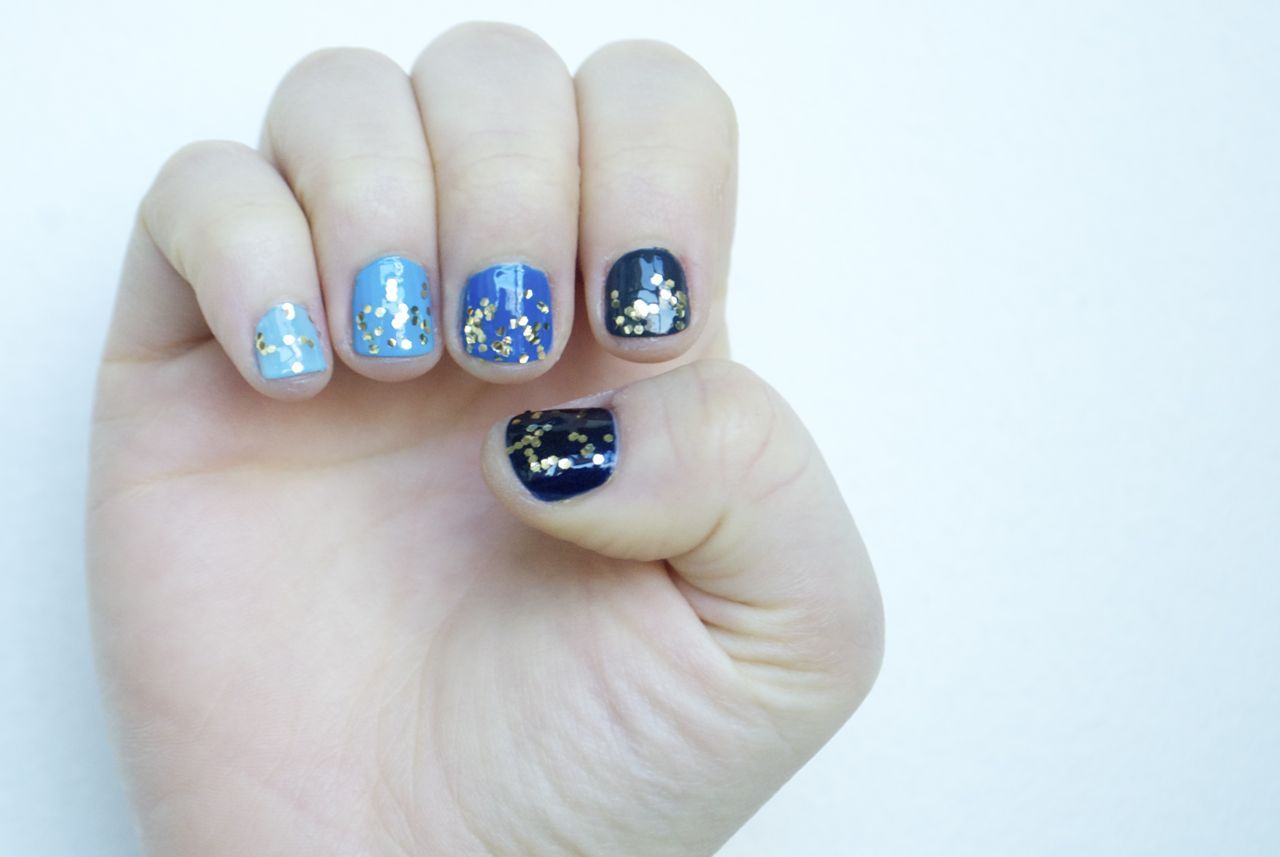
Grab your five polishes. Apply the lightest shade on the pinky, and deepen the polish with each subsequent finger. We chose a spectrum of blues that runs from pale sky blue to deep midnight sapphire. Since we didn’t have a paler shade than OPI’s No Room For The Blues (on ring finger), we applied the same color on our pinky and used a pale second coat (Essie Polish in 337 Waltz) to lighten it. Apply two coats.

Step 3
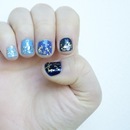
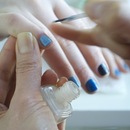
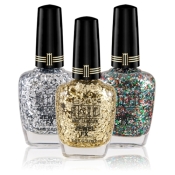
GLITTER
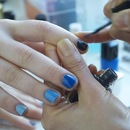
After the color has dried, apply two coats of a glitter top coat over each nail. The hexagon-shaped glitter from Milani Jewel FX gives a new spin to a typical top coat.

Step 4
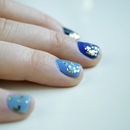
TOP COAT
Apply a clear top coat to seal the glitter and you’re finished! You’ve got yourself easy ombré nails that you can customize in any shade. Would you try this look for Summer?

Good Molecules: See a difference in your skin
Featured Products

Featured Brands
You Might Also Like
-
Nail Color
White Hot Summer Nails
-
Hair
5 Items You Need for Hair Emergencies
-
Nail Polish
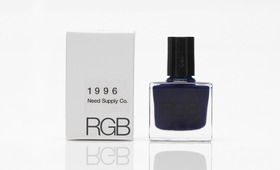
RGB & Need Supply Co. Collaborate For 1996 Nail Polish
-
Nail Effects
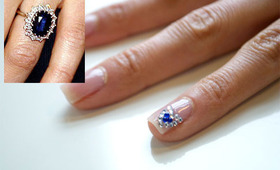
Royal Wedding Ring Nail Art Tutorial
-
Trends
Redhead Beauty Tips
-
Tips & Tricks
Online Beauty Lingo for Beginners
-
Looks
Beauty Tips From Alicia and Rihanna's Makeup Artist
-
DIY
DIY Body Oils