


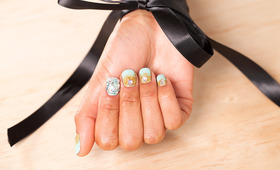
The galaxy nail trend is taking off right now, so why not join the fun? Creating this detailed glitter manicure may seem like it could take light years, but with a few colors and a little sparkle, you can have a vibrant nebula on your fingertips too!
WHAT YOU'LL NEED
-
Base Coat
-
Dark nail polish for base color
-
Light color for base of nebula
-
Two to three bright nail polish colors to create nebulae
-
Cosmetic sponge
-
Piece of paper
-
Glitter polish
-
Top coat
Step 1
APPLY BACKGROUND COLOR AND FIRST NEBULA'S HIGHLIGHT
Using a dark shade, preferably a deep blue or black, apply one or two coats of nail polish on top of your base coat to serve as the base color of your space design. Then sponge on your first layer of light color (we used a pale green) in thin layers and allow to dry. This serves as a starting highlight in the background of your nebula.
Step 2
CREATE THE NEBULAE
Use a sponge to lightly dab a thin layer of a bright color (we chose pink) onto the base of your nebula. If you get too much polish on the sponge, just dab it off on the paper. Wait one to two minutes between each application so that the colors can dry. When you put another coat on top of a color, the lacquers re-activate and are easier to blend because the layers are wet again. Repeat process with as many colors as you want.
Step 3
ADD GLITTER AND TOP COAT
Add stars by applying one or two coats of a glitter polish on top of your design. We suggest using a nail polish that contains different size glitter to give the illusion of dimension and distance. To make sure your new space-age manicure will last, apply a top coat and you’re ready to blast off!
Show us your galaxy nails in the comments below!
Good Molecules: See a difference in your skin
You Might Also Like
-
Nail Tutorials
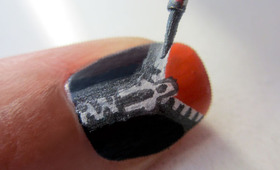
Master Mani Tutorial: Graphic Gunmetal Ombre
-
Tutorials
Get The Look: Gilded Tiffany Nails for Prom!
-
Nails
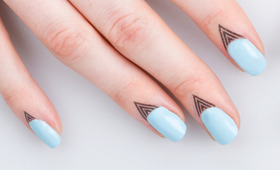
Cuticle Tattoos! A New Way To Dress Up Your Nails
-
Nail Tutorials
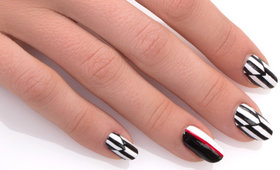
Master Mani: Graphic Op-Art in Black, White, and Red
-
Nail Tutorials
How-To: Zipper Nails
-

Nail Tutorials
Candy Cane Striped Nails Tutorial
-
Nail Tutorials
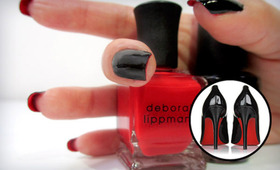
How-To: Christian Louboutin-Inspired Nails
-
Nail Tutorials
Afraid of Halloween Nails? These DIY Ideas are Child’s Play!