
What I Found out About Wearing False Lashes on the Daily
Published Apr 9, 2020

Some eyelashes were born to be lifted and voluminous, and then there are my lashes. They face downward like those on Snuffleupagus.
After years of curling and coating my eyelashes to no avail, I stopped fighting them and learned to accept their nature. Everyday, I swipe on a little mascara and let gravity take it from there.
But on the weekends, something incredible happens. I pop on a pair of wispy false lashes and feel (and look!) like a brand new person. Then Monday comes and it’s back to blah. But why should perfect lashes end when a new week begins?
I decided to wear falsies for a week to keep the good feeling going. Along the way, I kicked bad lash habits and discovered valuable tricks for applying, removing and caring for your false lashes (and your real ones, too). If you’re starting to wear strip lashes daily, here are the techniques I wish I had known before beginning my journey.
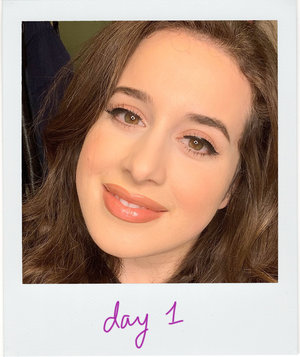 Day #1: Feeling confident…and then frustrated.
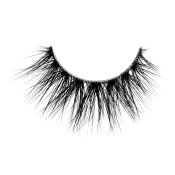
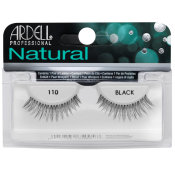
I started the week with Ardell Natural Lashes 110, which provide extra length and help my real lashes stay lifted. On a typical workday, my eye makeup routine takes about 30 seconds—Monday’s look took around 25 minutes to complete.
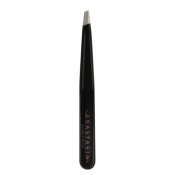
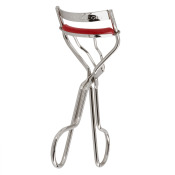
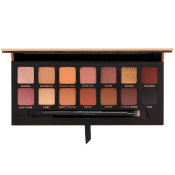
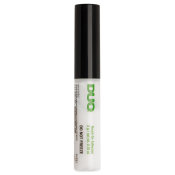
At this point, I had never worn falsies without liquid liner, and I didn’t think day #1 was a good time to start something new. First, I curled my natural lashes—an imperative step if you’ve got unruly strands. Then, I added Dusty Rose eye shadow from the Soft Glam Palette, black liquid liner, and a healthy amount of mascara to blend the lashes together. Once I applied the falsies, I added Duo glue over the strip and applied more liner on top. I felt on top of the world—it’s crazy how little hairs on your eyes can make you look wide-eyed and put together.
The lashes stayed on all day and felt feather-light. It was an overall great experience…until I took them off. The strips were hard to peel, and I was left with a strip of black glue that would not budge. I did what anyone would do for a quick fix—pick off the glue with tweezers. Big mistake (please don’t ever do this!), as it pulled out my natural lashes. I still had residual glue on my eyes, which I decided to wait on fixing until the next morning.
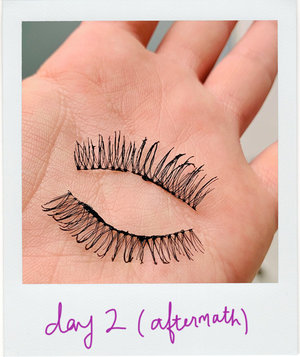 Day #2: Learning from lash blunders.
Tuesday started off a little rocky since I had to contend with leftover glue pieces. I scoured online articles for a quick way to remove glue from lashes and found that oils were helpful in dissolving residual stickiness. All I had was Extra Virgin Olive Oil, but it worked wonders! I lightly coated a cotton swab in olive oil and began gently nudging the glue off my eyes. It took a while to soften, but eventually the glue came off completely. I wanted to reuse my falsies, so I spent a chunk of my morning cleaning off the caked-on mascara from yesterday.
With all the time spent cleaning up, I only had 10 minutes for my eye makeup look. I drew a liquid line, applied a thin layer of glue to the band, popped on my lashes and sealed them with only a touch of mascara. To avoid lifting, I dotted extra glue directly to the inner and outer corners of my lash line. My lashes looked more soft and natural, compared to Day #1’s more mascara-focused look.
The lashes stayed put all day, without the need for a glue touch up. At night, my lashes came off easily without pulling or tugging. To my surprise, there was absolutely no residual glue on my lash line or on the falsies.
What I learned:
-
Oils dissolve lash glue quickly. EVOO works well, so head to your kitchen.
-
Use lash glue sparingly.
-
Do not drag copious amounts of mascara through false lashes, unless you enjoy an arduous clean up.
Day #3: Things went south on Wednesday.
Many false lash enthusiasts like to apply strips first, getting the band as close to the lash line as possible before applying liquid liner. I usually apply liner then lashes, but since this technique prevents separation, I decided to give it a go.
With my fingers, I tried to get the strip to stick to my bare lash line—it was a major struggle as the glue was still a bit wet. When they finally adhered I added liner, which looked super uneven. A closer look revealed that my band placement was slightly different on either eye, but I wasn’t about to restart the application process.
Instead, I spent 20 minutes balancing my eyeliner, which kept flaking. Cotton swabs only lengthened the process by lifting the inner strip corners that constantly required glue reapplication. I walked out of the house with two thickly lined eyes that day. Not my best look.
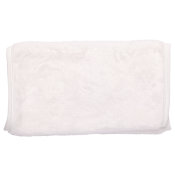
That night, I took a washcloth and gently steamed my eyes. This helped loosen the liner and glue for swift and pain-free removal. Luckily there was barely any residual stickiness on this day.
What I learned:
-
When applying strips directly to your eyes, allow the glue to harden for 35-40 seconds. If you apply too quickly, your lashes will not stick properly.
-
Apply your falsies as close to your lash line as possible. Use tweezers for ultimate precision and evenness.
-
If you mess up application, remove lashes and glue completely with oil. It’s better to just restart and skip the liner if you’re pressed for time.
-
Steaming off the strips makes for pain-free removal with little to no natural lash casualties.
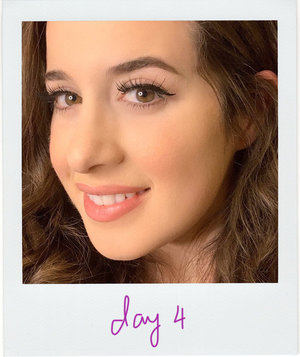 Day #4: A little liner for the win.
After three adventure-filled days with my Ardell 110s, it was time to toss them. I decided to wear my Velour Lashes in Flash It! for a lash-extension effect.
I gave direct lash application a whirl and things went super smooth on Thursday. Using tweezers, I applied my lashes close to the lash line and followed with just a touch of liner to create a small, seamless wing. These new falsies were more dramatic compared to the 110s, but it was fun having extra voluminous length. I applied mascara throughout my natural and false lashes for extra oomph.
I wanted to consult online resources before removing my Velour Lashes, and I’m glad I did! I learned that you should never wet these lashes. Instead take a damp cotton swab and run it along the band to loosen up the glue. After three repetitions of this step, the falsies fell right off. Also, you’re not supposed to apply mascara to Velour Lashes (oops!)
What I learned:
-
Don’t wet high-end lashes.
-
Always curl, apply mascara to your natural lashes, and let dry before applying high-end falsies.
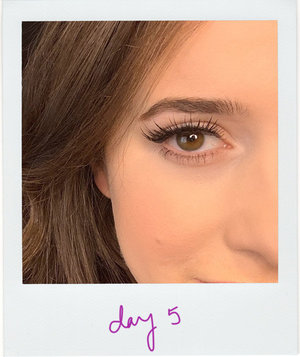 Day #5: Fluffy lashes in two minutes.
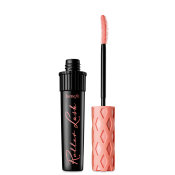
On Friday, I ditched liner completely to let my Velour Lashes shine. I curled my natural lashes, added a touch of Benefit’s Roller Lash and applied my falsies—the whole process took about two minutes. Bonus: my lashes stayed on all day without lifting!
While there was a little residual glue left over at the end of the day, it was no match for my EVOO. Day #5 was definitely the best day of my lash journey, and this look is now my go-to makeup routine for no-makeup eyes!
What I learned:
-
No makeup-eye makeup is the best (and easiest!).
-
Good things always happen on Fridays.
Featured Products
You Might Also Like
-
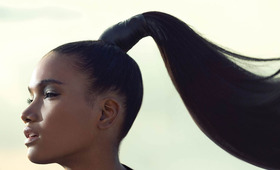
Hair
Girl, You Need to Relax!
- 456
-
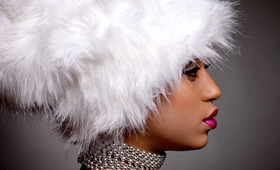
Brown Girl Beauty
Winter-proofing Brown Skin: Staying Bold in the Cold
- 397
-

Stories
Beautylish Partners With Ruby’s Place for Annual Lucky Bag Get One, Give One
-
False Lashes
Givenchy Phenomen’Eyes Mascara: Tia Williams' Lash Must-Have
- 374
-

Stories
Wayne Goss on Fighting Ageism in the Beauty Industry
- 56
-

Stories
A Brown Girl Beauty Retrospective
- 410


