

If you’re looking for fresh mani inspiration, we have great news! We’ve invited our friend and collaborator Chelsea King (also known as Chelsea Queen) to the Beautylish studio to design custom nail art tutorials—and we’ll be sharing them with you once a month. As any of Chelsea’s 110K-and-counting followers on Instagram can tell you, she’s among the most talented in the game today. Her looks are truly original and sometimes unbelievable, but she’s here to pull back the curtain and show us how it’s done.
First up, an intricate and graphic black, white, and red design. Follow along.
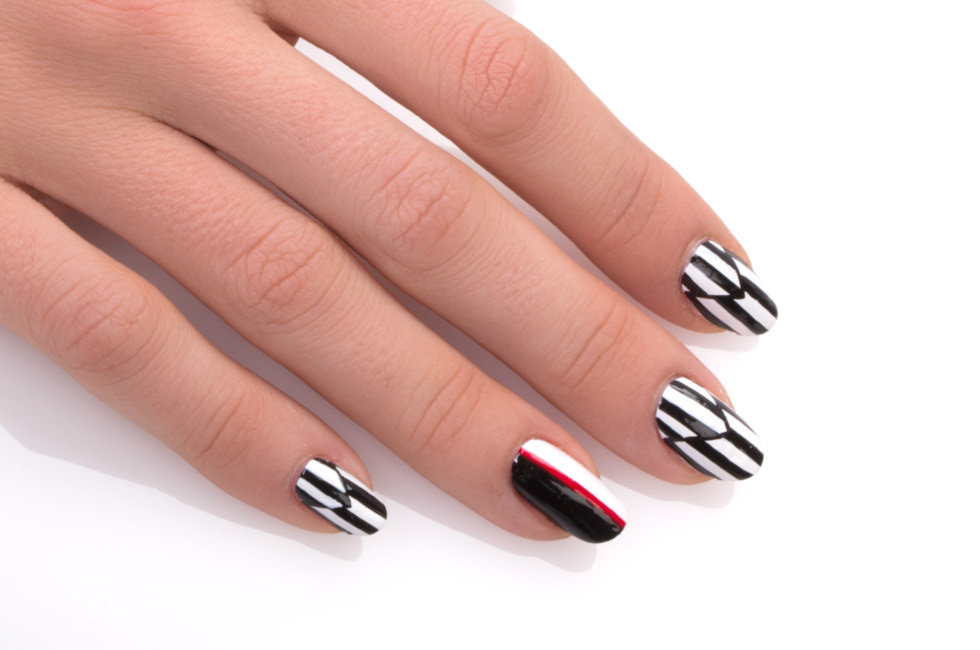
Black, White, and Red All Over Mani with Chelsea King
The inspiration: When Whitney, the hand model, mentioned she gravitates toward black, white, and red over brights and neons, Chelsea found three perfect polishes and started sketching. The result is an Op Art–style mod look with a checkerboard motif and the tiniest flash of red. So chic.
The polishes
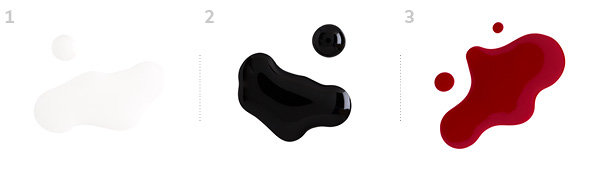
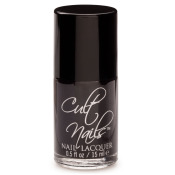
1: Cult Nails Nail Lacquer in Tempest | shop it
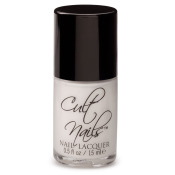
2: Cult Nails Nail Lacquer in Nevermore | shop it
3: RGB Nail Polish in Red | shop it
Other supplies
• base coat: Cult Nails Get It On | shop it
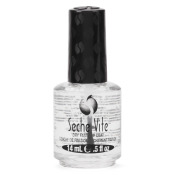
• top coat: Seche Vite Dry Fast Top Coat| shop it
• aluminum foil
• fine nail art brush
• nail polish remover
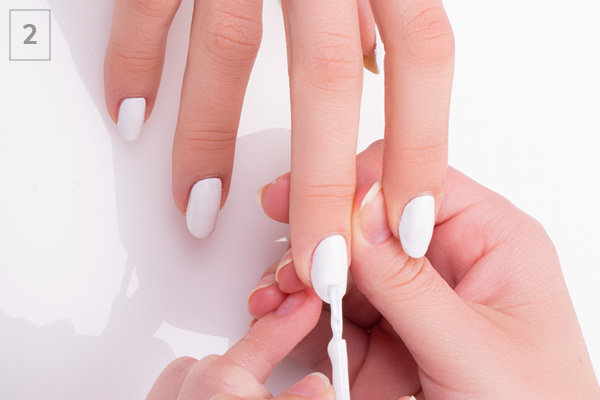
The base
1: Start with clean nails, and do your base coat.
2: Then, do your base layer of white, which Chelsea notes is one of the trickiest colors to work with. Her advice: “Two coats are a must. For the first, try to get it as thin and even as possible, and then go a little thicker with the second to get an opaque finish.”
Design 1
on 3 nails
3: Dab a little bit of black polish onto a piece of foil. Dip your brush in and draw a fine “V” shape down the center of the nail, as pictured. Hint: make sure the brush is clean, since you’ll be working over white. (Fill a small cup with remover, dip it, swirl, and blot.)
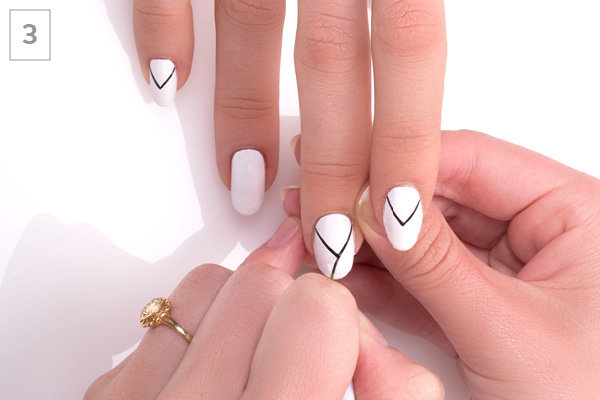
4: Paint black stripes vertically, starting from the bottom of the V to the tip of the nail.
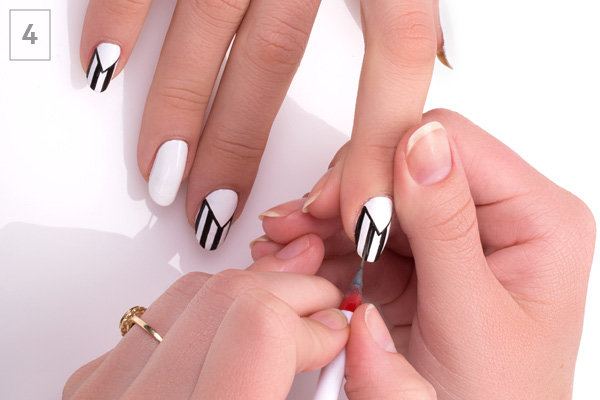
5: Then go back and paint stripes on from the top of the V to the cuticle, opposite those you created in step 4, to form a checkerboard-like pattern as pictured. Then let this layer dry. “If you slip up, you can go back over and clean up an edge with black or white and a fine-tipped brush; just make sure you clean your brush before switching polishes,” says Chelsea.
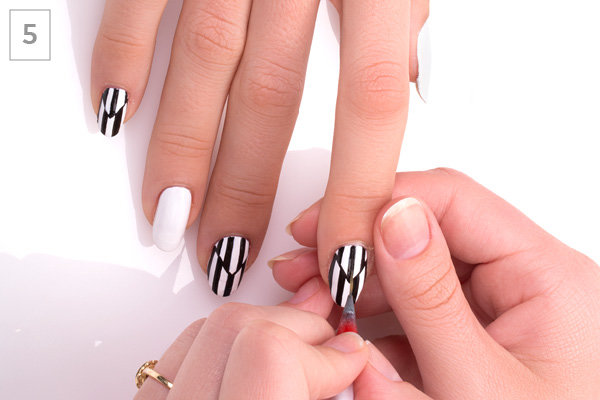
Design 2
on thumb and ring finger
6: Paint half the nail black vertically, from cuticle to tip, right over the white. Chelsea recommends using the brush from the bottle to start, and then using you fine brush to go back over and clean up the straight edge using white polish—but you’ll also be covering it with red in step 7. So it doesn’t need to be perfect!

7: Finish with a fine line of red, straight down the middle.

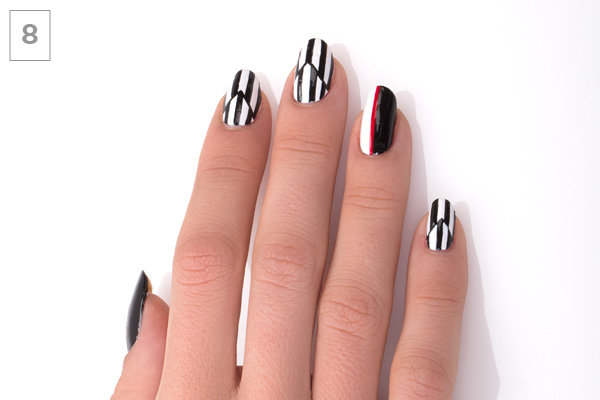
8: Finish it all off with top coat. And you’re done!
Chelsea King (aka Chelsea Queen) is a nail artist based in Southern California. She fell in love with painting and fashion early on, and started painting her nails as a hobby. After sharing her work on her blog and Instagram, her following took off and she was tapped to create tutorials and designs for Huffington Post, MTV.com, and other sites. Chelsea was featured in the 2012 documentary NAILgasm, about the rising popularity of nail art all over the world, and her work has appeared in Nail It! magazine and People StyleWatch among others. Follow her on Instagram and Twitter @chelseaqueen.

-
Bath and Body
- 174
-
Products
- 587
Good Molecules: See a difference in your skin
Más Reciente
-
Nudestix Nude Beach 6-Piece Eye Pencil Palette
$69
-
Danessa Myricks Beauty ColorFix 24-Hour Cream Color Matte Sundaze
$20
-
Danessa Myricks Beauty ColorFix 24-Hour Cream Color Matte Oasis
$20
-

Danessa Myricks Beauty ColorFix 24-Hour Cream Color Matte Dreamsicle
$20
-
Danessa Myricks Beauty ColorFix 24-Hour Cream Color Matte Bunny
$20
Featured Products
-

RGB
Nail Polish Red
/ 18

También te puede gustar
-

Nails
The Beauty Trends Of Tomorrow
- 26
-
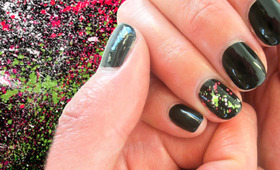
Nail Tutorials
How-To: Splatter Nails
- 1357
-
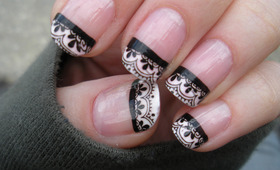
Nails
Pretty in Pink Lace
- 194
-
New Years Looks
New Year's Eve Makeup Tutorial
- 78
-
Tips & Tricks
Rave-Ready Makeup
- 1277
-
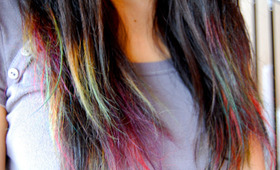
Hair
DIY: Rainbow Ombré Tips
- 1152
-
Tips & Tricks
The Five-Day Blowout
- 2133
-
Nails
Nail Polish Inspiration from Fashion Week
- 27