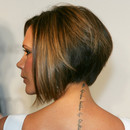
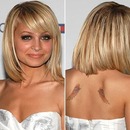
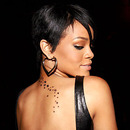
Have any tattoos you want to cover up for the upcoming warm weather season? Apparently, there's more than meets than eye for a good cover-up job. "It's all about neutralizing and correcting the tattoo colors before you even conceal," says New York City-based makeup artist Michelle Coursey. "You have to create a clean, color-corrected canvas before you even bring out the foundation and concealer, otherwise it's just going to look splotchy and obvious."
Covering up the body with makeup is a little bit different than working with the face. Sweat and dirt are problems, but your primary concern is durability. "People just aren't used to wearing body makeup normally. There's more physical movement, touching, and friction involved that your face doesn't have to deal with," says Michelle.
So what's the trick to having perfectly covered up tattoos? It's all about the right colors and right application. Here's the full how-to with Michelle's best tattoo cover-up picks.
TECHNIQUE
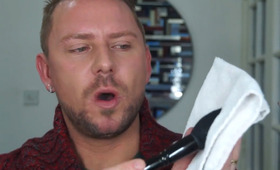
STEP 1: Prep Skin Make sure the area you're working with is free of germs and dirt. Wipe it down with either a light toner or Witch Hazel (available at heath food stores). Make sure the area is completely dry before starting.
STEP 2: Choose Your Tools For overall concealer application, opt for a blending or buffing brush—something that will evenly distribute and blend any cover-up into the skin. For detailed or precision work, keep a set of synthetic Taklon brushes nearby. And to set your makeup disguise with powder, use a large fluffy brush.
STEP 3: Color-Correct In order to get a smooth and even skin tone, neutralize the tattoo ink before base. For tattoos that just use black ink (typically with a blue undertone), blend a pinkish-peach toned color corrector lightly. For multicolored tattoos, neutralize each tone with a different color corrector (green and red, yellow and purple, and peach and blue neutralize one another other). Because everyone's base tone is different, you may need to mix your correctors for just the right shade. Experiment with technique and application to see what color and coverage is right for you. Yes, this process is tedious, but it's a crucial step, so take your time and do it right.
STEP 4a: Airbrush For those with access to airbrush, now is the time to pull out your gun! "Airbrushing will give a flawless veil of color on your tattoo and it lasts really well," explains Michelle.
STEP 4b: Buff and Finish "If you don't have access to airbrush, buffing is the next best thing," says Michelle, "Dab a few drops of your foundation onto your color-corrected surface, and buff using a flat-bottomed Kabuki brush—MAC makes a great one, the 180." Since buffing efficiently spreads all the product on, you really only need a few drops of foundation. Apply foundation in thin multiple layers for added coverage.
STEP 5: Set and Protect Setting your cover-up is essential to fight body friction. Lightly dust a translucent yellow-based powder with a fluffy powder brush to set your cream-based products. Then, mist a setting spray at least six inches from the tattoo. Wait a minute for it to dry before heading out the door.
PRODUCTS

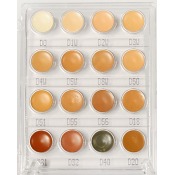
Kryolan Dermacolor Palettes
"The best--they'll cover up ANYTHING! I use the green D-3 or D-5 on shoots a lot."
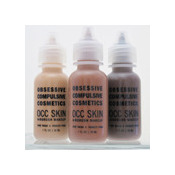
OCC Cosmetics Airbrush Makeup
"You need a very thin, specific formula for airbrush, and I love this formulation. I haven't touched anything else in years."
MAC Flat Kabuki Brush 180
"A fantastic brush for buffing. It's a PRO brush, so it's slightly harder to find, but completely worth it."
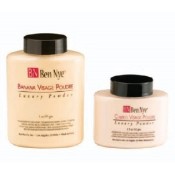
Ben Nye Banana Loose Powder
"The holy grail of yellow powders, it matches so well!"
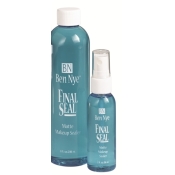
Ben Nye Setting Spray
"A great setting spray—it's used for stage makeup so it holds up well under heat, light, and movement."
-
Bath and Body
- 174
-
Products
- 587
Good Molecules: See a difference in your skin

Featured Products
Featured Brands
You Might Also Like
-

Tips & Tricks
Fresh Face Makeup Routine for Spring 2021
-

Eyelashes
How to Get Eyelash Glue off Your Eyes
- 1
-

Looks
Polished Look in 15+ Minutes
- 441
-
Eyebrows
How & Why to Try the Soap Brow Trend
-
How-to
How to Care for Your Wayne Goss, The Collection Brushes (According To Wayne!)
- 160
-

Hair
Split End Solutions for Healthy Long Hair
- 827
-
Tutorials
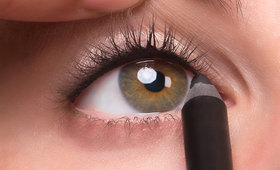
How to Tightline Eyes
- 4197
-
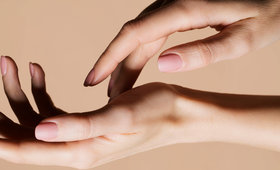
Hand Treatments
Get Softer Hands with These 5 Easy Steps
- 244