


- 1. White nail polish
- 1. Blue nail polish
- 1. Orange nail polish
- 1. Silver nail polish
- 1. Black nail polish
- 1. Paint brush in size 0

Apply two coats of a dark navy polish (we chose OPI Nail Lacquer in Road House Blues) on each finger and repeat on your other hand. If you want a textured leather effect instead of denim, use a shiny black polish as your base.
Dip your tiny paint brush into the silver polish or silver acrylic paint (which we opted for because it dries faster and can be diluted with water, if needed), and create a wishbone shape or peace-sign design down the middle of each nail. Create one accent nail with just a straight line down the middle, no V-shape. The thicker your silver line the more space you will have for a detailed zipper.

To contrast your bright polish against the blue base, first fill in the V-shape at the edge of your nails with white polish, then layer on a hot hue of your choice. We chose Essie Nail Polish in Clambake.
Start with the simple accent nail, and draw a white line down the center of the silver. Use the paint brush to draw small, alternating dashes on each side of the white line. These tiny teeth make up your closed zipper.
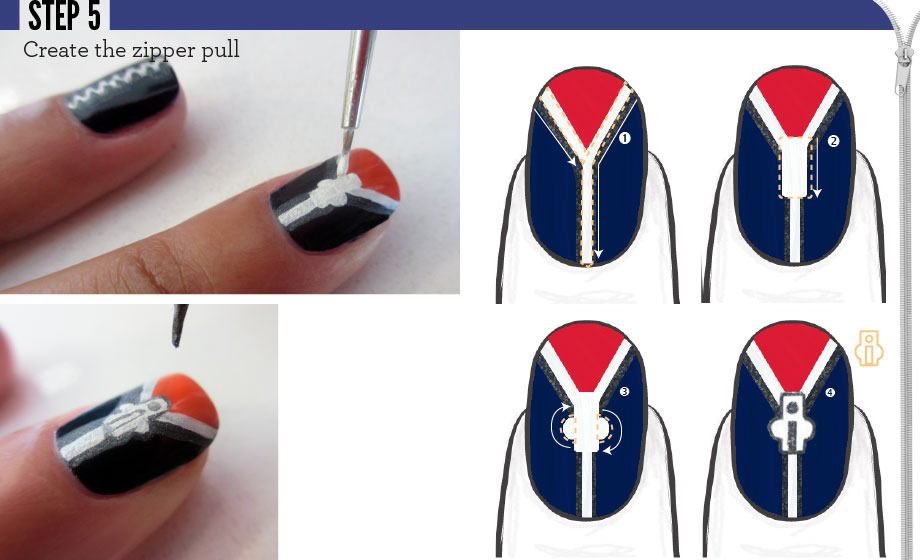

Mimic the alternating dash effect on the straight white area just before the line splits into two. To create the unzipped look, only add teeth on one side (closest to the base of the nail). Be sure to apply a top coat to protect your fashion-forward fingertips!
Since moving to Los Angeles from Japan over 5 years ago, Miwa has quickly established a reputation as the go-to nail artist on the west coast. Sought after for her unique and holistic approach to nails, Miwa specializes in everything from basic nail painting to airbrush techniques and 3D nail designs. Miwa has garnered an impressive roster of celebrity clients including Halle Berry, Marion Cotillard, and Mandy Moore. Her unique creations have even landed her backstage at huge Hollywood events such as the Academy Awards and the Grammy’s.

Featured Products
-
Essie
Nail Polish
/ 350
-
OPI
Nail Polish
/ 209


You Might Also Like
-
Nail Tutorials
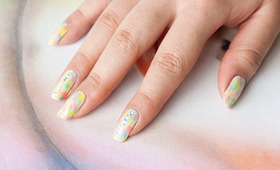
How-To: Splatter Nails
- 1357
-
Nail Tutorials
Tie-Dye and Glitter Nail Tutorial from Star Blogger Chelsea King!
- 1354
-
Nail Tutorials
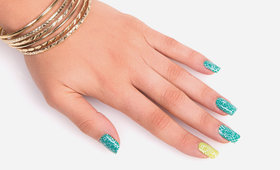
Get Glittered: 3 Ways To Wear Sugarpill’s New Sparkle Polishes
- 214
-
Nail Tutorials
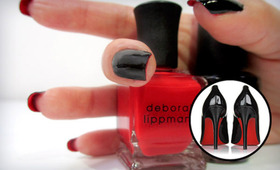
How-To: Christian Louboutin-Inspired Nails
- 954
-
Nail Tutorials
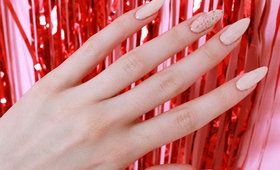
Master Mani: A Summery Fresh Floral Lace Motif!
- 592
-
Nails
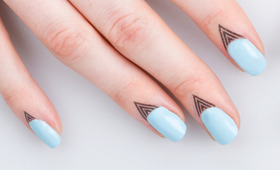
Cuticle Tattoos! A New Way To Dress Up Your Nails
- 1175


