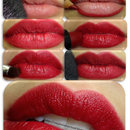
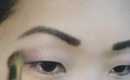
Fall Makeup Tutorial #1 - Berry
7

- Added Oct 21, 2010
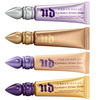
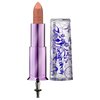
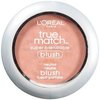
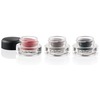
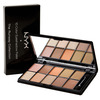
Products Used

photos

New Arrivals


Comments
Log in or join now
to add a comment.
No comments yet, you can be the first!
Video By

More from Liana B.


Related Videos
-
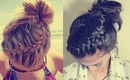
Braided Bun Updo Tutorial for long and medium...
by ThalitaMakes T.- 2582
- 23
-

QUICK EYEBROW TIP - THIS CAN CHANGE YOUR ENTIRE...
by Wayne G.- 1682
- 33
-
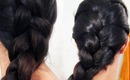
4 Back to School Braided Hair Styles
by Alexa L.- 147
- 9
-
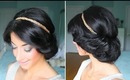
Cute & Easy Spring Up-Do
by LuxyHair x.- 1290
- 27
-
2-Minute Elegant BUN Hairstyle ★ EASY Updo...
by Tina - MakeupWearables L.- 672
- 9