
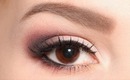
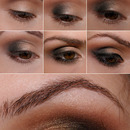
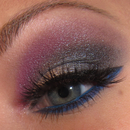
My Absolute Favorite Makeup Look

- Added Oct 11, 2010
Products Used
-
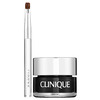
Clinique
Brush-On Cream Liner
/ 23
99
-
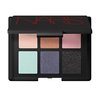
NARS
Day and Night Palette
Review!
17
-
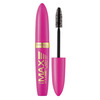
Rimmel London
The Max Volume Flash Mascara
/ 15
68
-
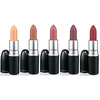
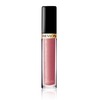
MAC
Lipstick
/ 1109
13359
-
MAC
Eye Shadow
/ 367
3026
-
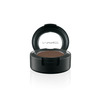
MAC
Paint Pot
/ 401
3291
-
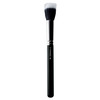
MAC
188 Small Duo Fibre Face Brush
/ 5
55
-
MAC
217 Blending Brush
/ 106
1955
-
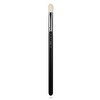
MAC
209 Eye Liner Brush
/ 1
19
-
MAC
239 Eye Shading Brush
/ 20
201
-
MAC
Cream Color Base
/ 21
124
-
Sigma Makeup
Pencil - E30
/ 6
25
-
Revlon
Super Lustrous Lip Gloss
/ 37
221
-
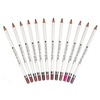
Coastal Scents
Lip Liner
Review!
7
-
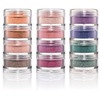
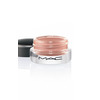
MAC
Crushed Metallic Pigment
/ 24
250
-

MAC
Powder Blush
/ 183
1596
Shop Beautylish Best Sellers


Comments
Video By

More from Makeup By Leina B.
-
Top 10 Beauty Products I Would Repurchase
by Makeup By Leina B.- 1
-
☆ My NYX Face Awards Experience ☆
by Makeup By Leina B. -
MY FIRST NYX UNBOXING! (NYX FACE AWARDS 2013)
by Makeup By Leina B. -
November 2015 Beauty Favorites | MakeupByLeina
by Makeup By Leina B. -
Kim Kardashian Smokey Eyes
by Makeup By Leina B.- 28
- 1


Dec 22, 2010
shikha v.
I love this video! U r so talented! I have started my blog www.makeupsite.blogspot.com please visit it and subscribe thanks!