

A couple of tone and color adjustments can make the difference between an average photo and a beautiful shot. If you don’t know how to use Adobe Photoshop just yet, no problem! We have simple editing tips for making a beautiful photograph without going overboard on photo manipulation. Keep reading for our easy tricks!
Adjustment Layers
EDITING WITHIN LAYERS
Adjustment layers will help you edit things like the color balance and the overall tonal range of your photograph without affecting the photo file permanently. Before we get started, what is a layer in Photoshop? Layers are used so that you can manipulate an image without permanently changing it. Think of it as adding paint on top of a painting but having the ability to wipe it off if you don't like it. By enhancing the highlights and shadows of your photo, you will make it that much more dynamic. In the layers window, there is a 50/50 circle with a selection of adjustments you can make to your photo. We’re going to look at Curves.

Curves
TONALITY OF YOUR PHOTO
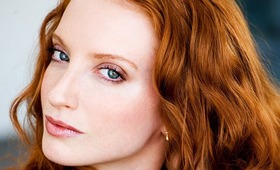
In Curves, you can either make your highlights, mid-tones, and shadows more prominent or tone them down. A curve represents the line of tonal ranges an image possesses. In this window you can adjust all tonal ranges for the photo and you can also select red, green, or blue to selectively change those color tonalities.

We suggest creating three points with your cursor on this line. These three points represent highlights, mid-tones, and shadows. By bringing each of the points up or down, you can stretch or compress the tone of your photo.

The reason we suggest three points is because it focuses on your shadows, mid-tones, and highlights separately without affecting the others drastically. As you can see above, the shadows look deeper and the highlights look more vibrant.
Color Balance
ADJUSTING FOR COLOR
Another adjustment you can make from the adjustment layers choices is Color Balance.

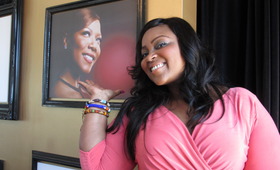
If your photo was shot in a room lit by fluorescent bulbs, it will look more blue-toned. The human eye adjusts to see colors as they should look, but a camera lens won't do that unless you know how to adjust the setting for the lighting. To make colors look truer to what the eye sees, move each slider left and right to tweak the color balance.

As you can see above, using more red makes the image look warmer, and reducing the blue makes the skin look more lively.
Good Molecules: See a difference in your skin
New Arrivals
-
Nudestix Nude Beach 6-Piece Eye Pencil Palette
$69
-
Danessa Myricks Beauty ColorFix 24-Hour Cream Color Matte Sundaze
$20
-
Danessa Myricks Beauty ColorFix 24-Hour Cream Color Matte Oasis
$20
-

Danessa Myricks Beauty ColorFix 24-Hour Cream Color Matte Dreamsicle
$20
-
Danessa Myricks Beauty ColorFix 24-Hour Cream Color Matte Bunny
$20
You Might Also Like
-
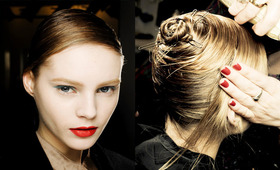
Hair
Milan Fashion Week, Fall 2011: Redken at Jil Sander
- 7
-
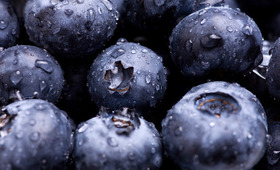
Skincare
DIY Blueberry Skin Care Recipes
- 719
-

Products
Best Foundation for Women of Color
- 495
-
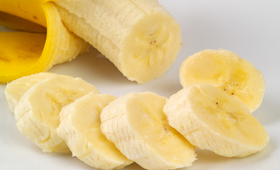
Face Skincare
DIY Banana Beauty Recipes
- 992
-
Trends
Redhead Beauty Tips
- 383
-
Looks
Beauty Tips From Alicia and Rihanna's Makeup Artist
- 462
-

Community
Audio Tips for Video Tutorials
- 34
-
Nail Effects
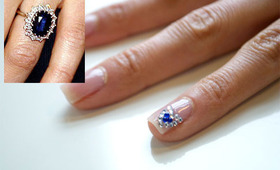
Royal Wedding Ring Nail Art Tutorial
- 69