

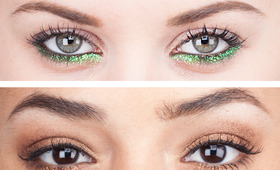
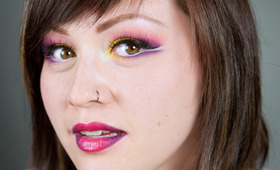
Drawing inspiration from the talented Veronica M., we’ve created an easy tutorial based on her rainbow eyeliner look! In just five steps, you can punch up a simple winged effect with a color spectrum of saturated shadows. We all love bright colors, but sometimes it’s a bit intimidating to be wearing such a bold look during the daytime. This eye liner is an easy compromise and the effect won’t look too over-the-top!
WHAT YOU'LL NEED
- Eye shadow primer
- Neutral brown eye shadow
- Selection of bright shadow colors to create rainbow liner: red, orange, yellow, green, blue, and purple
- Angle liner brush
- Black liquid liner
- White pencil liner
- False lashes
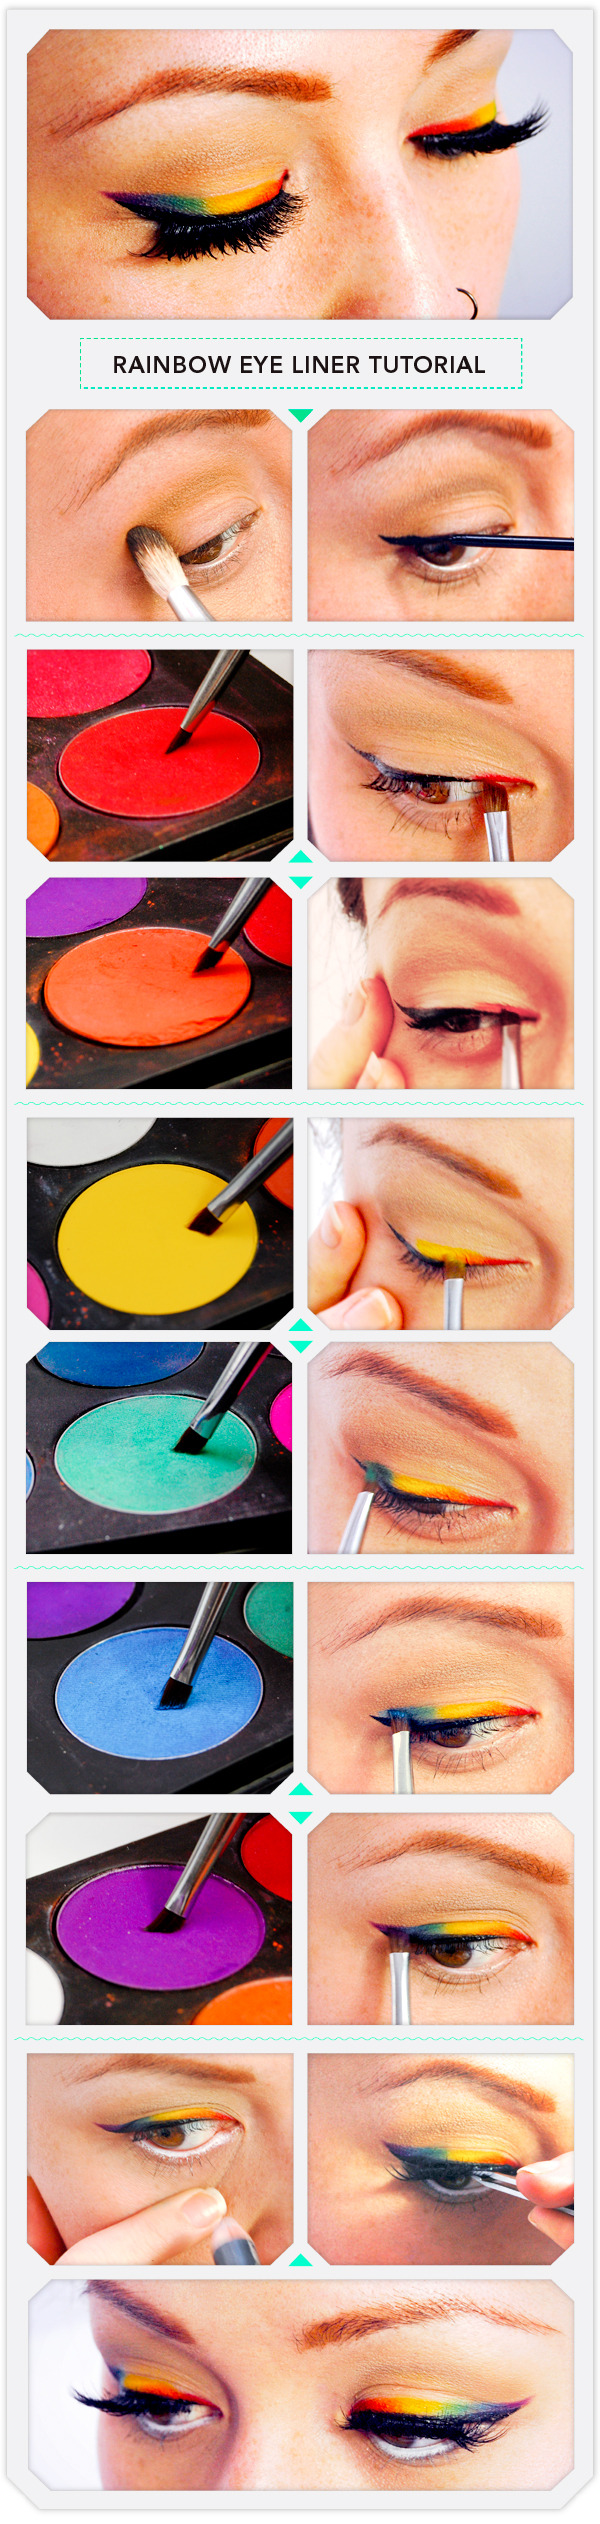
Step 1
GIVE YOUR LID DIMENSION WITH A NEUTRAL CREASE
After applying a shadow primer, use a fluffy blending brush to define your crease with a light neutral brown shadow, which will give your lid dimension.
Step 2
APPLY YOUR LIQUID LINER
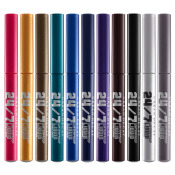
Create a winged line above your lash line with liquid liner (we chose Urban Decay’s Waterproof 24/7 Liquid Eye Liner in Zero) to serve as a guide for your rainbow liner shape.
Step 3
BLEND RAINBOW SHADOWS TO CREATE A GRADIENT EFFECT
Using eye shadow, create your rainbow liner starting with red and moving on to orange, then yellow, green, blue, and purple across your lid. For this look, we used Sugarpill Pressed Eye Shadows in Love+, Flamepoint, Buttercupcake, Midori, Afterparty, and Poison Plum. Blend the two colors on either side in between each shade to give it a gradient effect.
Step 4
OPEN UP YOUR EYES WITH WHITE LINER
Apply a white liner along your water line to make your eyes appear larger. This will brighten them up and bring attention to your top lid.
Step 5
ADD AN EXTRA LAYER OF FEMININE LASHES
Apply your favorite pair of false lashes to give a flirty effect to your eye and you’re ready to show off those colorful peepers!
-
Gift Guides
- 230
-
Bath and Body
- 174
Good Molecules: See a difference in your skin
Featured Products

Featured Brands
You Might Also Like
-
Product Spotlight
Yves St. Laurent Touche Éclat
- 1746
-
Concealer
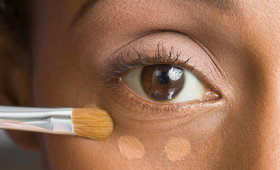
Makeup for Beginners: How to Use Concealer
- 1559
-
Makeup Tutorials
The Sunset Palette Series: Sophia Loren Makeup
- 16
-

Makeup Tutorials
How-To: Date Night Eye Makeup
- 448
-

Makeup Tutorials
Attention Latte Lovers: Here Are 3 Caffeine-Inspired Eye Looks
-
Makeup Tutorials
Two Great Ways To Wear Glitter!
- 3646
-

Makeup Tutorials
How to Create Charlotte Tilbury’s The Sophisticate Look
- 131
-
Makeup Tutorials
How-To: Double-Winged Liner
- 345