
Holiday Hair Bow Tutorial
For the holidays, we're revisiting some of our favorite festive articles from the Beautylish archive. Enjoy!
From the Archive

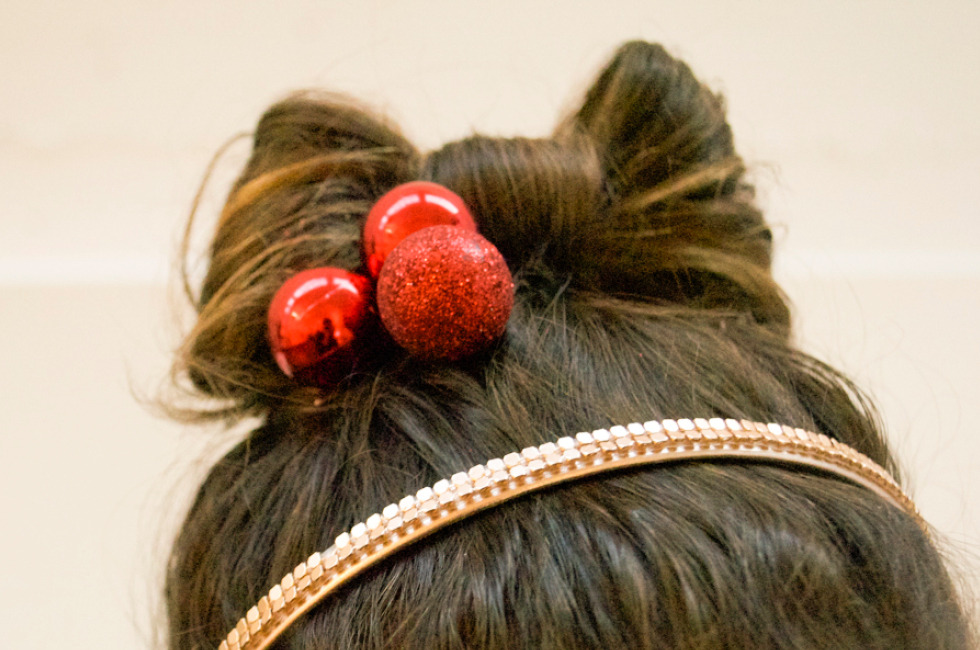
It's one of our favorite viral beauty trends, and we know you love it too. The hair bow is the ultimate girlie hairstyle! Read the step-by-step and learn how to create a basic tufted hair bow, then adorn your ‘do with more decoration. The best holiday gift of all is waiting to be created atop your head!
What You'll Need
-
Elastics
-
Bobby pins
-
Hair spray
-
Paddle brush
-
Small teasing brush
-
OPTIONAL: Headband, loose glitter, ribbons, ornaments
Step 1
WRAP AND LOOP

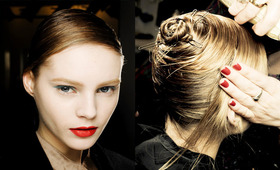
Brush your hair up into a neat ponytail high on your head, shifted slightly to the side. Start wrapping your hair into a ponytail, but use your final elastic wrap to create a large loop with a long tail. Twist the tail toward the front of your hairstyle and leave it alone for now—we'll save this for step three.
Step 2
SPLIT AND PIN

Split your loop down the middle to form the two sides of the bow. Use your small teasing brush to build volume in each loop (you don't want the bow to appear too floppy). Pin both sides of the bow down with bobby pins to give them more structure.
Step 3
TEASE AND COVER

Now, grab the tail from your original loop and tease it to build volume. Then flip the tail over the center of your bow (toward the back of your head) to cover any imperfections. Tuck and pin any remaining hair at the base of your bow.
Step 4
FLUFF AND PRIMP

Tease, fluff, and securely pin your hair. Spray a generous mist of hair spray to seal everything in place. You can keep the style simple or add a little embellishment with ribbon, glitter, or ornaments. Either way, your new statement strands will be the cutest style around town.
This article was originally published on December 22, 2011
-
Bath and Body
- 174
-
Products
- 587
Good Molecules: See a difference in your skin
You Might Also Like
-
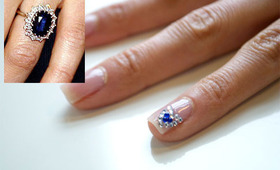
Nail Effects
Royal Wedding Ring Nail Art Tutorial
- 69
-
Hair
Milan Fashion Week, Fall 2011: Redken at Jil Sander
- 7
-
Foundations
Fiona Stiles on Foundation Part 2: Full Coverage, Matte and HD
- 288
-

Trends
Redhead Beauty Tips
- 383
-
From the Archive
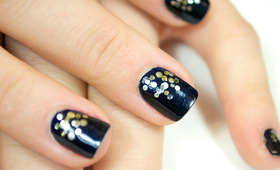
Midnight Metallic Nail Tutorial
- 972
-
Hair
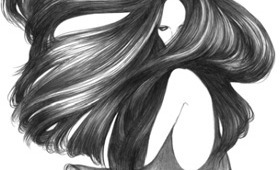
3 Steps to Refresh Your Hair Style
- 947
-
Tips & Tricks
How to Embrace Your Freckles
- 339
-
Tutorials
How to Tightline Eyes
- 4197